How to Gold Leaf a Countertop & Seal It!
We have hit week 6 of the One Room Challenge and this project has been loaded with DIY’s, and of course this how to gold leaf post is in keeping with the DIY mojo. I’m going to share with you how I gold leafed my countertop! Yep, gold leafed it, as in gilded, glossed and antiqued.
(If you missed the previous projects in this renovation peep those here with before pics, demo, diy marble herringbone floor, installing cabinetry, diy concrete countertops, mixing your own paint color)
Last I left you this was the current sitch.
How to Gold Leaf a Countertop and Seal It

Just after we painted the cabinetry, peep my post link above for how I custom mixed this color.
We DIY’d the concrete countertop and I attempted a marbling effect. (see that post here!) Although it turned out super solid and perfectly on point, I wasn’t in love with the marbling effect. Granted it was my first go at it, but it was much too blobby for my liking.
 I loved how it turned out, just not the mix of colors.
I was frantically trying to come up with an idea as to what to do with the aesthetic of it. A friend of mine is pretty experienced in gold leaf and she had recently done a gold leaf accent on a wall. It dawned on me that maybe I could do it on the countertop.
So I ordered the materials and decided to just give it a go. It was a total experiment but the whole counter thing was an experiment from the get go so why not try another idea right?!
*This post contains some affiliate links however all products were purchased by me and my experience/opinions are 100% my own.
Let’s get to it! The materials list:
Bememo 100 Sheets Imitation Gold Leaf
Acrylic Paintbrush set (I used 1 brush out of this set to apply the adhesive)
Modern Masters Xtreme Permacoat Satin
Paintbrush and tray set (This set also has a couple of rollers and a foam brush)
 This was all super easy to use for a beginner
I started out with a marbling/abstract look with the gold leaf. Clearly I’m pretty messy at this, but you could wear some gloves while doing your gold leafing. It seems intimidating but it’s really as easy as brushing on your adhesive where you want the gold leaf to go and then carefully appling a sheet of gold leaf.

I used my fingers to smooth it for a rougher look.
I decided that I wanted to cover the entire countertop but I didn’t want a solid gold counter. I did want some of the concrete to show through for a contrast in texture and material. Thus I intentionally rubbed the gold leaf in some areas to get that peek through.
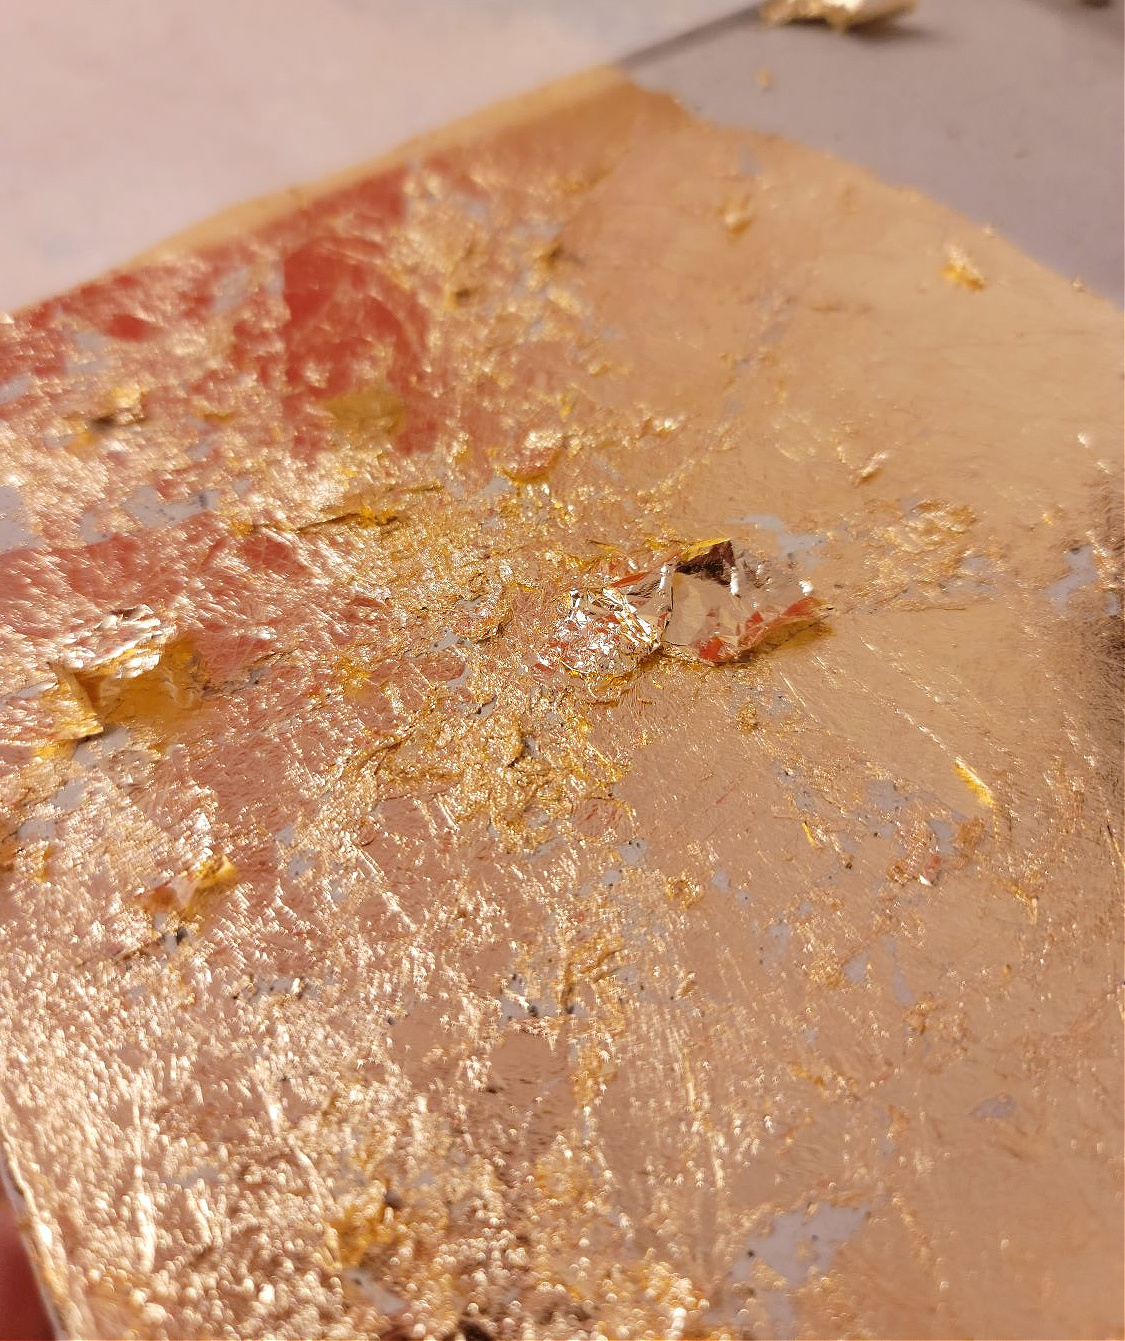
You can see here some areas where the concrete is visible
This was when I finished gold leafing prior to using the gilding brush. It’s pretty well covered but there are little bits of concrete here and there.
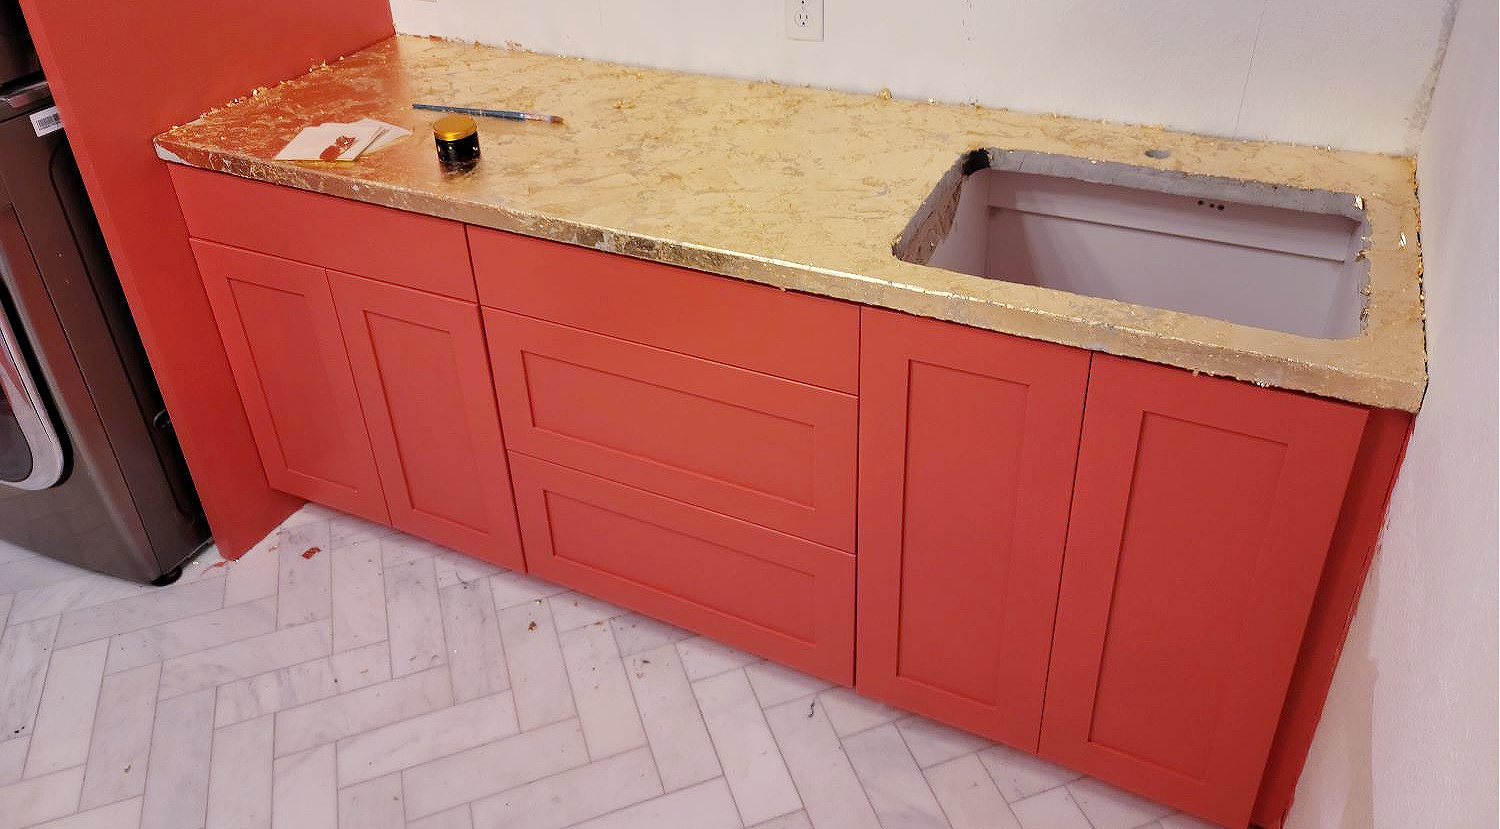
It does get messy so just be prepared to sweep or vacuum up the excess leaf.
Here I’m partially through brushing off all the excess with the gilding brush and working to get a clean surface. I mean peep that textured lusciousness!

Contrasting textures gives so much depth and dimension.
All cleaned up and ready for sealer! Using a good sealer is critical to maintain your gold leaf. If you don’t seal it the gold leaf will tarnish to a black color very quickly. (unless you use real gold leaf which is much more expensive). I opted to use the Modern Masters Permacoat listed above.
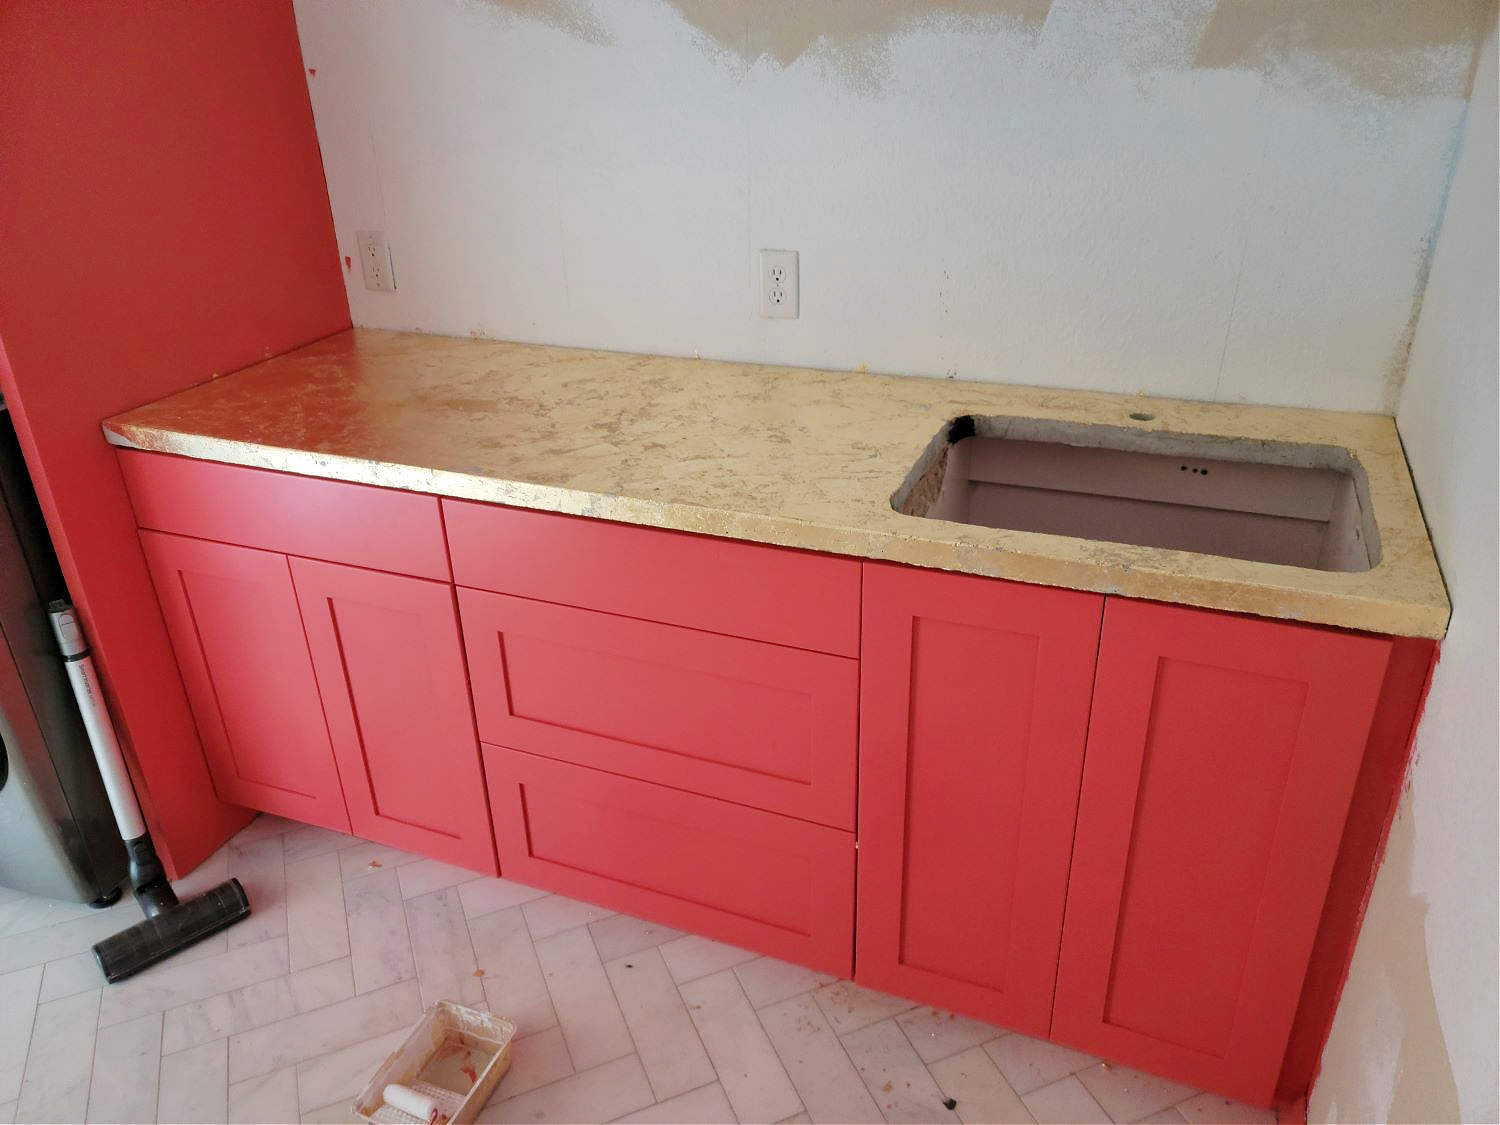
Oo baby, how you doin?!
The first coat consists of 50% water and 50% Modern Masters Permacoat. It dries very quickly and you can be ready for the second coat in about an hour.

This is right after applying the first coat with a good quality small roller.
The second coat application, don’t panic! The milky look is the full strength sealer and it looks like this when it’s first rolled on. It’s totally ok as it dries clear!
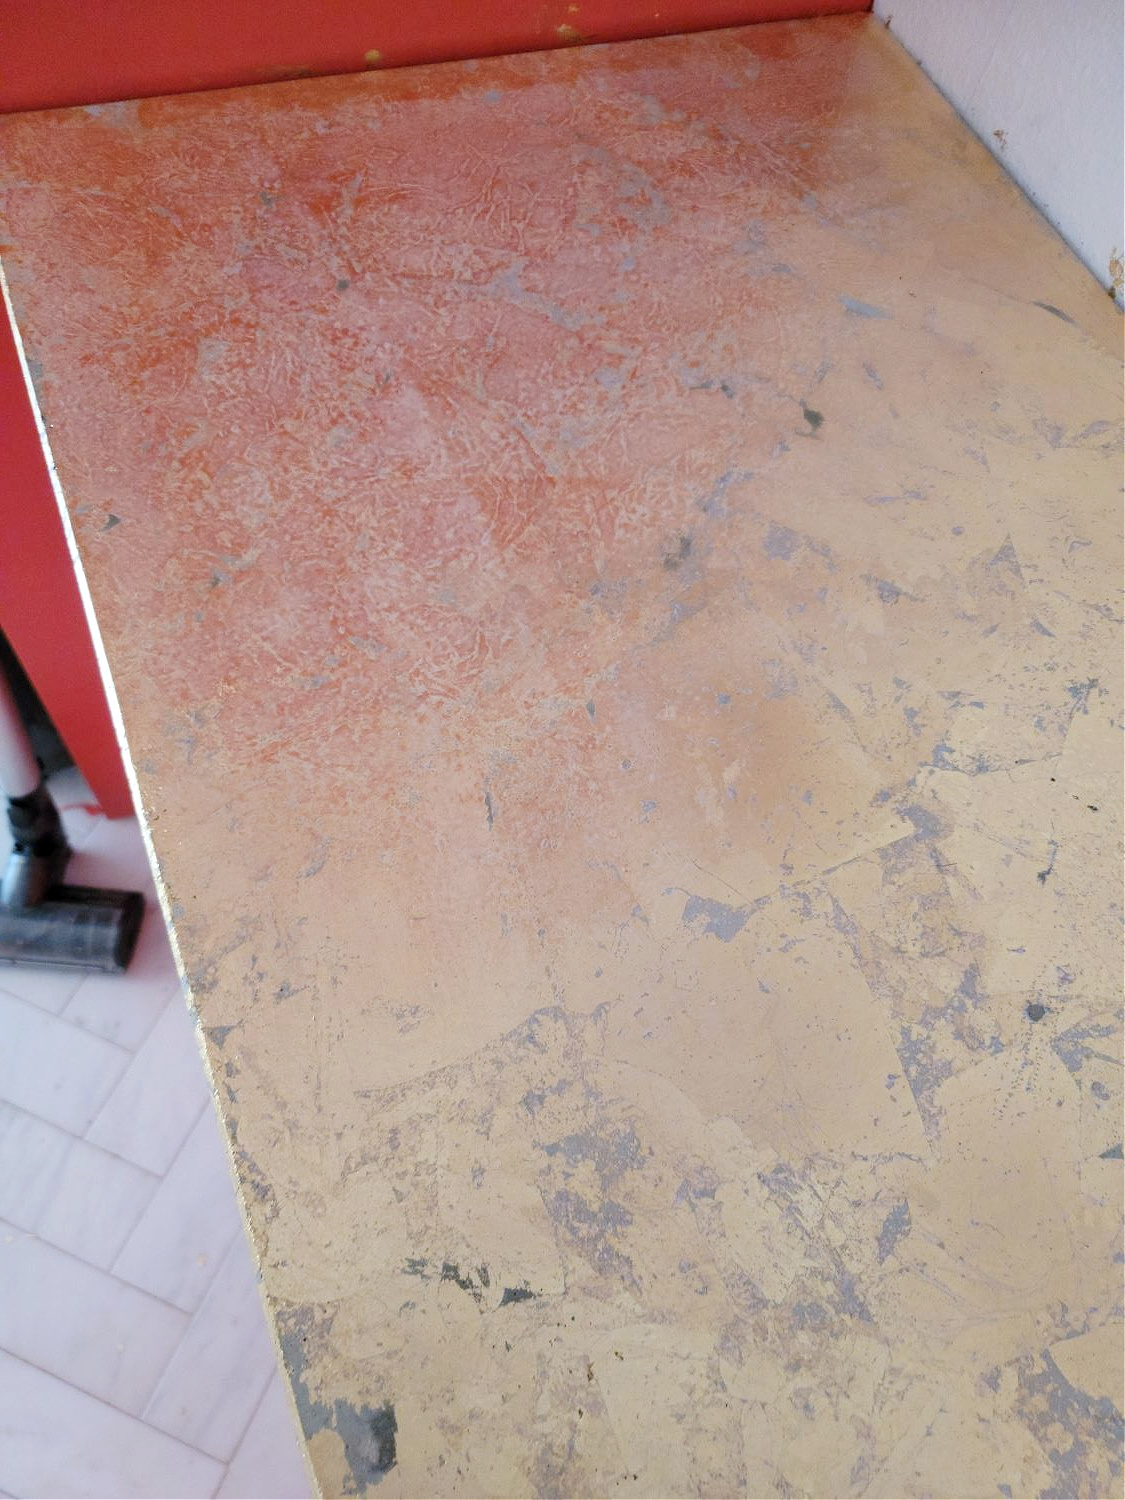
Roll on the second coat lightly and evenly, then let dry
After the second coat dried I decided to do a 3rd coat at full strength. The instructions on the can don’t recommend more than 2 coats but I wanted it to feel like there was a good coating on top of the gold leaf that could withstand scratching from laundry baskets, detergent bottles and all the other random stuff the kids toss around in here.
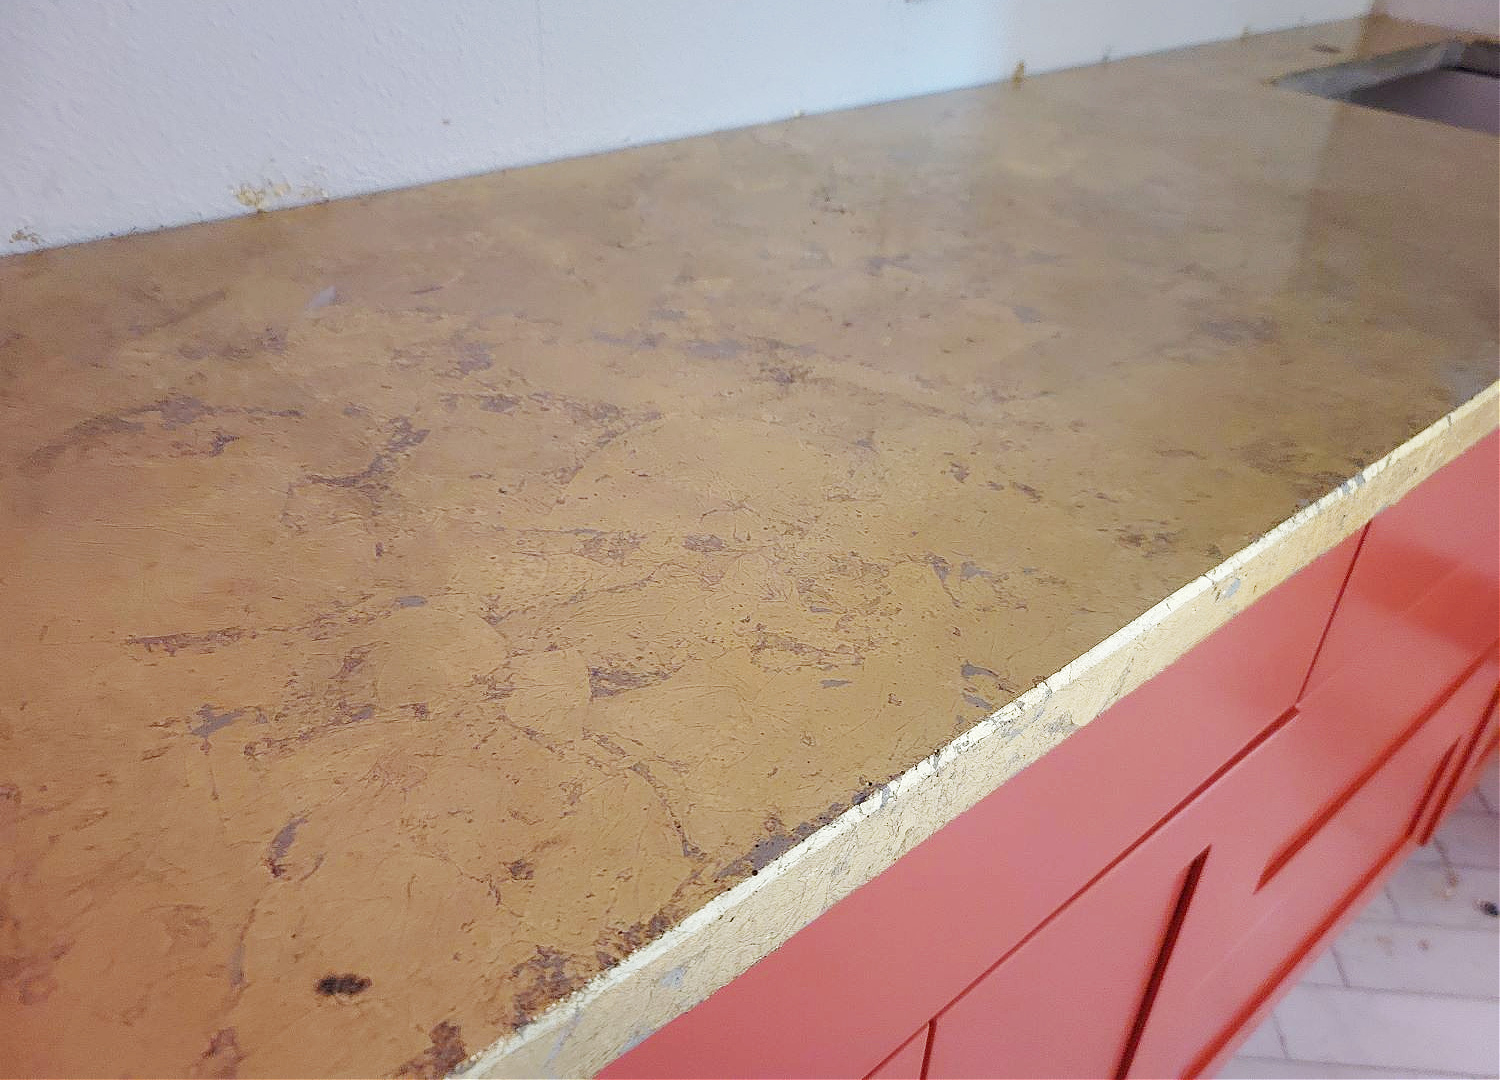
It feels like there’s a nice coating although it’s not silky smooth. The gold leaf wasn’t consistently even across the counter so you can feel that through the sealer. It doesn’t bother me since that’s the look I wanted.
You can see the slight sheen the sealer gives, this is after the 3rd coast was applied and still damp. I chose not to go with epoxy or resin simply because I didn’t want a super thick glassy topcoat. I plan to try it at some point but this was one project I was ok trying this way.

The slight milky color on the top of the photo shows the 3rd coat still damp
And the fully dried and cured finish! The sealer created an aged and rich gold finish that I actually ended up liking better than the bright gold leaf prior to the sealer. It looks antiqued and luxe but only cost me $47 in materials! (I already had the MM Permacoat, adhesive brush and tray/rollers)
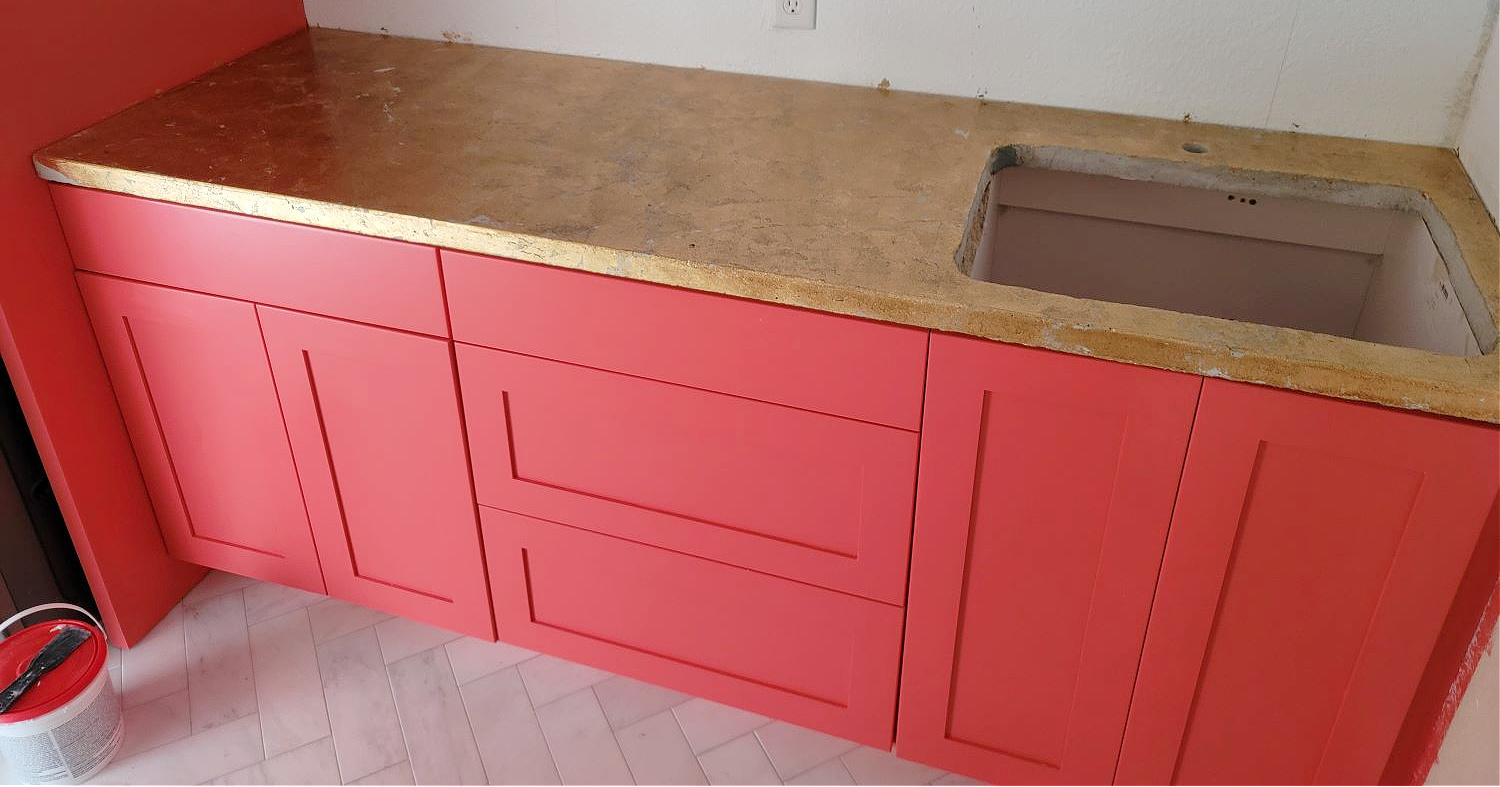
I was nervous about trying this but I am SO happy with the result!
Have you ever seen a gold countertop? Especially one that is SUPER budget friendly? How about one that is 100% DIY? It’s custom, it’s unique and it’s made completely by me. And the best part? YOU can make one too!
Follow the DIY concrete countertop in 10 steps post and the gold leafing steps above and you can have your very own gold countertop.
What do you think? Unexpected? Wild and crazy? I always love to hear from you so hit me up in the comments!
And don’t forget to hit up the subscribe box to be the first in the know when fresh info hits the site!
PS Be sure to pop over to the ORC site to peep all the projects going down.
XOXOXOXO

Do you have any extra questions on how to gold leaf that weren’t answered in this post? Let me know in a comment below!





Michelle
June 10, 2021This turned out spectacular!
Tina Bousu
June 15, 2021Thanks Michelle! And thank you for being such a big help on sorting this project out! xoxo
Erin Zubot
June 10, 2021Wow such a unique idea, love it!
Tina Bousu
June 15, 2021Hi Erin thank you so much!
Suneiah
June 11, 2021Love it! Very clever 🧡
Tina Bousu
June 16, 2021Hi! Thank you so very much!
Ginny
June 13, 2021ummm I love this so much!! Gold leaf everything I say! So pretty!
Tina Bousu
June 16, 2021Hi Ginny! YASSS gold leaf it all baby! haha thanks sweets, I so appreciate it! xoxoxo