How to Install Cabinets
We’ve been chugging right along on our laundry room renovation; and today I’m going to share our best tips on how to install cabinets when you do your own renovation (see the before’s, demo and hookups move, diy marble herringbone floor)! This is part of my One Room Challenge, for more on the ORC see the before’s post!
When you are doing a big project like this it all comes down to getting things done when you can and in the right order. Otherwise you might end up creating more work for yourself or backtracking, which is THE worst.
Which brings me to where we are now. The hookups were moved and the floor was in so we are ready to get rockin and rollin on the walls. This was a relief because when you walk by 10 zillion times a day and see giant holes missing it’s a bit of an eyesore.
How to Install Cabinets
 It also makes you feel like no progress is being made lemme tell ya.
First thing we tackled was closing up the walls which was basic drywall work. It consisted of cut and fitting drywall, tape and mudding the seams, sanding the seams smooth and then textured with spray. Why texture if we are wallpapering you ask? If the rest of the walls are textured but you have areas that aren’t it could be visible through the wallpaper. Better to be safe than sorry!
Next up was the cabinetry. I know what you’re thinking, why did you buy unfinished cabinets? Simple answer is budget. I undertook this renovation trying to keep the budget as low as possible, under $5k all in (including electrical and plumbing work).
Which brings me to the cabinetry. These were custom made locally (same company we used for our kitchen, stellar quality and reasonably priced) and if you want a color outside their standard color options it would have been an additional $1000. Now if time is of the essence or you don’t feel comfortable painting your own cabinets that would totally be worth it! Since I painted our kitchen cabinets I felt very comfortable taking these on, especially as there were only a few.

Unfinished base cabinets and built in panel. We also have one upper that fits above the dryer and unfinished trim.
As for installing I was really intimidated. The cabinets have to fit perfectly, the spacers have to be on point and it all has to be perfectly level for the countertop. That’s a lot of perfection. But I did some research and felt we could do it ourselves.
First thing we did was dry fit the cabinets in place to make sure we had everything in the right spot with the right spacers, etc. (photo above) That included using a hole saw (come in kits at any home improvement store) to cut the holes for the plumbing.
Next up we marked the walls where the studs were located so we had a visual reference for screwing the cabinets into. Mark with a measuring tape every 18 inches (use a stud finder to assist you in locating these) and use a straight edge to draw a line down to your cabinetry.

The lines we marked are above the top of the cabinets, it makes it super easy to line up when you are screwing them in.
Purchase standard shims (super inexpensive and have a multitude of uses but especially for leveling cabinetry) and have at the ready. Here we were leveling them. If this was off we wouldn’t have a good base for our countertop, so it’s super important.

By some miracle our floor was perfectly level, but shims go under the base of the cabinets to help you get perfectly level. Don’t worry about seeing them as you are installing the toe kick later and it will cover it up!
You can see it’s perfectly level. We did this across the back, the front and sides of all 3 cabinets to insure we had a perfectly level surface.
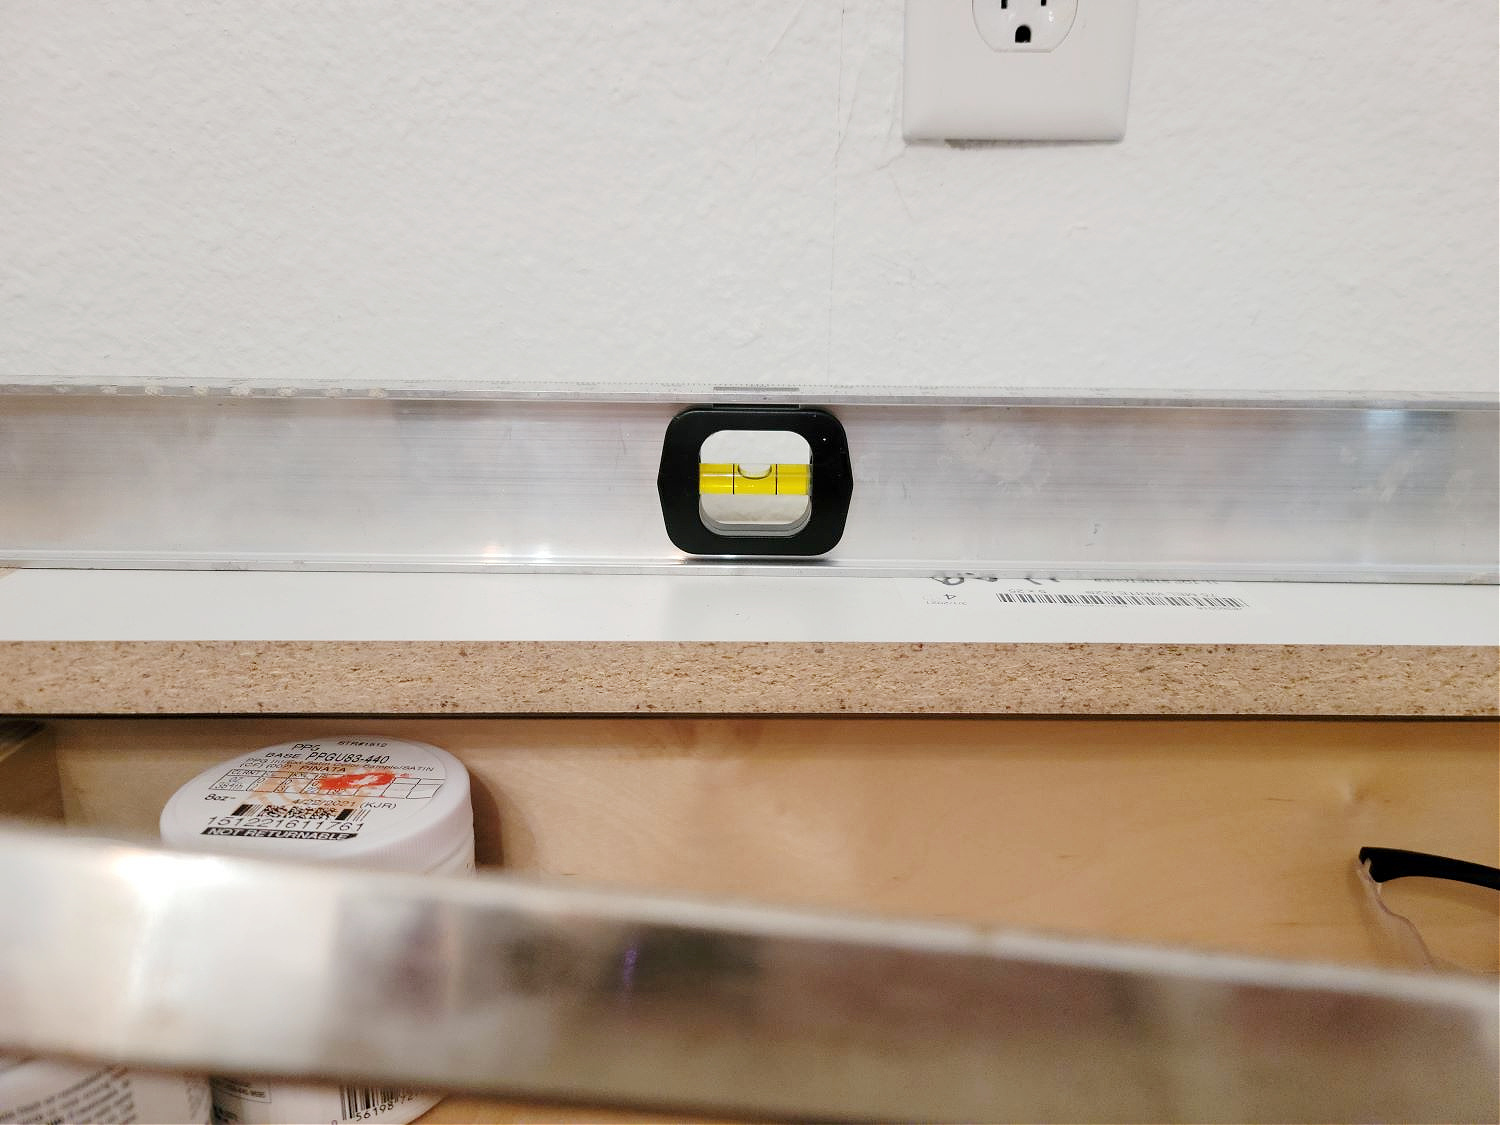 Such a crucial step but relatively straightforward.
We also used clamps to hold the cabinets together nice and tight while leveling. The clamps keep anything from moving so you can screw right in once you have it all lined up perfectly.
 You can see we screwed the cabinets together with a small screw in this pic.
Once it’s all perfectly placed, level and even screw in the backs where you marked your lines. Attach cabinets together via the sides, attach inside of W/D panel to cabinets and install upper cabinet (same process as above).
And it looks just about exactly the same as the dry fit which is a good thing! I didn’t snap a pic of the spacers but after installing the cabinets we attached the spacer on the right side and on the other side of the upper for a perfectly snug fit.

I chose to install them unfinished so that I wouldn’t risk scratching up any of the finish after I paint them.
What do you think? Pretty straightforward right?! And it saved another $300-500 so that’s more savings in our pocket. Have you ever installed cabinetry? How did it go? Any tips or tricks you don’t mind sharing?! Hit me up below in the comments!
I will be painting all of the cabinetry coming up AFTER we make and install our DIY countertop. Which is coming up next and you are not going to want to miss that so be sure to pop your email in the subscribe box!
XOXOXO
Do you have any extra tips on how to install cabinets? Let me know in a comment below!


Pat
May 26, 2021Great job my friend! So looking forward to seeing the reveal.
xo
Pat
Tina Bousu
June 1, 2021Hi Pat! Thank you so much my friend! xoxo