Laundry Room Demo and Moving Hookups
It’s week 2 of the One Room Challenge and it’s also the demo of our laundry room remodel. Which means we ned to tear it all apart and get to the really ugly so we can start getting to the pretty week.
If you missed the first week you can peep that along with the info on the event here.
A quick recap of the before’s. This is the extent of the space; a row of uppers that only 2 people in the fam can actually reach, a sink cabinet on the corner of the entrance into the room and a cabinet that can’t be opened.
Laundry Room Remodel

Incredibly impractical layout
And the opposite side has one tall pantry style cabinet that’s got dog food and junk in it. Peep that sink corner as you walk in, I’ve had many a hip bruise from that thing.

Ok so the plan involves stacking the W/D, installing a full row of base cabinetry with countertop for actual use and some floating shelves.
We started out demo-ing. Tearing it all apart always feels so good because it means change is a comin. Our 2 youngest wanted to help, so one took a hammer and started doing demo and the other helped me haul all of the debris out to the garbage.
The uppers were out in about 10 minutes, a few screws removed and they came right down. We ended up repurposing them in our garage. Waste not want not right?!
 This cabinet we just tore apart. Which was SO satisfying! Everybody was moving so fast, I wasn’t the only one who hated this space haha.
You can see here how the counter extended into the corner next to the dryer, there was nothing underneath it, just empty space. A wasted opportunity. A countertop no one could reach with empty space underneath, no idea who thought this was a good idea, SMH.
 The plumbing for the original sink location will be shifted straight back and come up from the floor right in front of the back wall near where the whiffle ball is.
Here’s another view so you can see just how much wasted space there was between the sink cabinet location and the empty corner next to the dryer.
 A good chunk of space there that was completely unusable.
Our littles helping rip it all out and having so much fun doing it.
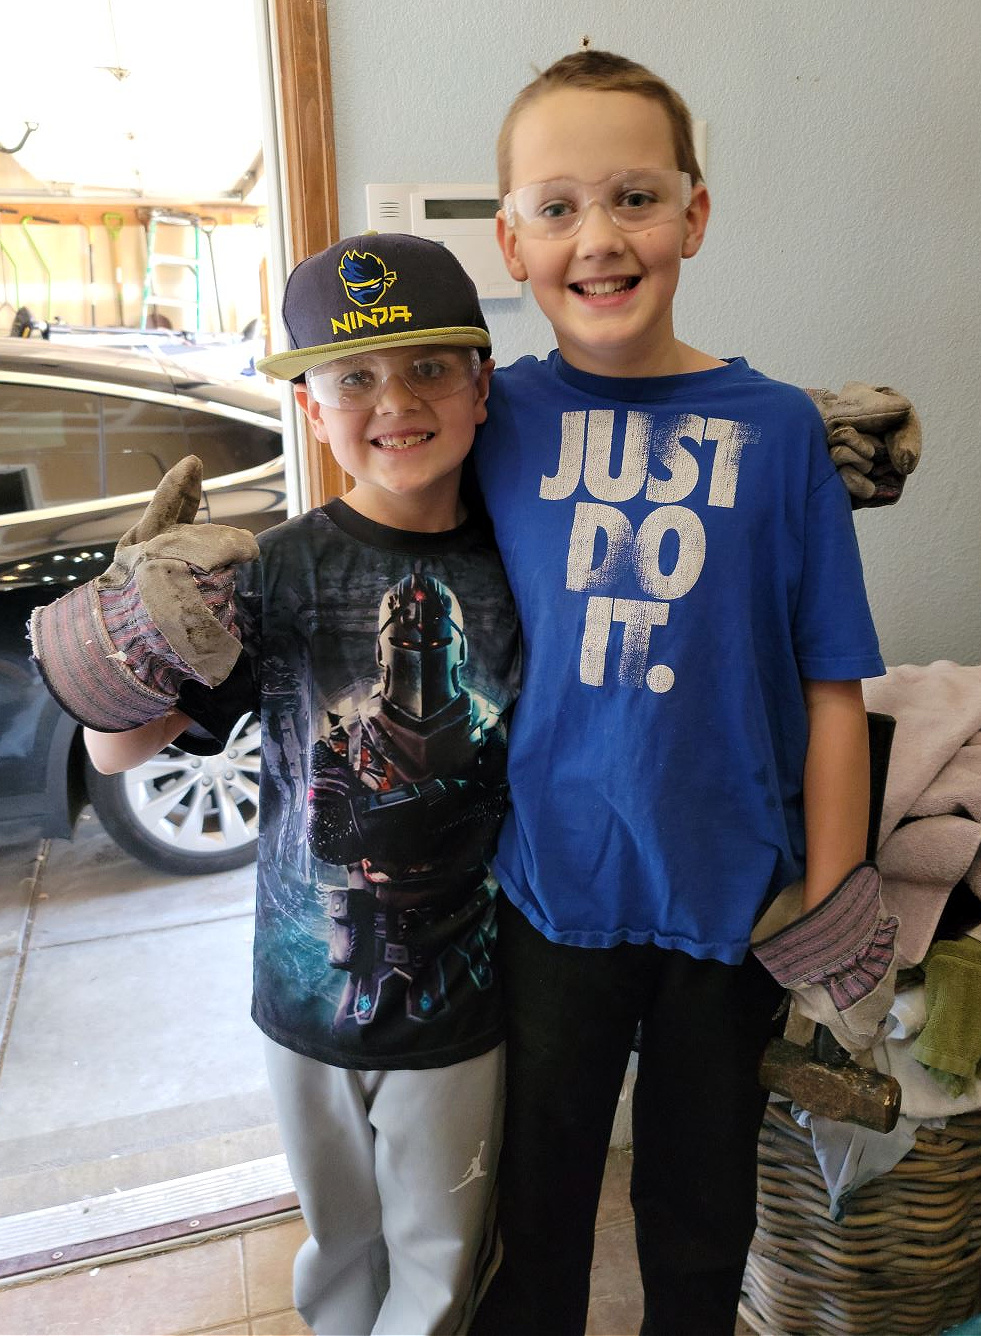
These 2 are always moving so I gotta snap a pic when I can get them relatively still.
After tearing out cabinets, taking out that little bit of backsplash, and moving out the W/D we got started tearing up the tile floor.
 You can see the subfloor, every one of those dots was a staple we had to pull out by hand. Somebody went crazy with the staple gun, oy. And it looks like there was a leak or mold at some point but it was completely dry and there was no damage to the actual subfloor or drywall. A total mystery!
The other side. We were finishing up ripping out the staples, vacuuming them up to protect tootsies and getting it all smooth in preparation for installing our floor.
 The subfloor was in great shape so it didn’t need replacing.
Next up it was time to move over the electrical outlet, washer hookups, and dryer vent. We had local pros come and do the plumbing and the electrical. (We have a couple go-to’s we love!) Always best to be safe on those, plus we wanted to be sure everything was to code and done correctly.
 You can see the water and drain for the sink have been moved to the back corner on the bottom right of this shot.
The dryer vent was easy to move so we did that ourselves. We have an attic space above this room so my hubs crawled up there and we found the location the new vent needed to go between the studs. Running new venting down the wall, where the drywall is removed. In the attic we then disconnected the old vent and hooked up the new line to the existing venting that runs up and out the roof above.
I didn’t get pics of that because I was down here feeding tubing up while he was grabbing it and doing connections above. But it was pretty simple!
I know this isn’t a super fun post but it sure is the important stuff that needs to happen before getting to the really pretty stuff. Which brings me to next week!
Next up I will be sharing how to DIY install a marble herringbone tile from subfloor on up! You aren’t going to want to miss that one.
Don’t forget to hit up the subscribe box so you’re the first in the know when all the fresh is live!
And be sure to hop on over to the ORC site and check out all the other participants projects, there are so many to keep an eye on!
XOXOXO

Have you ever done a laundry room remodel before? Let me know in a comment below!



Jen @ JENRON DESIGNS
May 14, 2021Demo is always so much fun, LOL! I think my sister likes the demo work more than the rest of it on projects, personally I like both watching the old go away and seeing the new come into focus.
Tina Bousu
June 1, 2021Haha oh yeah! My boys and husband love the demo work, I like it because it means progress but then I hate the mess to clean up after! Thanks so much Jen!
Angela Rathbun
May 14, 2021I love that your kids loved to get involved, too! It’s fun to see the room come apart, and now I can’t wait to see it come back together!
Tina Bousu
June 1, 2021Hi Angela! They love the demo stuff but the rest not so much haha. I like them to learn basic skills though so they help with little things until they are older! Thank you so much!
Susie
May 14, 2021Hang in there. You are almost through the tough part. Can’t wait to see you pour on all the pretty. Susie from Chelsea Project
Tina Bousu
June 1, 2021Hi Susie! That messy part is always the worst right?! But we’re getting there! xo