DIY Bed Crown Canopy
I have been looking at old houses and castles lately (I mean a girl can dream right?!) and got a wild idea to do an installation over our 4 poster forest bed. As an added bonus, this meant we had to take down the wood that was up there.
Many many years ago we installed reclaimed wood on the ceiling. When we did the bathroom renovation and bedroom update we painted it white. And I’ve been hating it for the last 3 years.

I was SO glad to be getting rid of it, it just wasn’t the vibe.
The pieces came down quickly, about an hour with both of us pulling them off. We were left with a boatload of nails in the ceiling. 🫤
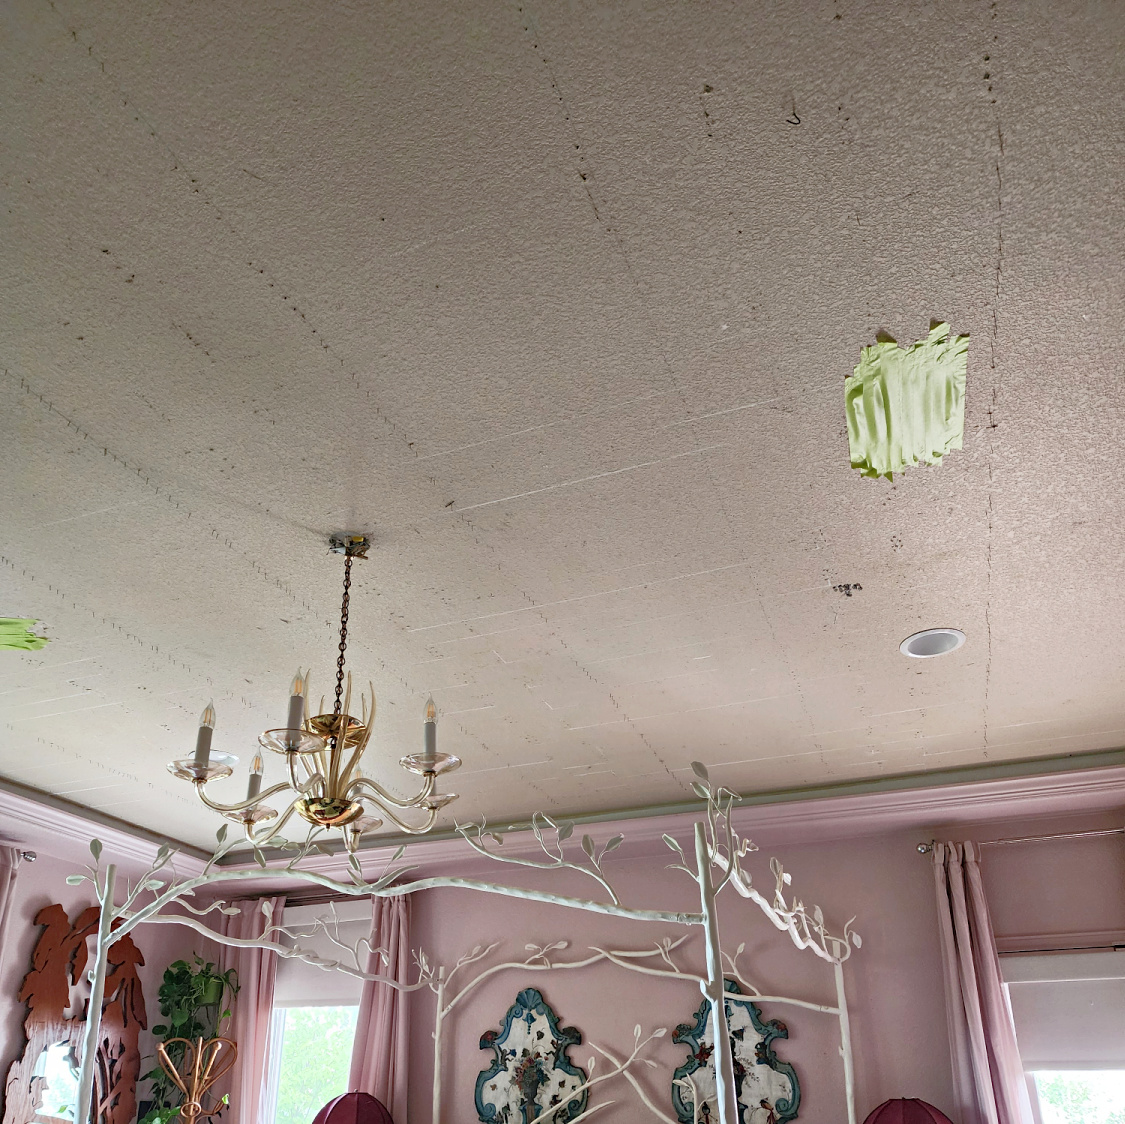
I figured out a simple hammer could pull them out pretty easily.
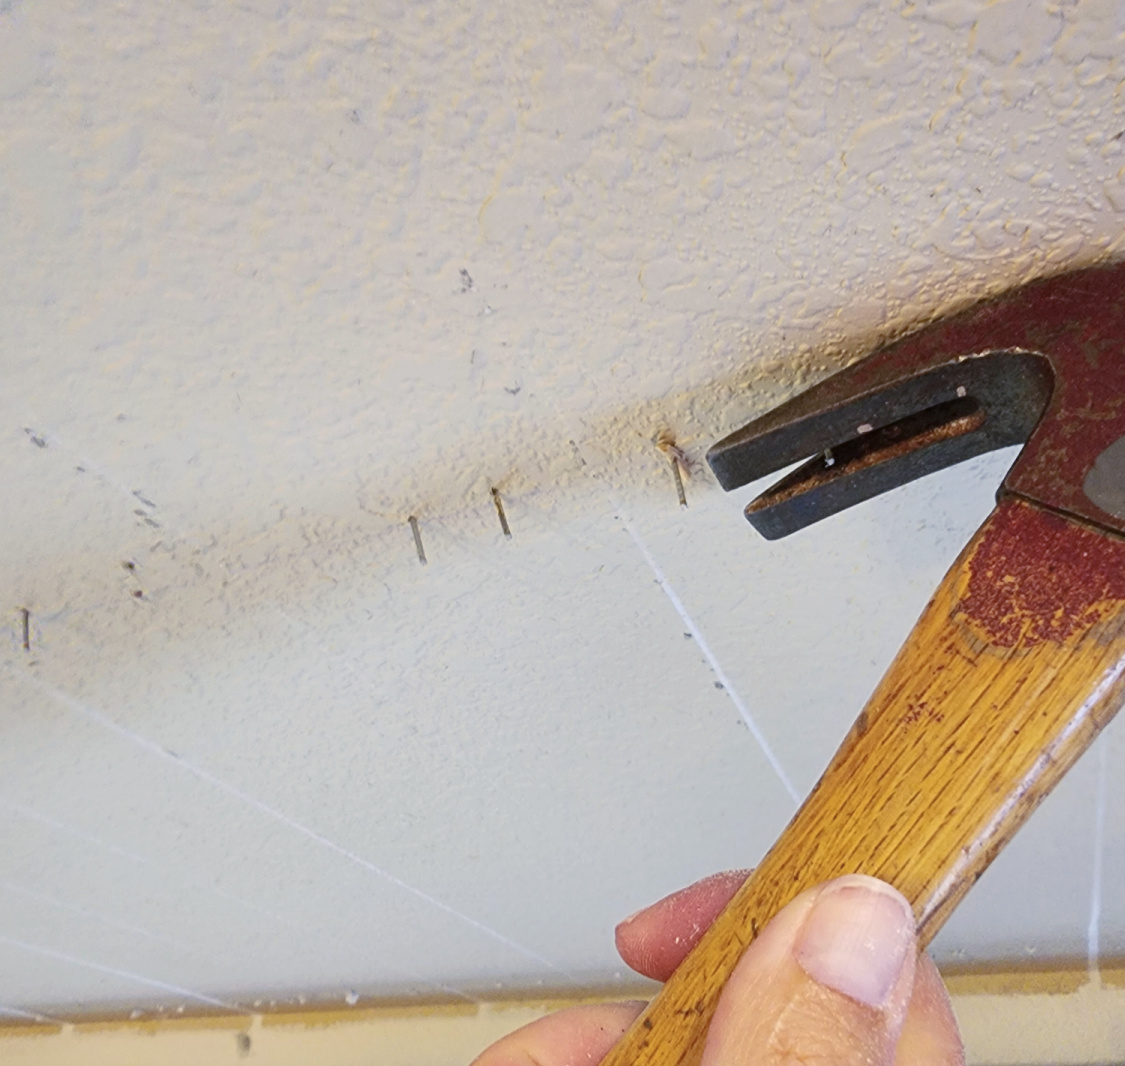
That process took me a couple of hours and some back and shoulder pain but was so worth it.
This meant I was left with a gazillion little nail holes. I forgot to photograph the spackling part but I climbed up there and spackled everything. Not the most fun I’ve ever had.
Finally we could paint! I used the same color as the walls for a color drenching look. It immediately looked so much better. 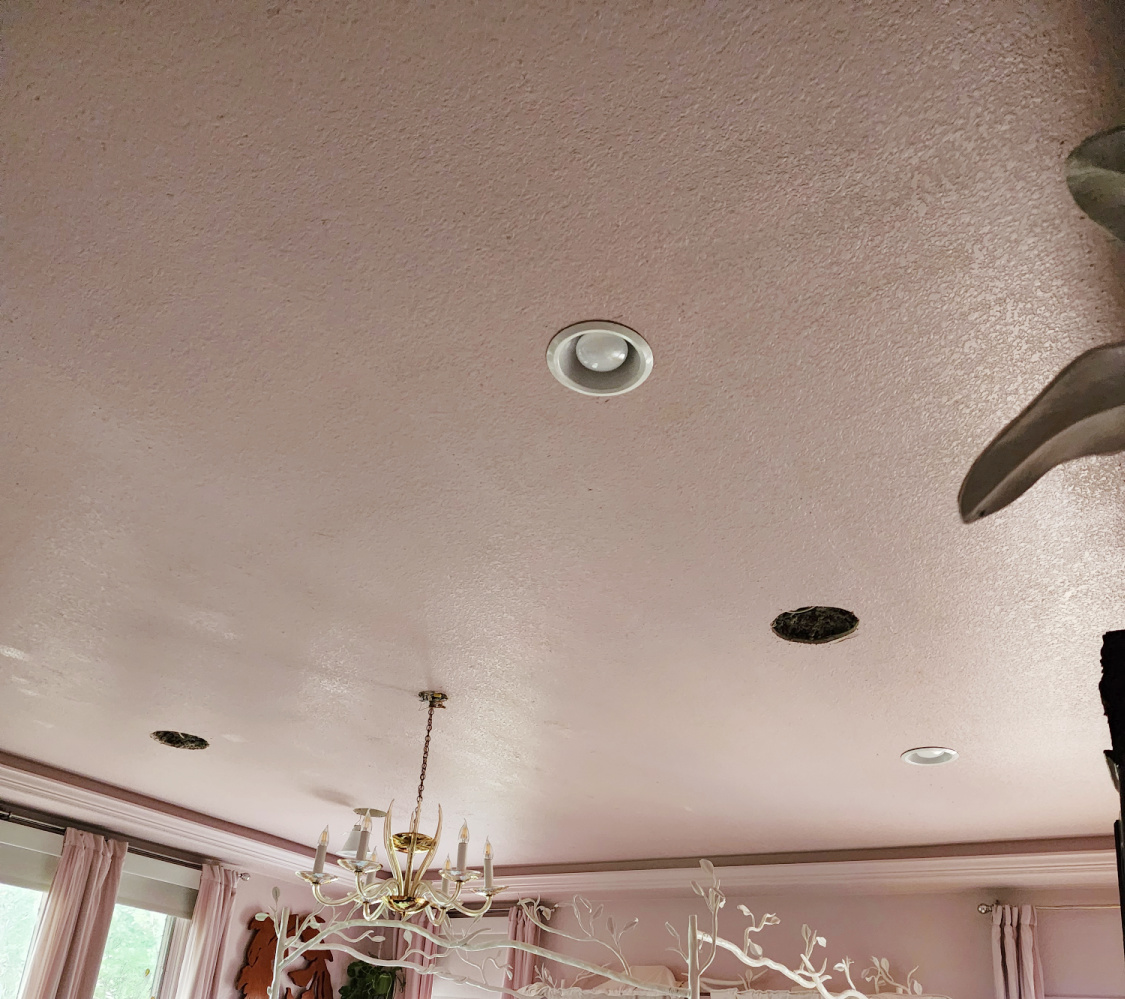
This was after the first coat, we ended up doing 2 total.
Next step was locating studs for my clips to hold the canopy base.
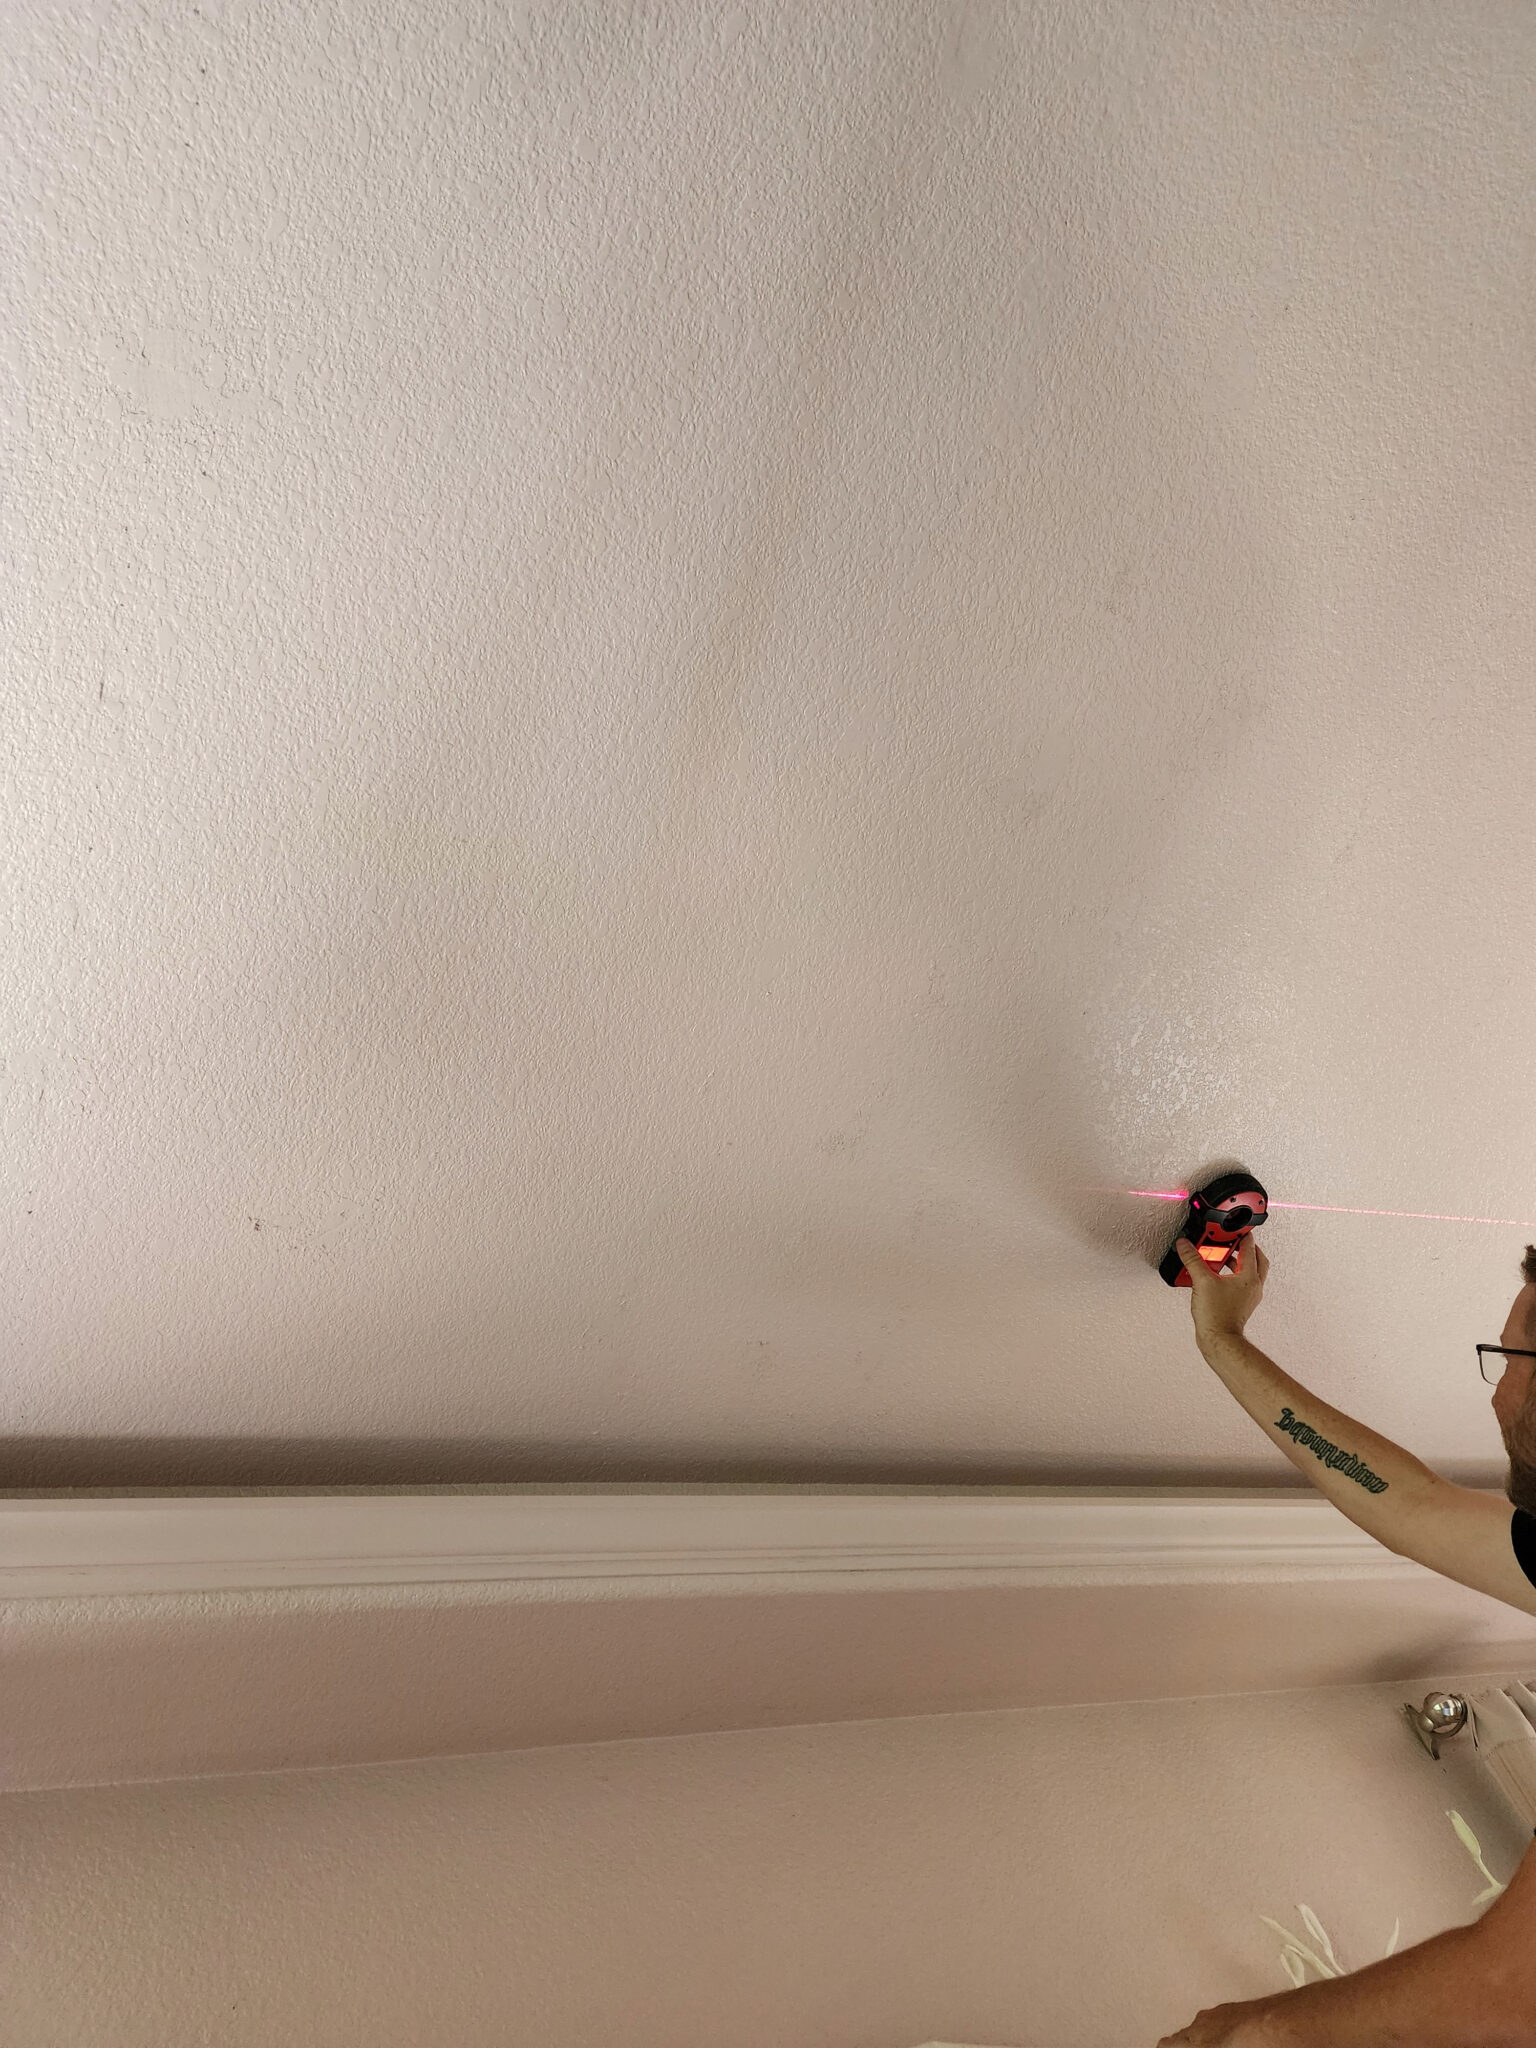
Make a pencil mark on each stud for anchor location.
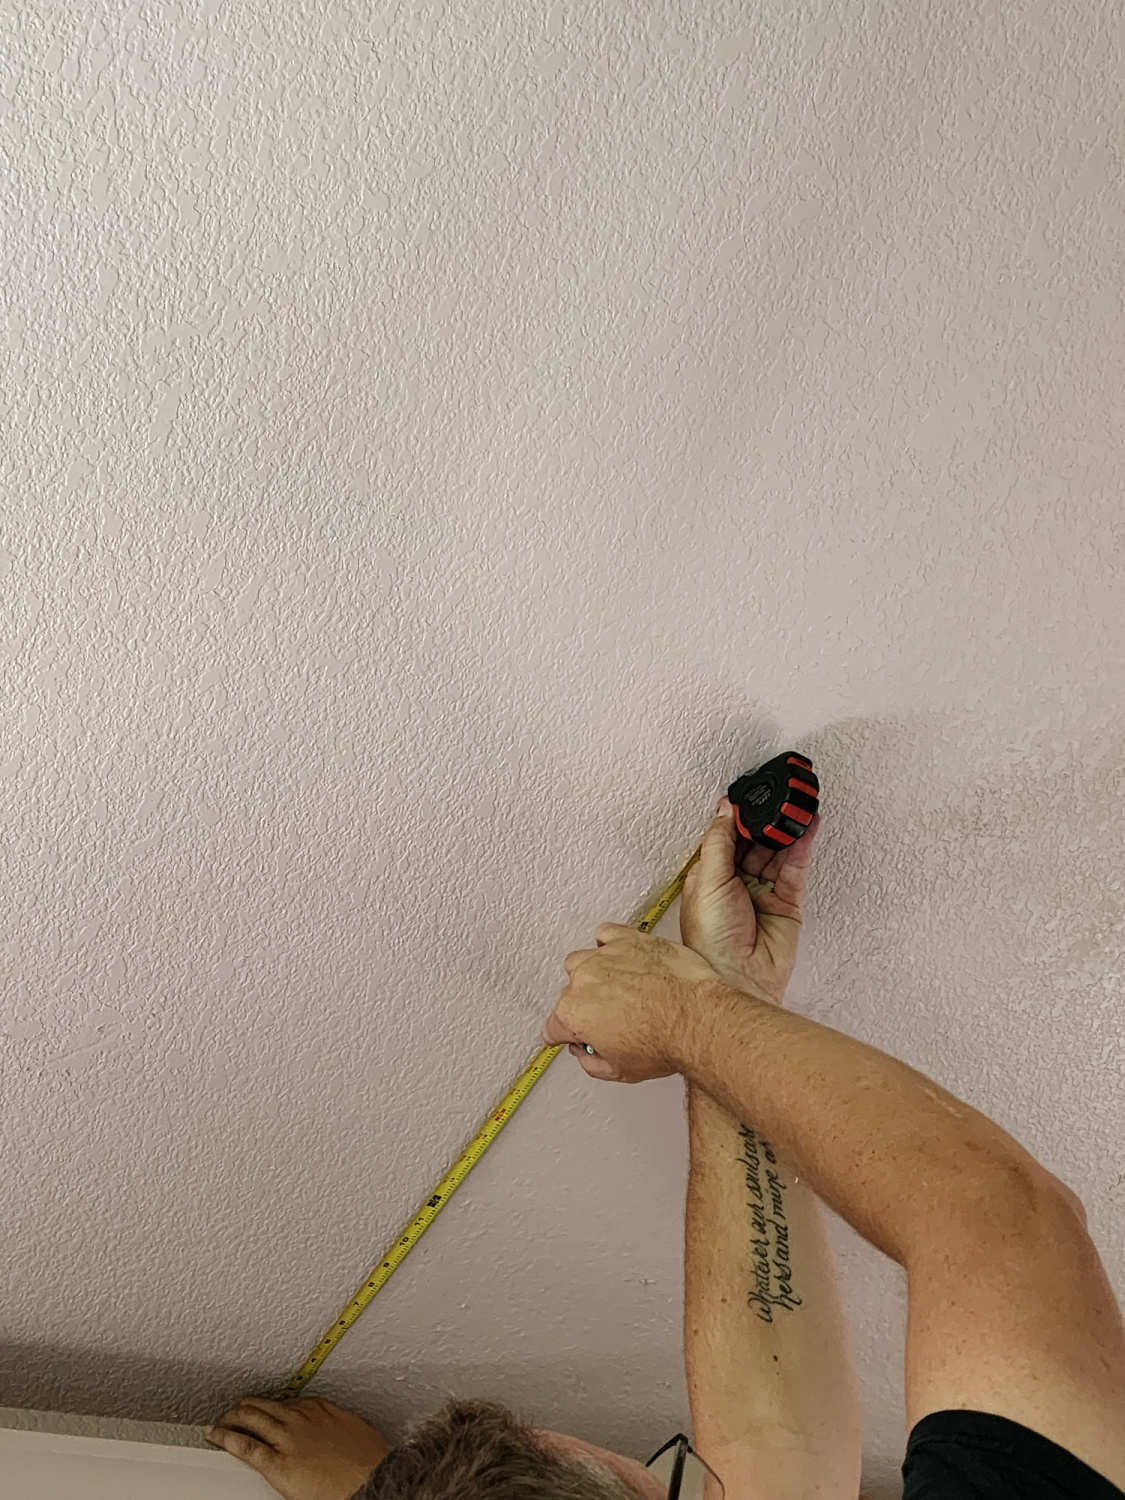
Measuring out from the wall where I wanted the upper canopy piece located.
We used copper pipe which we had left over from my bistro shelving project. You need 4 pieces in total for this. 1 upper slightly wider than your headboard, 1 just shy of the width of the headboard and 2 side pieces.
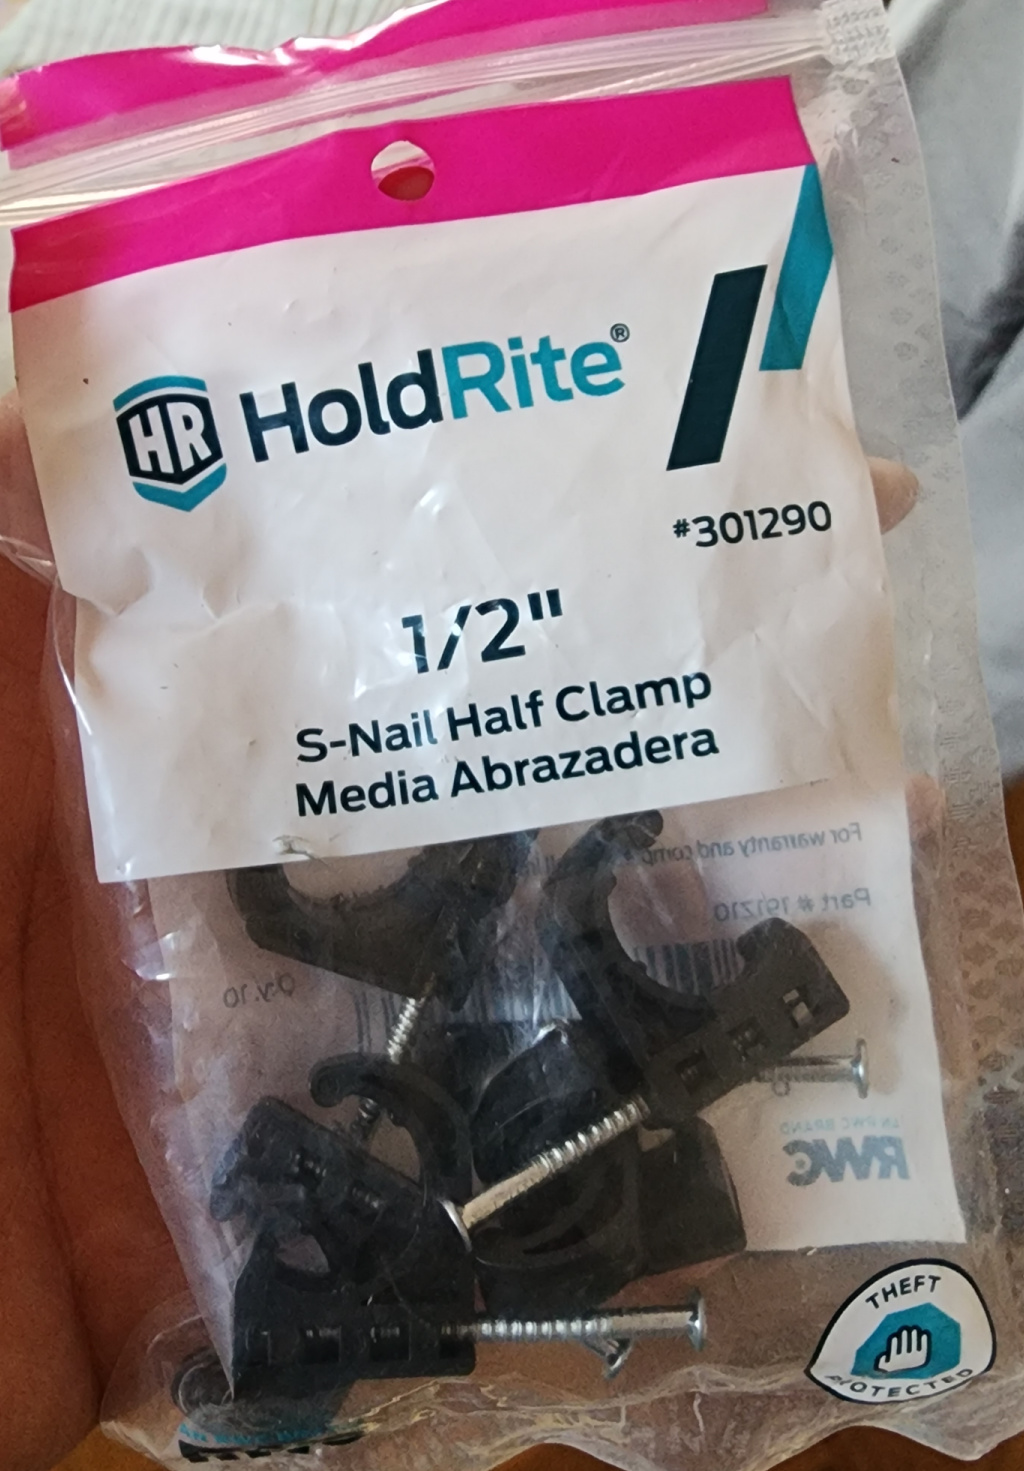
You also need 2 corner connectors and 2 caps, all can be found in the plumbing section of your local big box hardware store. To anchor the pipes we used these little 1/2″ s clamps. The pipes clip into these easily.
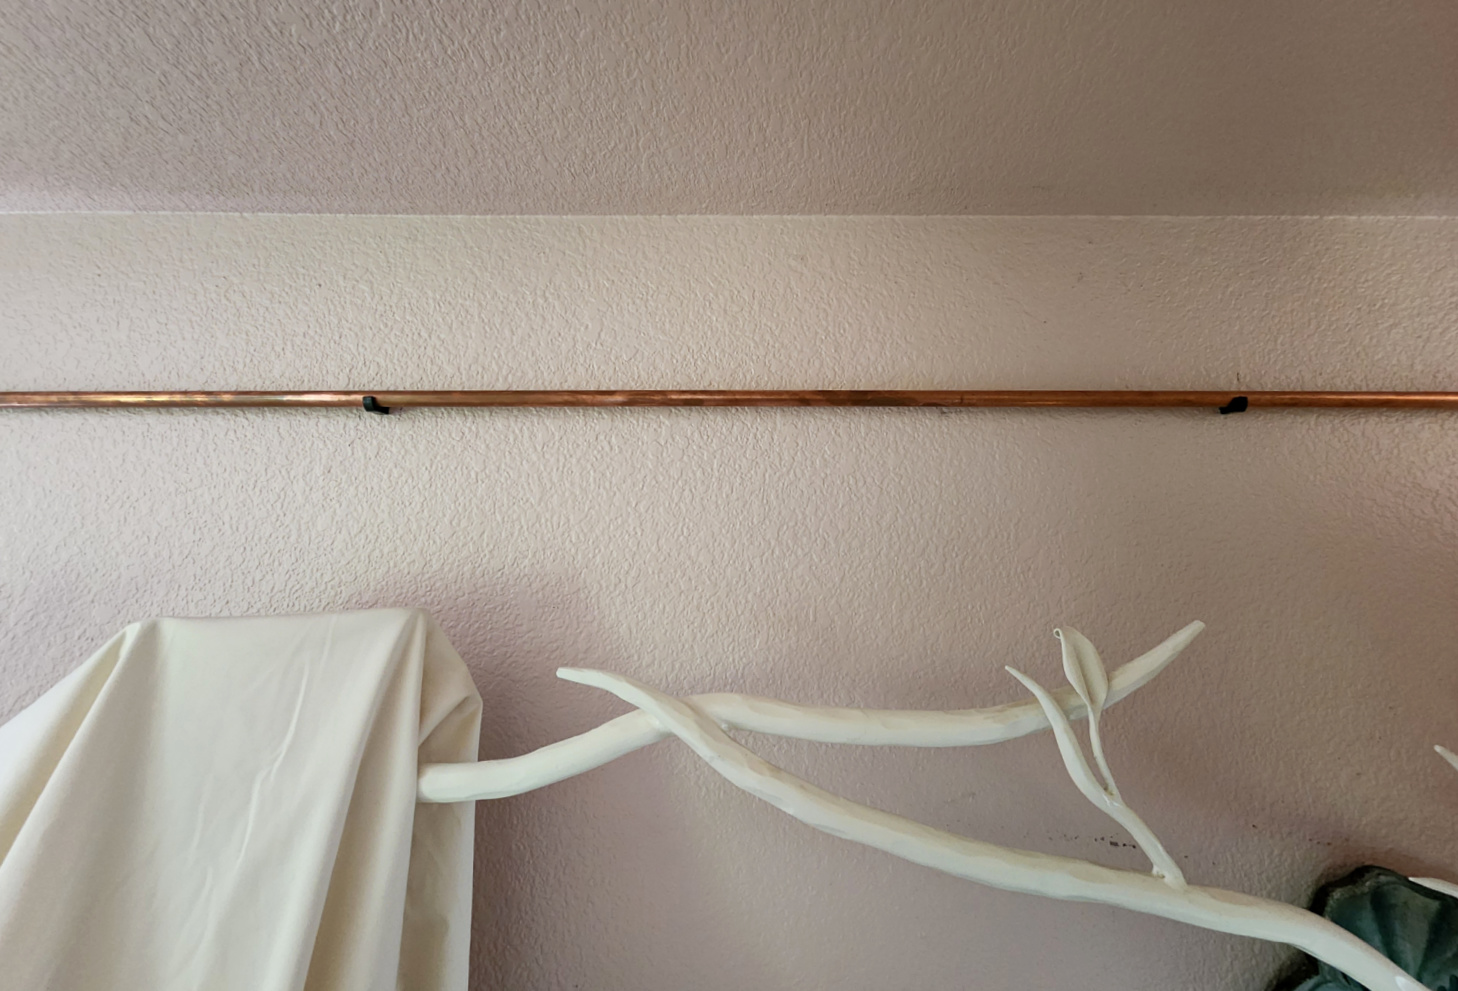
Here’s a pic of the secondary pipe which is just shy of the width of the headboard. It just pops right into the clips.
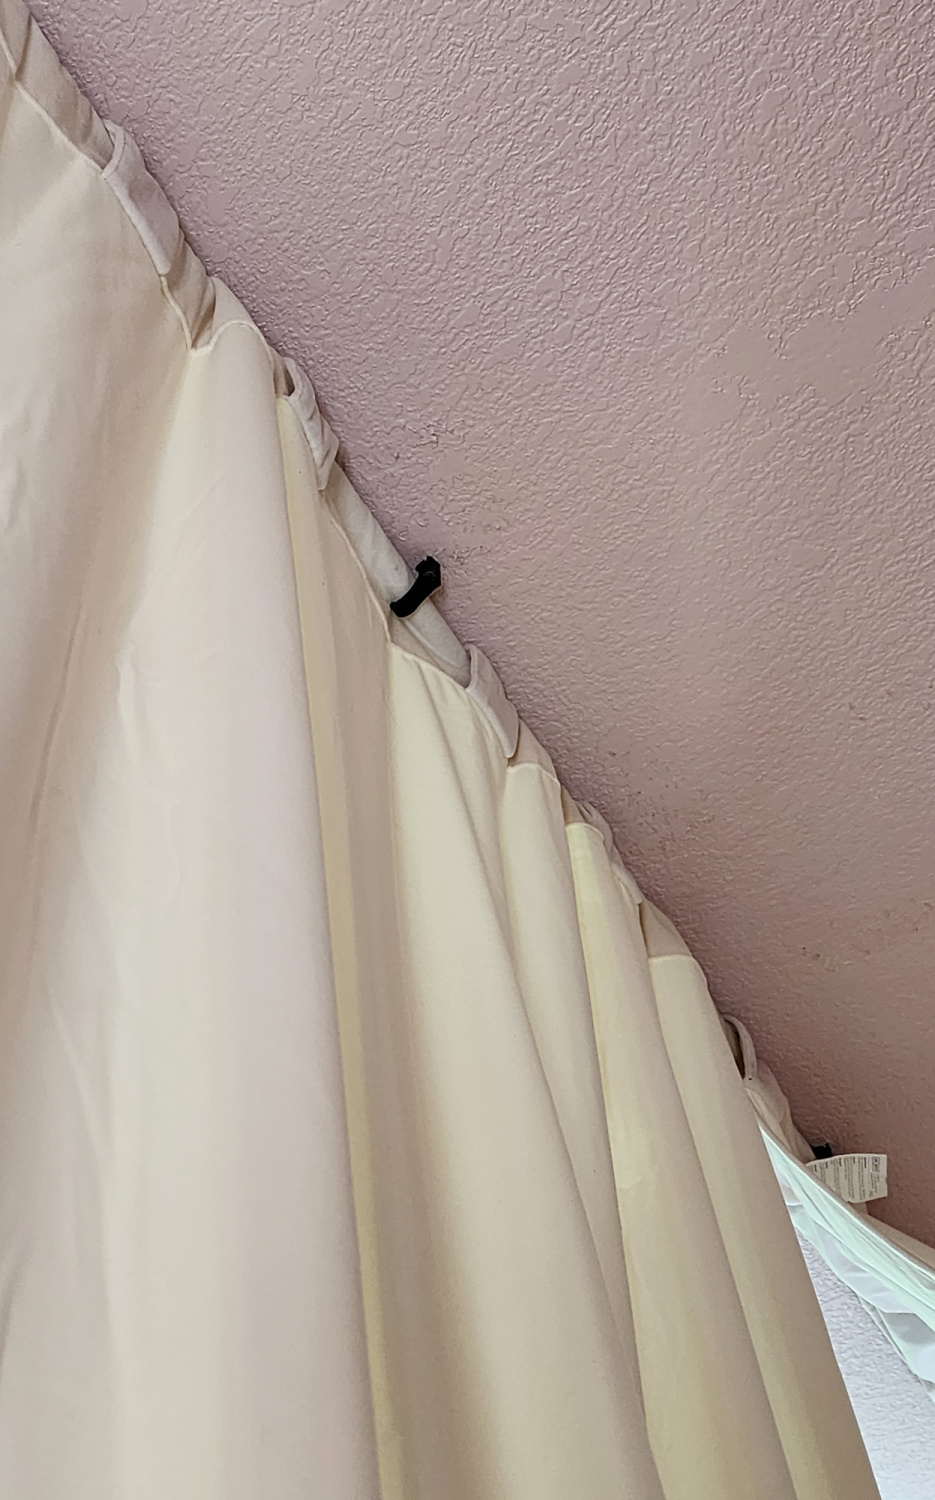
This is the upper piece where we started with the drapery on and clipped from the back so you don’t see it.
The drapes are from Amazon and I’m honestly impressed with the quality.
There’s no pretty way to install this, we did it piece by piece starting with the upper then fitting the sides from the upper at an angle to the wall.
We had to do an angle given the tray ceiling. Measure from the corner bracket at the top down to the wall and you have the size you need to cut your copper to. Screw the cap into the wall add your pipe then feed it up to the corner connector to secure.
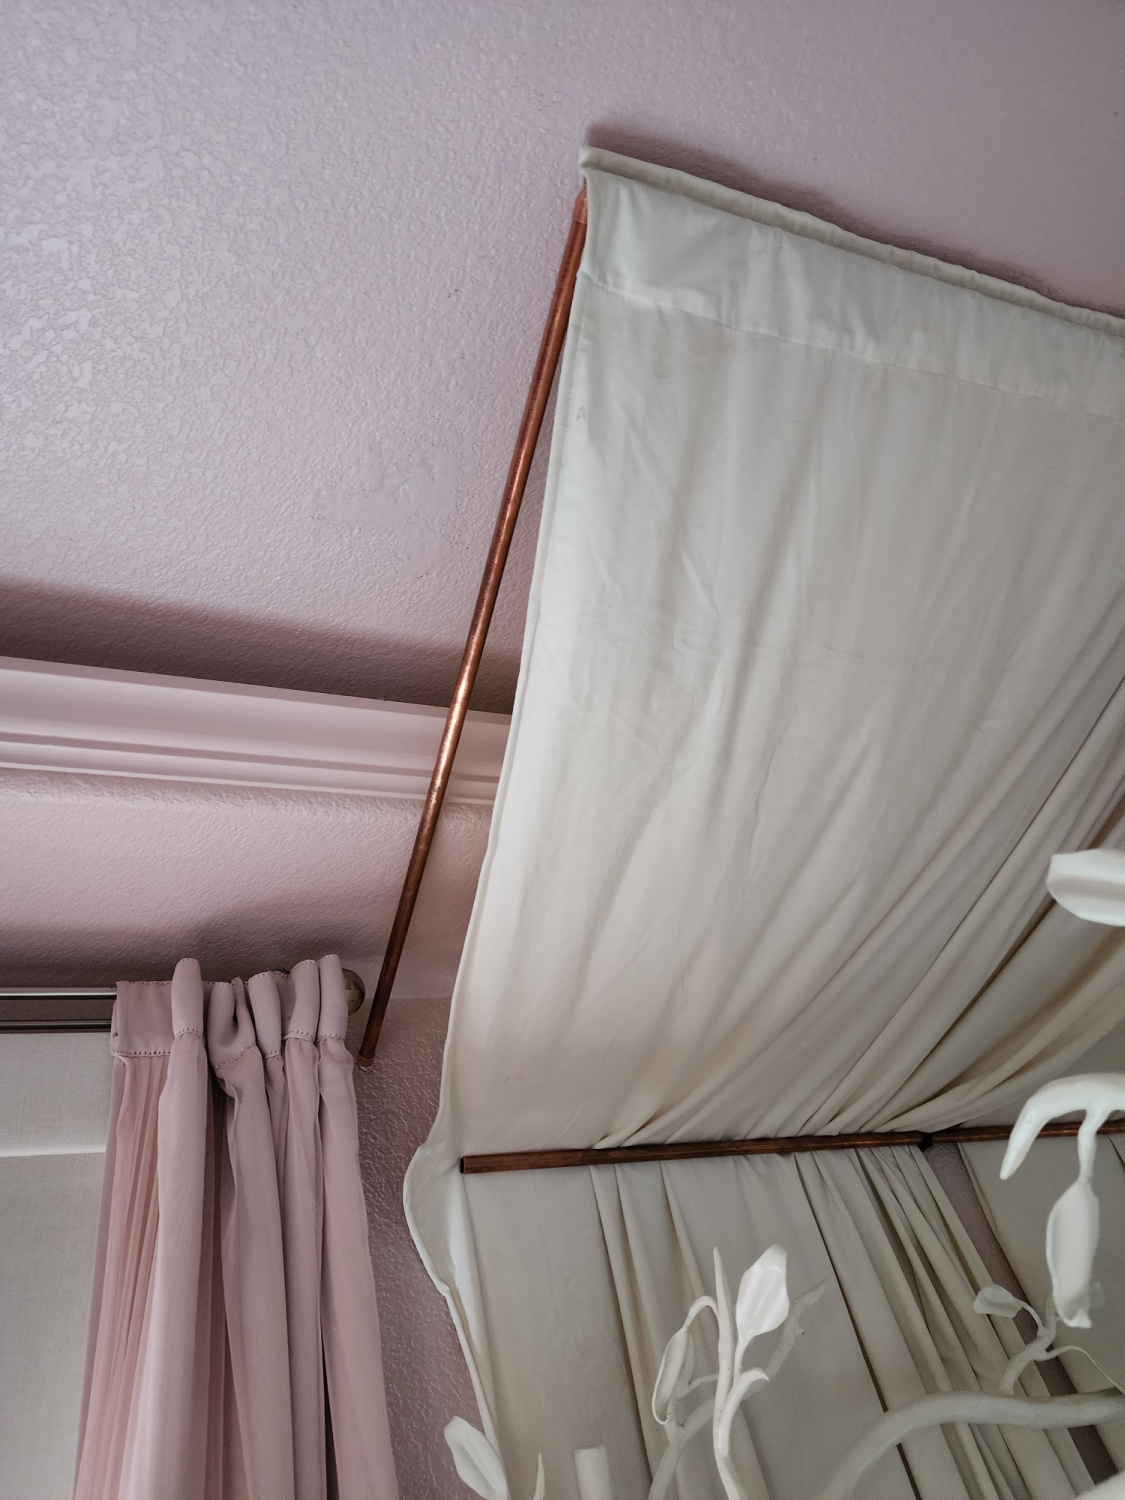
The secondary headboard piece (lower) is to provide support for the drapery and the main piece on the ceiling. I am doing a billow-y look with the drapes but they are heavy and needed stability to hold them so they hang flat while also providing additional support to the upper pipe.
When it was finished we were left with this! A luxurious draped canopy that billows down from the ceiling and envelopes the bed.

Here’s the view from the side, draping beautifully back.

Peeking up from underneath you can see how the copper pipe is hidden underneath the billowing drapes.
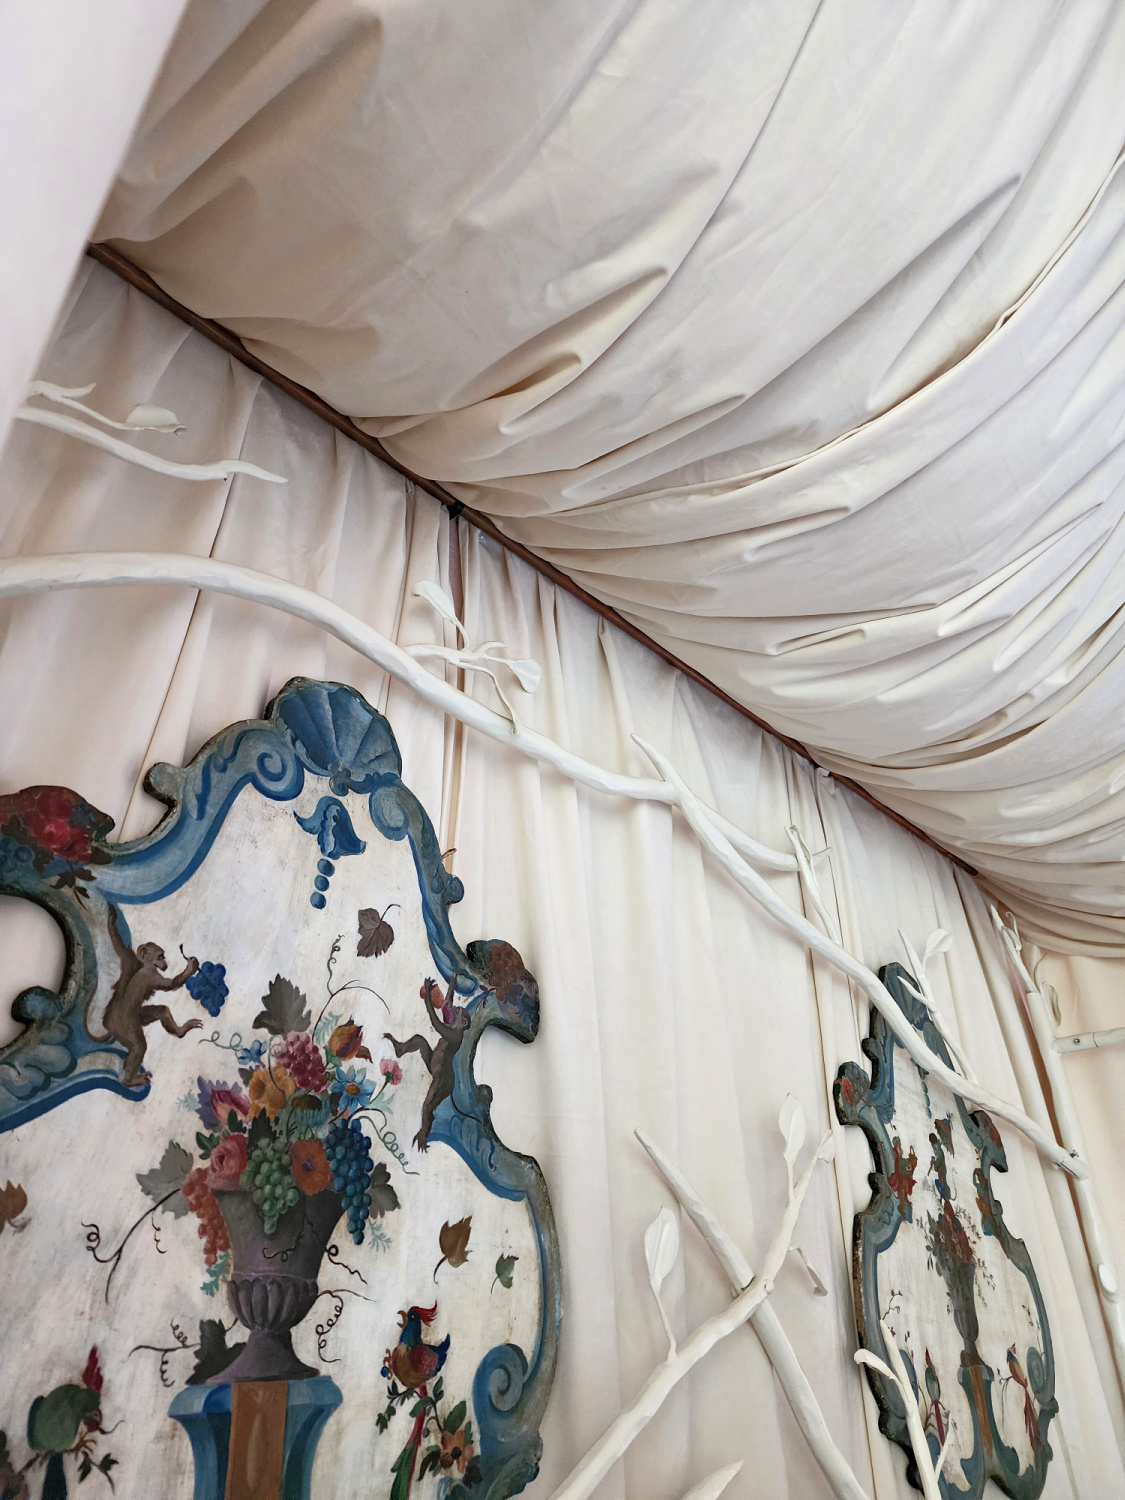
I found these amazing antique handpainted pieces on our roadtrip this summer and they are the perfect touch floating on top of the drapery.
It really highlights the bed and makes it the focal point. It feels elegant, sophisticated and soft.
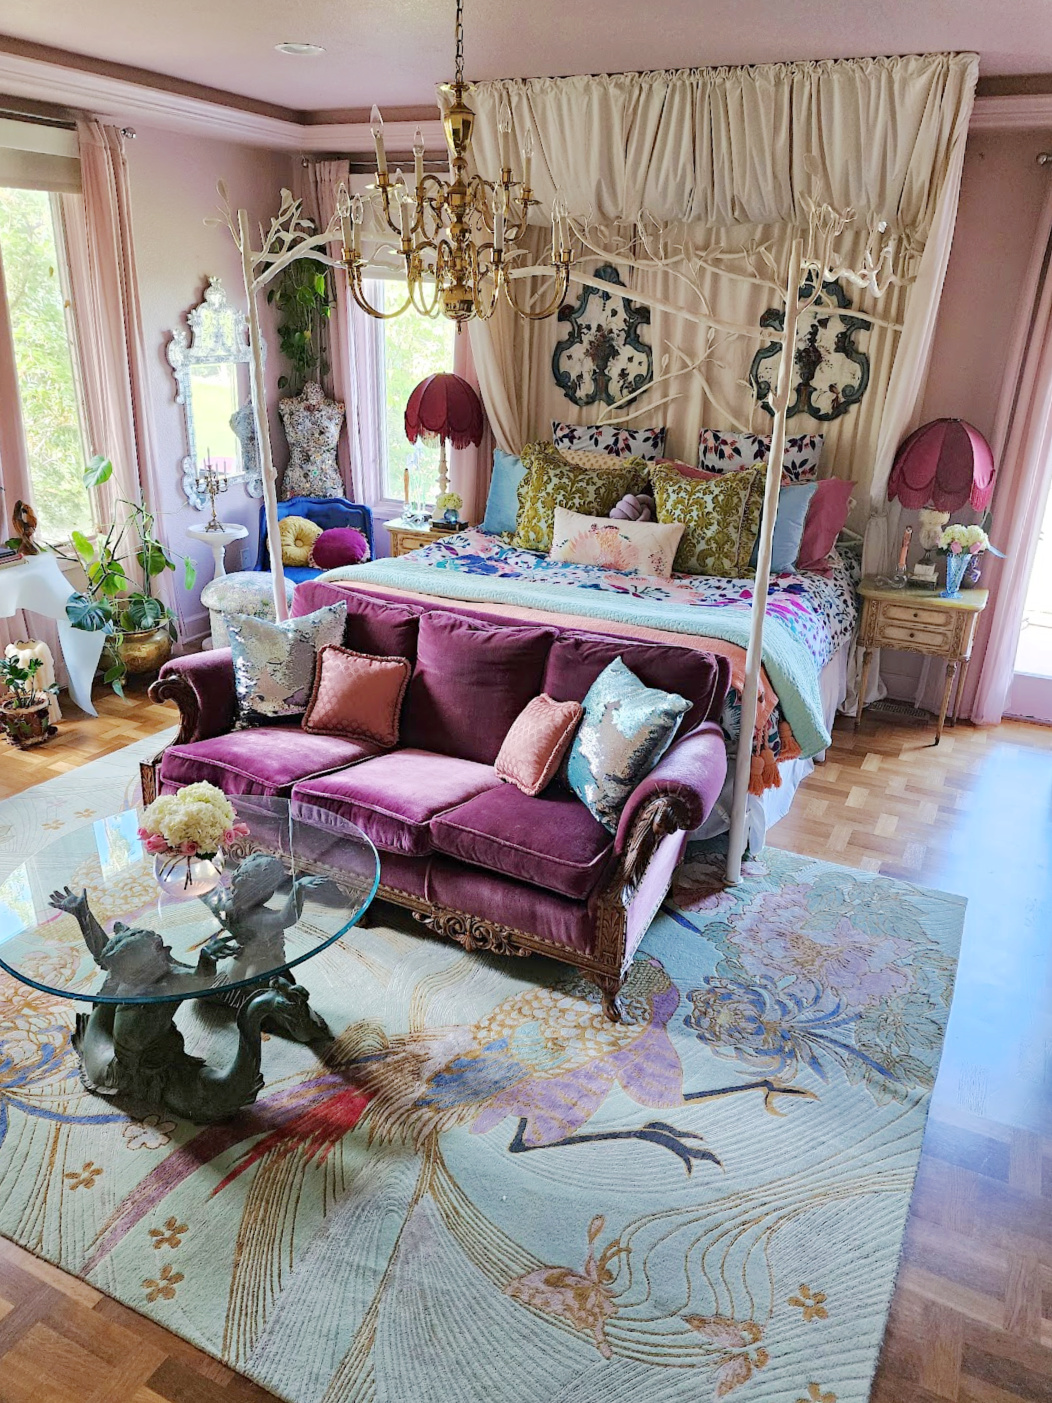
What do you think? I’m in love with how regal it feels. I’m already contemplating how different color drapery would look for a fun change, or maybe adding a trim detail to the drapery for some extra jooj.
Would you install a canopy piece above your bed? I always love to hear from you so hit me up in the comments.
Coming up next a full bedroom tour so be sure to pop your email in the subscribe box to be the first to know when it goes live!





Sarah Addison
October 11, 2024Wow loved the set up!!!! this idea would go so well with vintage furniture and bright colorful drapes giving it the perfect regal feel