DIY Gilded Statement Mirror
Who doesn’t love a big statement mirror?! Especially in the bedroom to do outfit and final hair checks. I had a large mirror that I stole from our bedroom for the dining room (see it here). Which quickly left me wishing I had another one to replace it.
Facebook marketplace to the rescue! Within a few days I spotted this beauty. The shell design on the top was so unusual and paired with the intricate sides and bottom, oo la la.
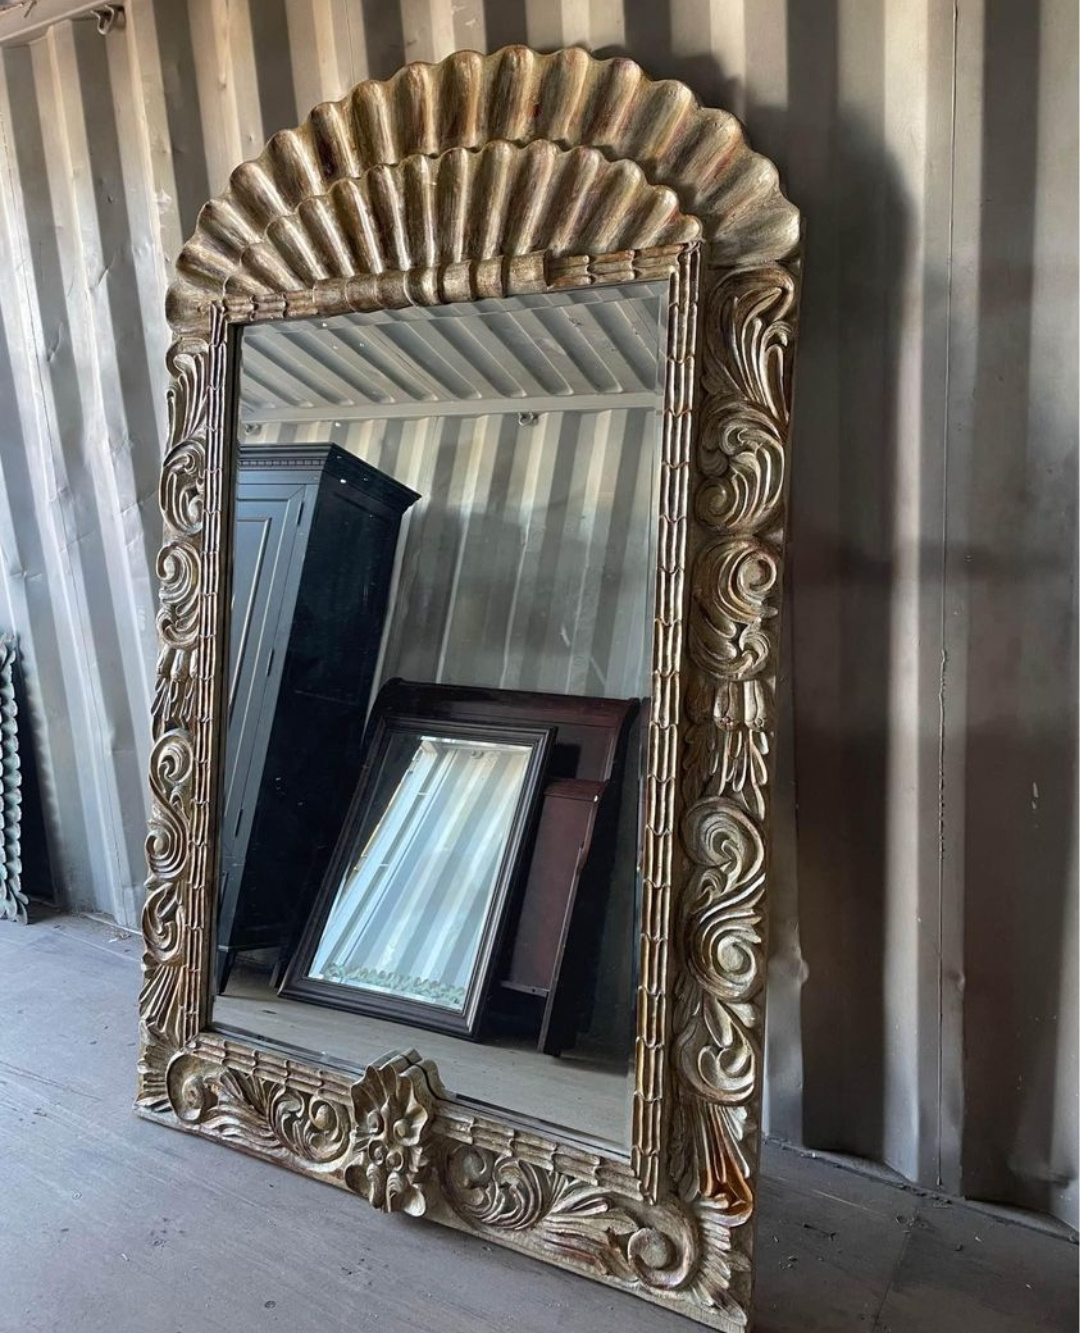
This is the actual one and only pic from the listing.
It didn’t have any information other than the photo and the price at $250. I quickly messaged the seller and discovered it’s almost 7 ft tall by 4’6″ wide. Almost the exact same size as the mirror I previously had in the room. I also knew gold leafing this would take it from “ooooo” to “holy wow”.
Of course I snagged it because even at $250 you can’t find a mirror this size with a wooden carved frame anywhere near that price. When we picked it up I discovered it was in fact a tagged La Barge mirror. These are handcrafted, mostly in Italy, and are highly collectible. I was over the moon excited and actually hesitated on gold leafing it, psshaw which was ridiculous because wait til you see the results.
First things first we set it up on sawhorses for a nice level surface to work with. Then I took painters tape and carefully taped off the entire border making sure to get under all those little nooks at the top and bottom.
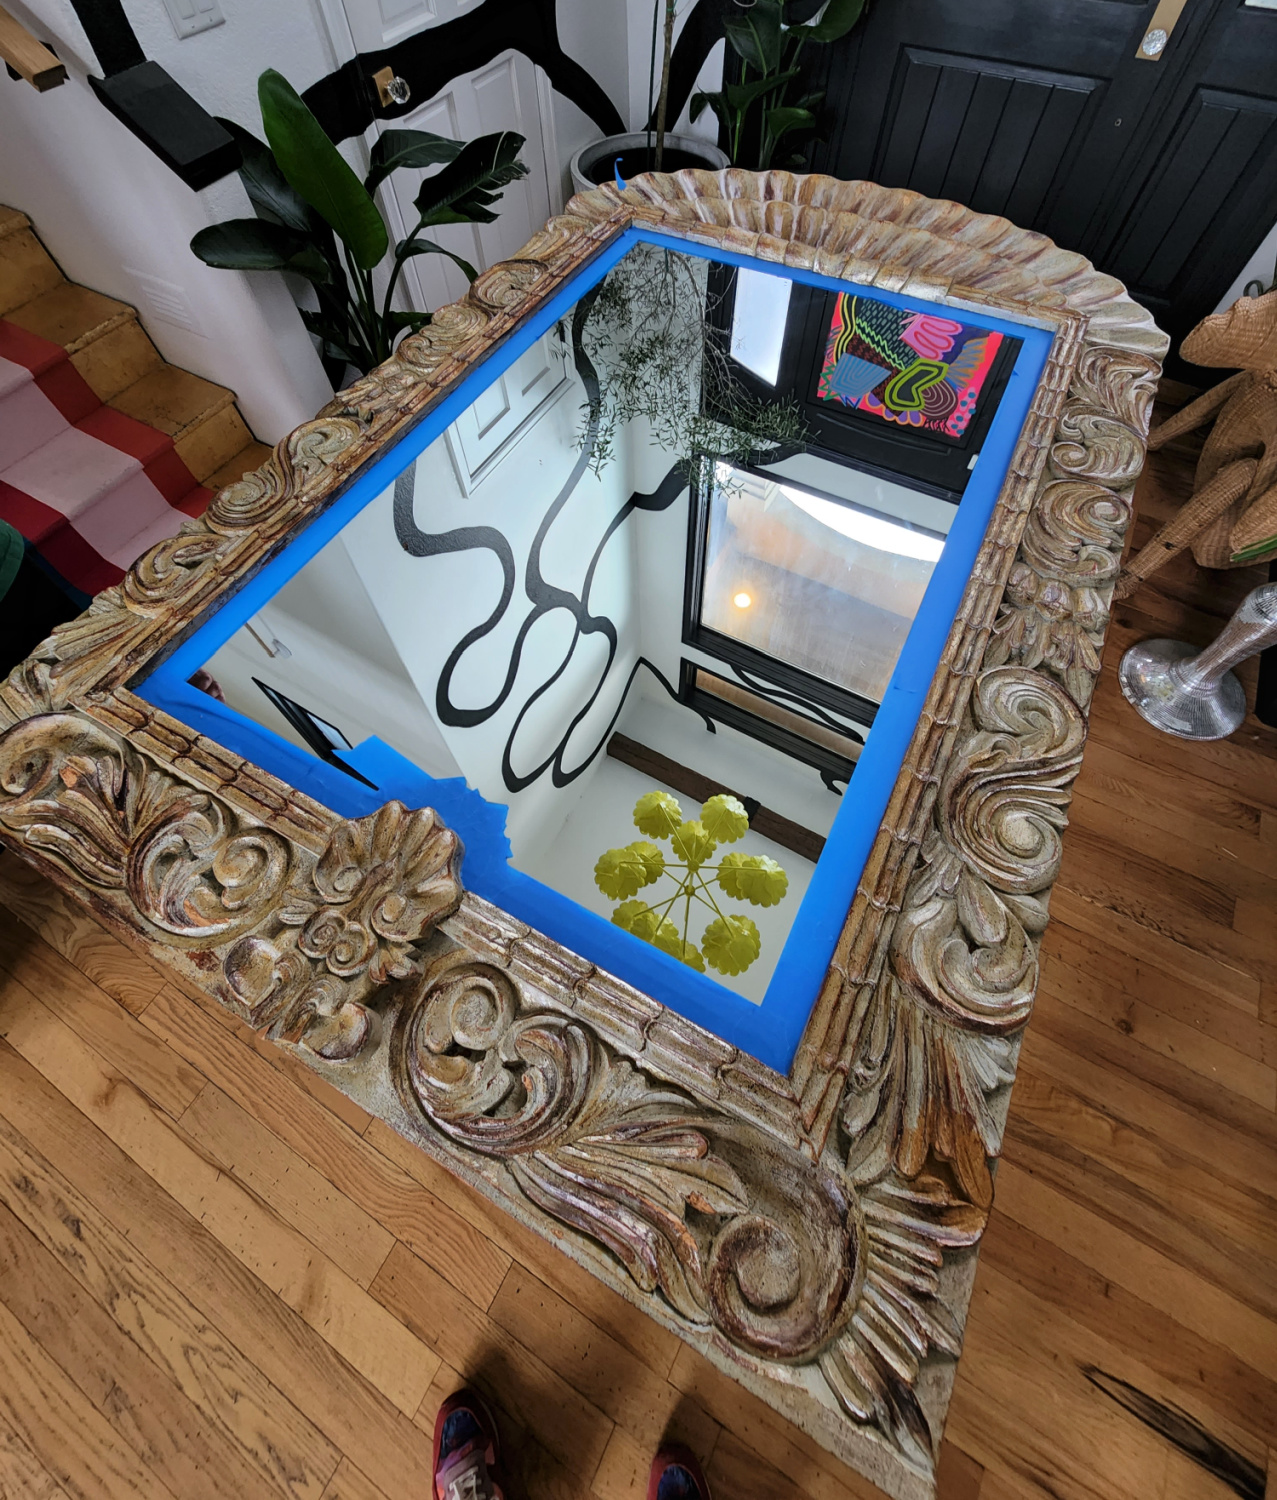
You don’t want to get adhesive or sealer on the glass, it’s a nightmare to scrape off with a razor.
I have previously gold leafed another mirror as well as a counter top and stairs so I was pretty comfortable with what I was going to use for products to get the result I wanted. The goal was an aged gilded mirror that looks like it could have come from Versaille.

Here is what I used:
Mona Lisa brand metal leaf adhesive
100 count imitation gold leaf sheets
2 good quality large paint brushes and 1 small art brush any brand
Modern Masters Permacoat Xtreme Sealer (not pictured) You might be able to find smaller containers of this but I have used it on many different projects over the years and still find uses for it!
The Mona Lisa adhesive goes on white and turns clear when tacky and ready for leaf application. Here you can see the white as it’s been freshly applied. I waited around 10 minutes before leafing. This stuff is incredibly sticky when clear, it will stick to your fingers, etc. Take your time applying the gold leaf for the nicest result. In total I used approximately 250 gold leaf sheets.
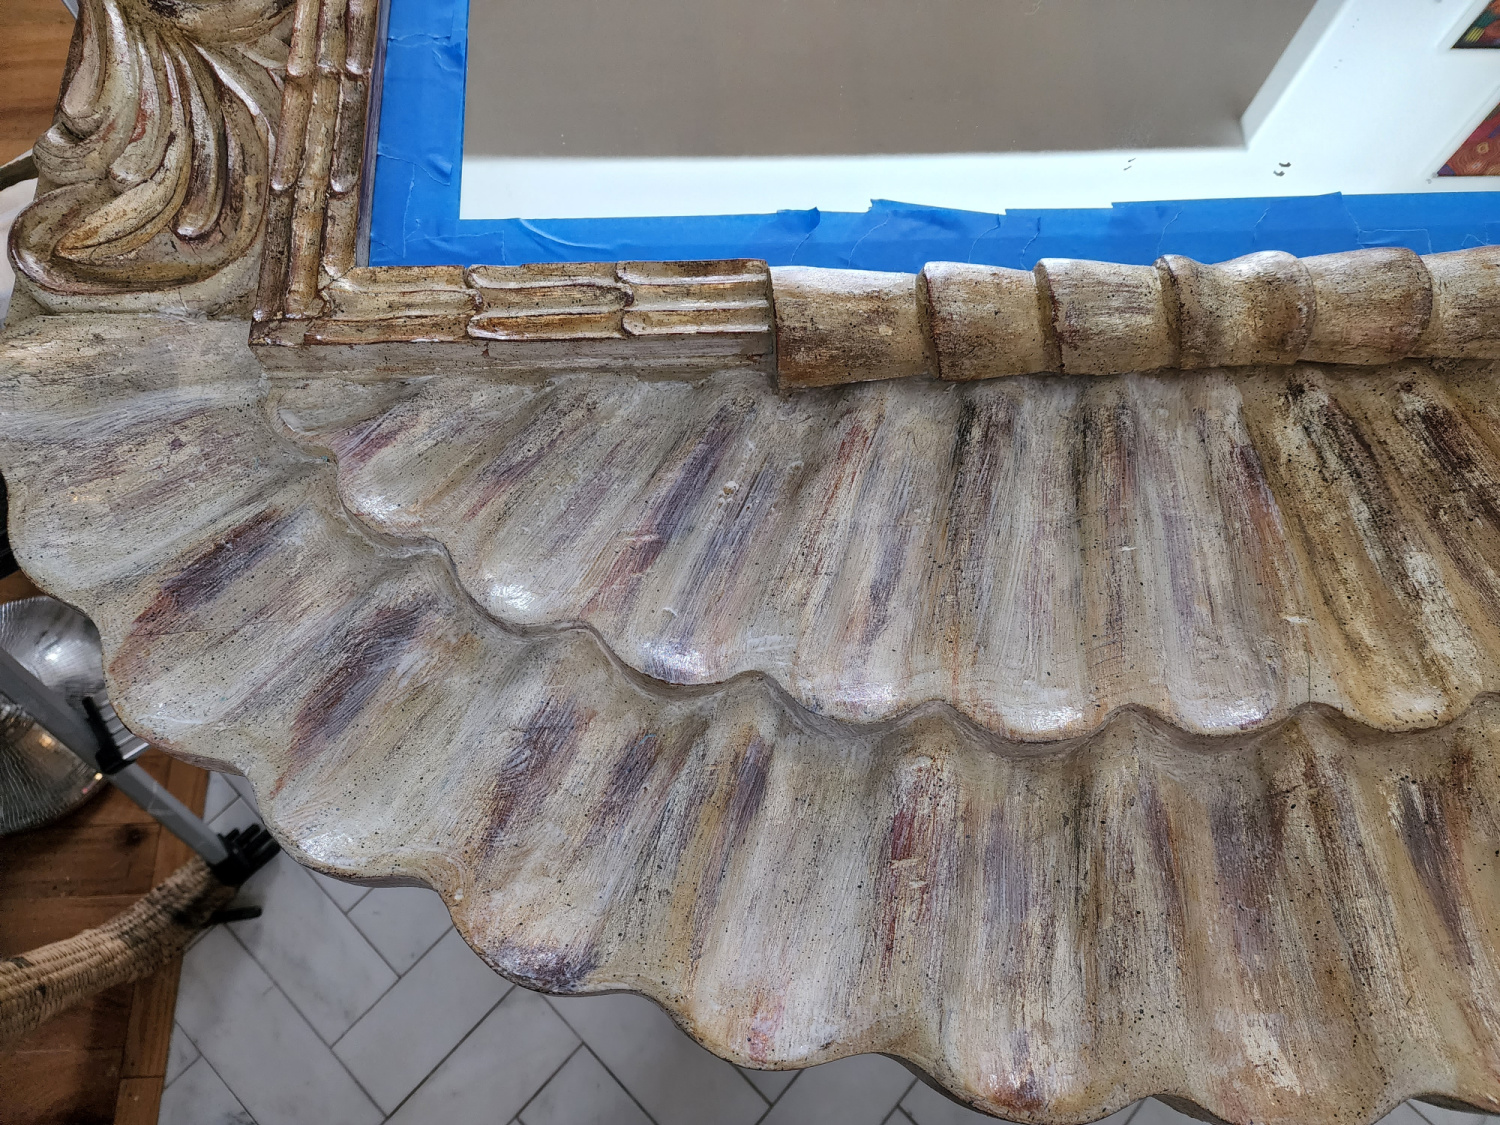
I decided to work in sections around 2 ft or so at a time. This allowed me to continuously work without risking the adhesive drying before I could apply the leaf.
Here is how that section looked finished but not yet cleaned up.

It was quite satisfying
Sticking to working in sections I made my way around the mirror. The sides and bottom were much more difficult than the top given all the nooks and crannies. I used the small art brush to really get the leaf in all the creases and detailed spots where my fingers couldn’t get the leaf in.
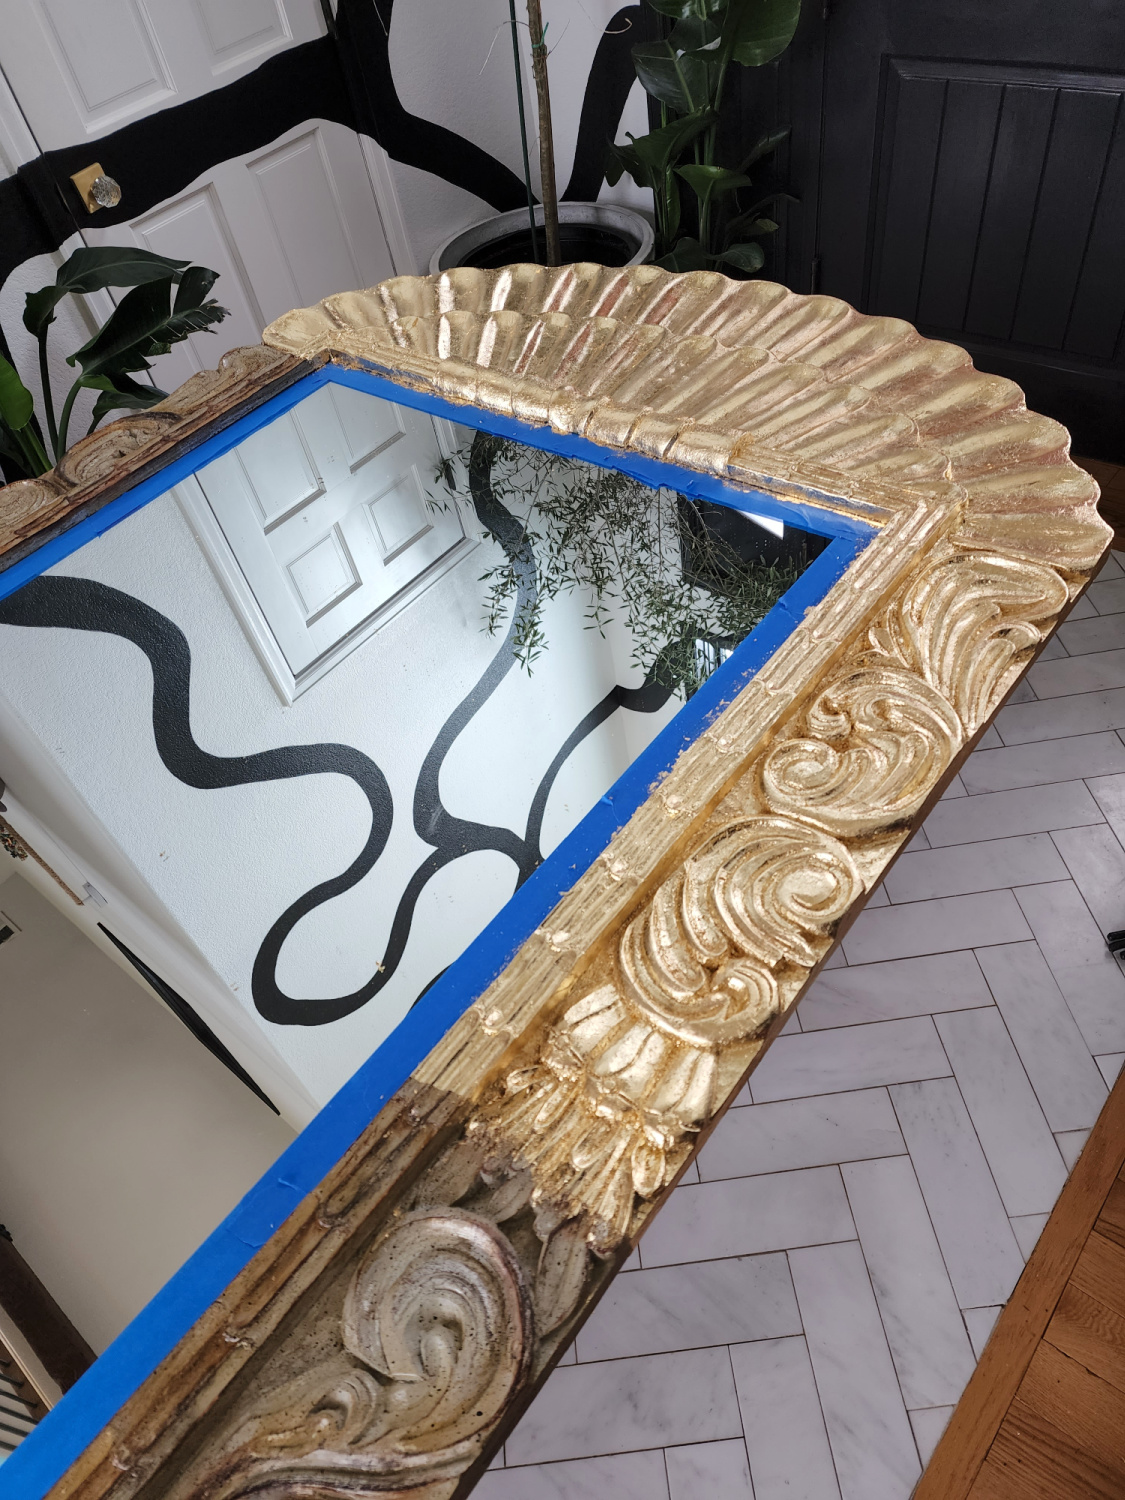
You can really see the difference between the original green/gray/brown finish and the bold gold leaf.
Many hours over the course of a few days I finally finished the leafing. Here she is all gilded up and ready for a good cleaning to get any excess leaf off before applying the sealer.
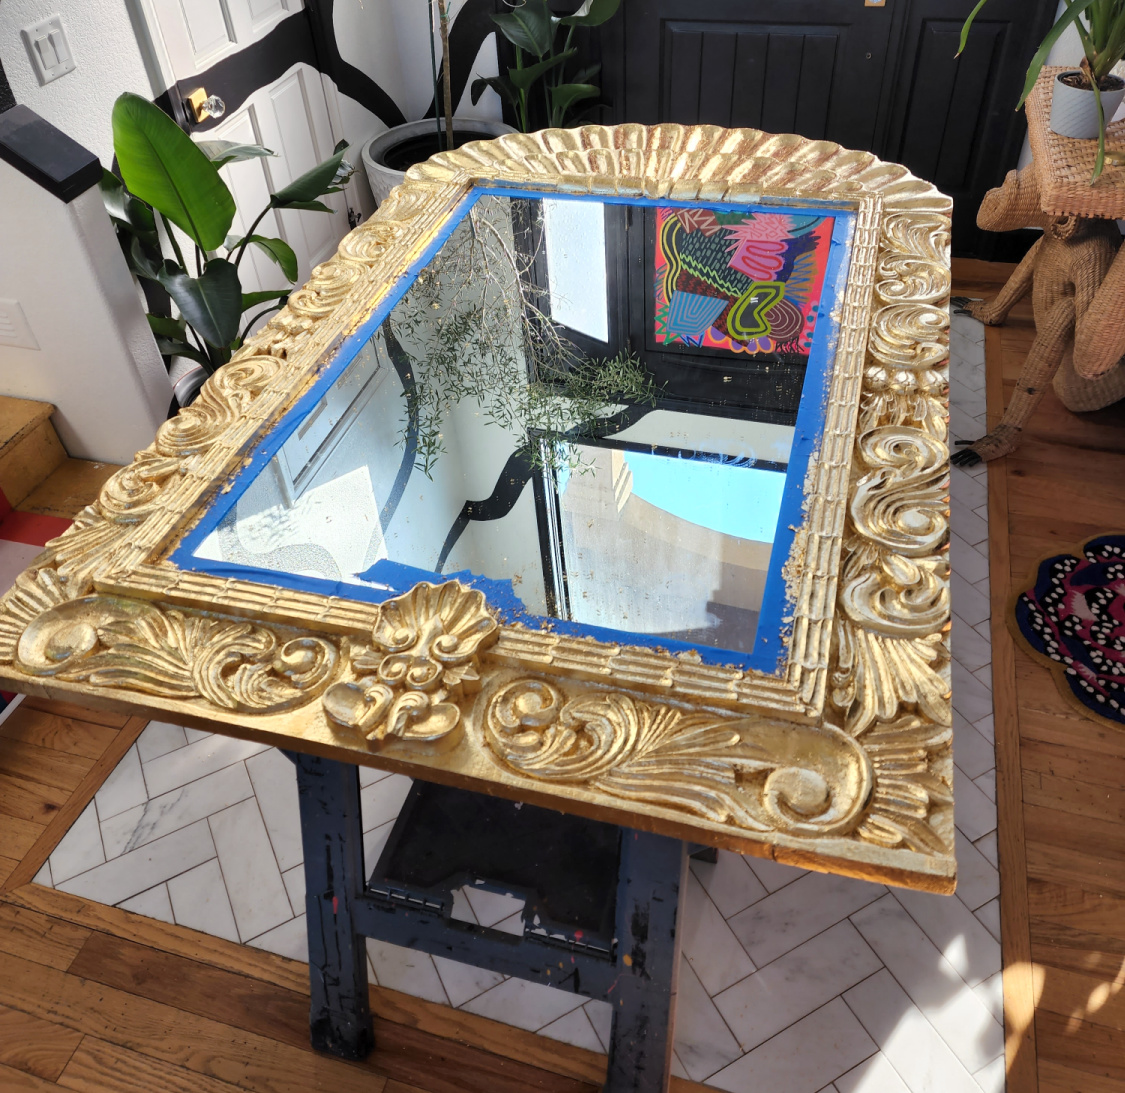
It’s a bright gold which is beautiful but I wanted that aged look, and I knew from previous projects that would be achieved using the Modern Masters sealer. You can use a clear spray for a finish that maintains the brighter look.
After 2 coats (1st half water half sealer, 2nd full strength) and dry time in between this is where she ended up! Why seal it? Imitation gold leaf will tarnish into an ugly dark color over a short period of time so to keep it forever gold you want to apply a sealer.
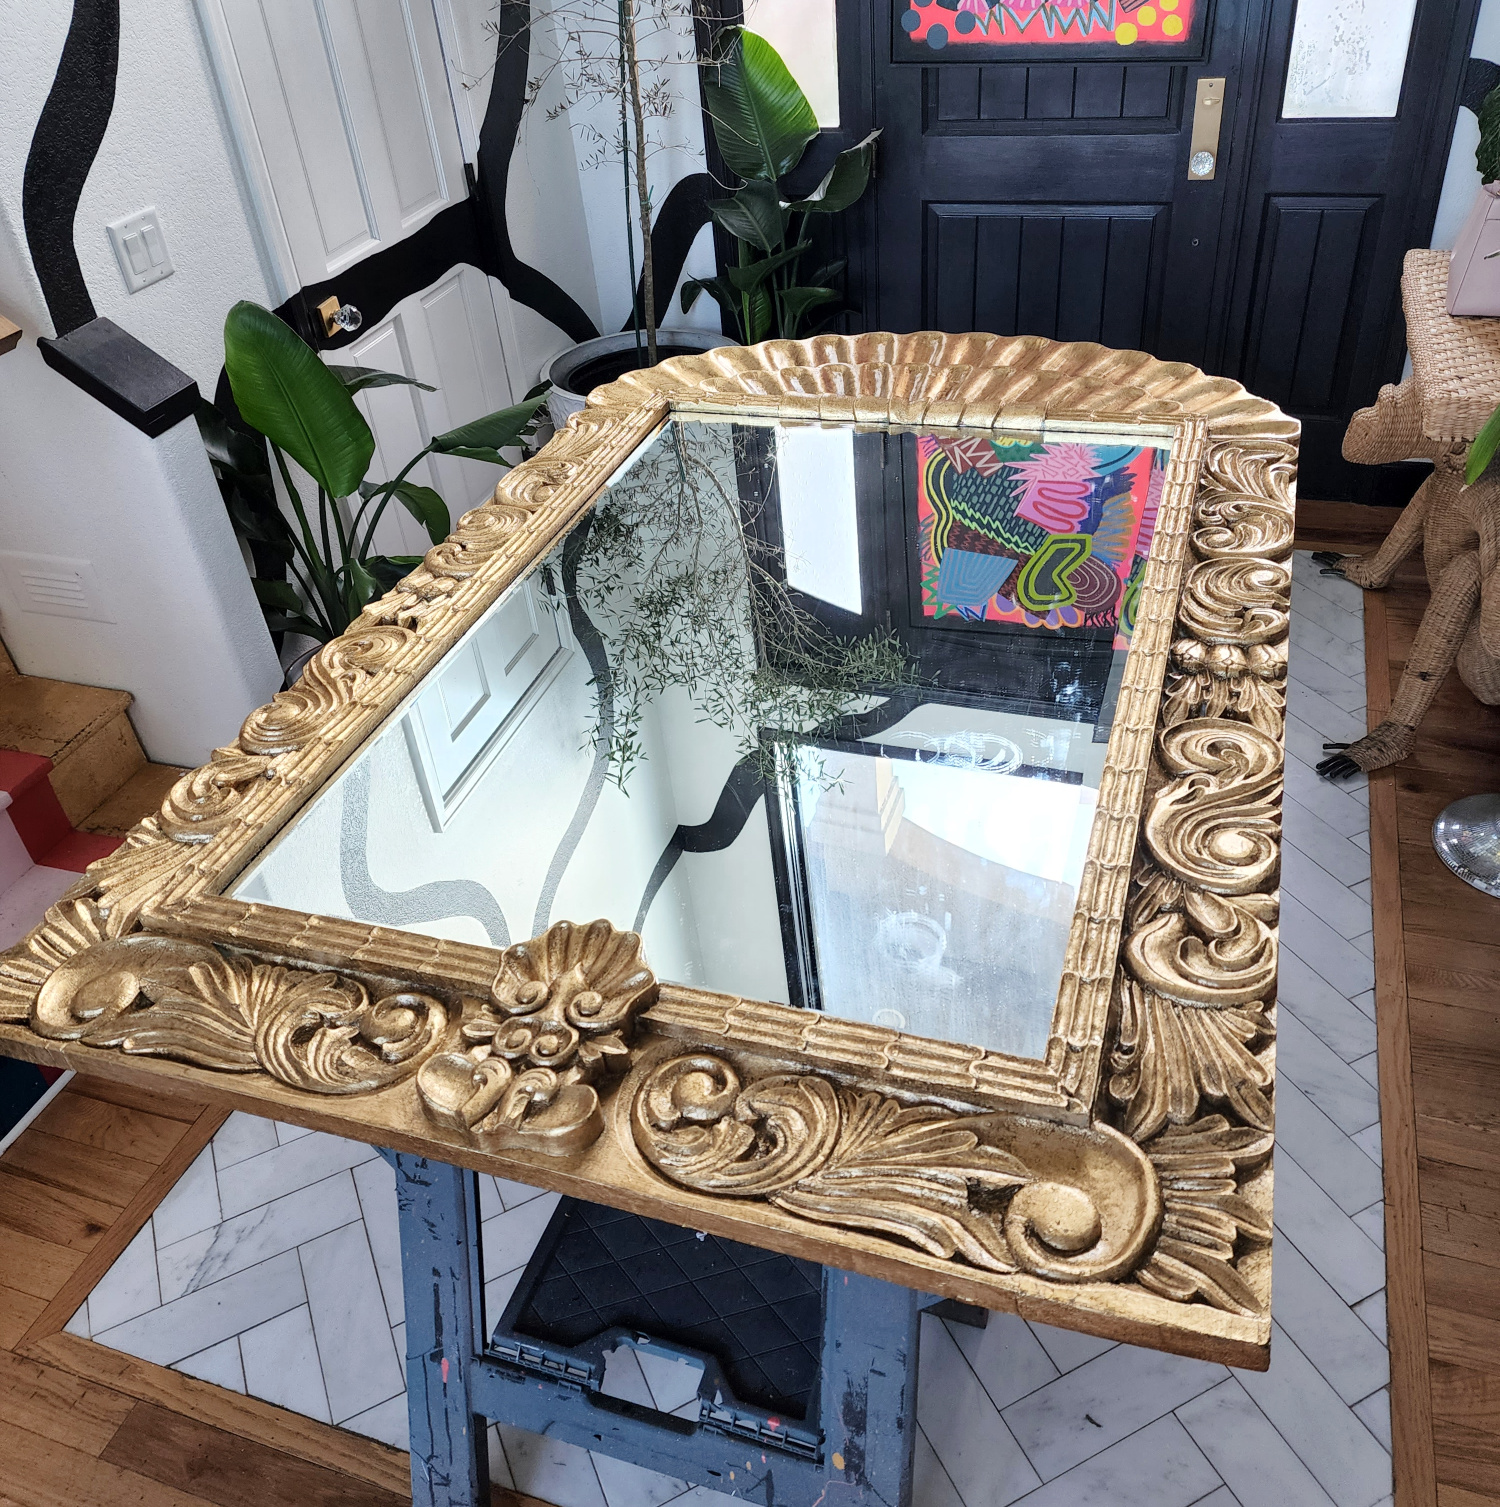
I let it sit overnight to dry after the second coat to really let it set before moving it to it’s new spot.
An up close shot of the shell design at the top. The visual depth of texture and shimmer you get from the gold leaf just can’t be beat.
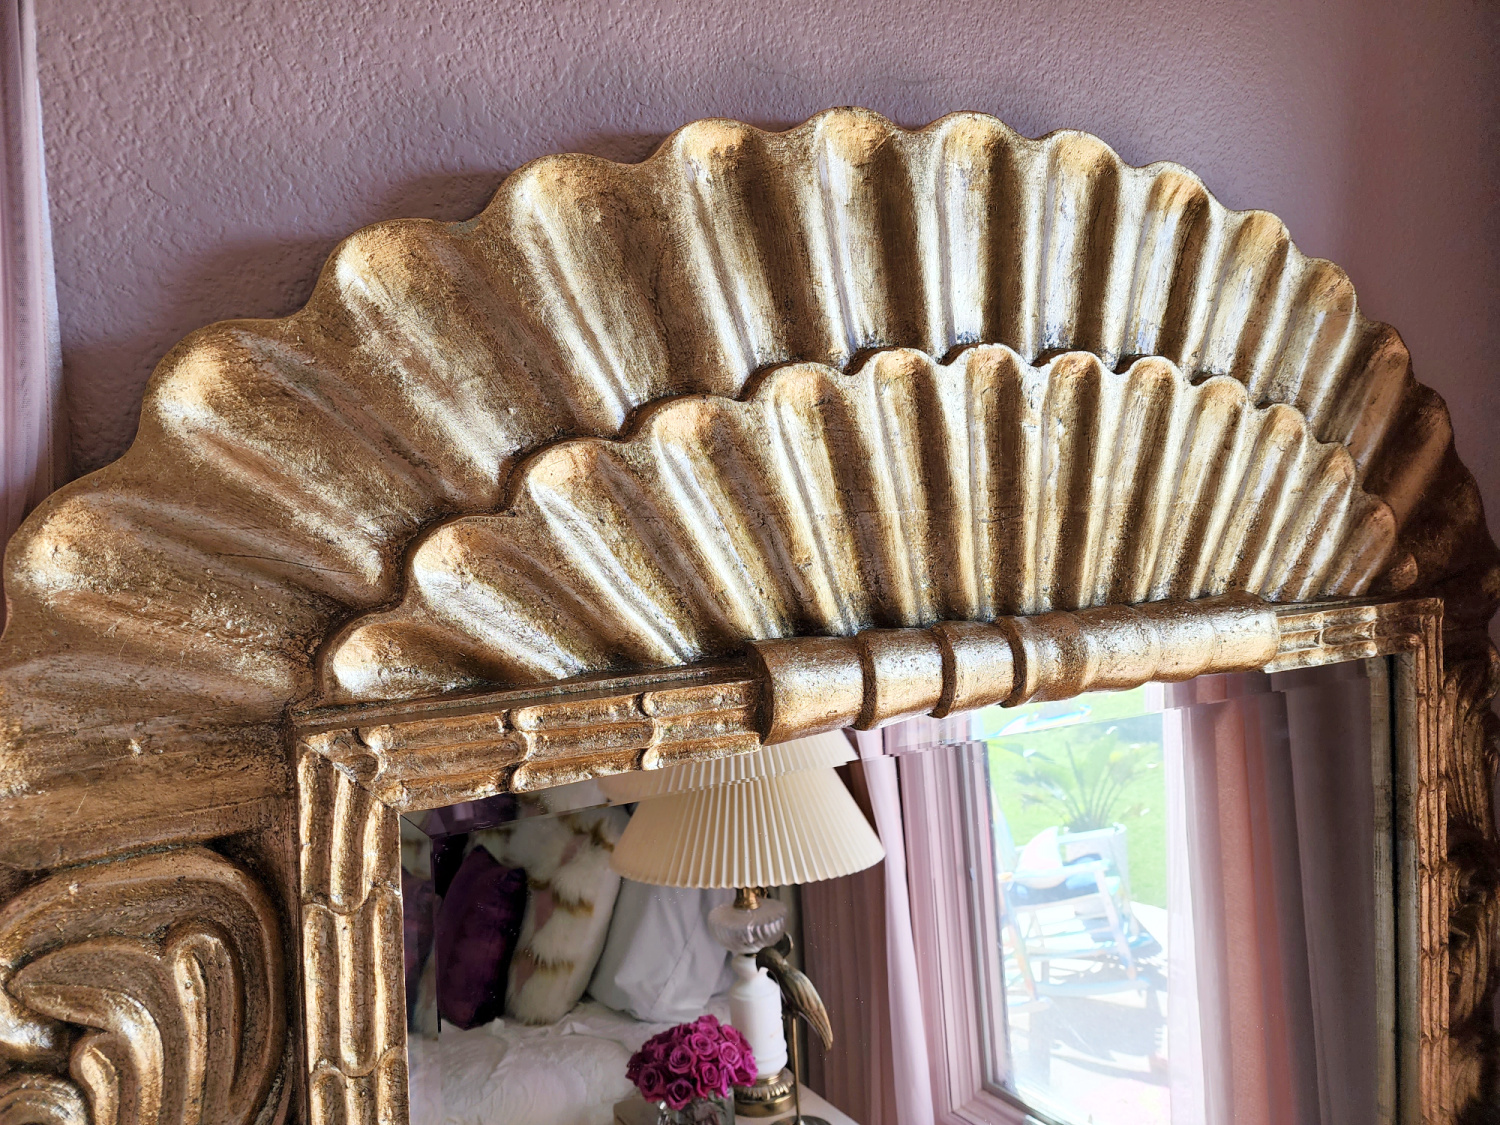
It highlights all of the details and shapes in the frame
How about those detailed sides?! Despite the major pain in the buttuckus she looks darn good.
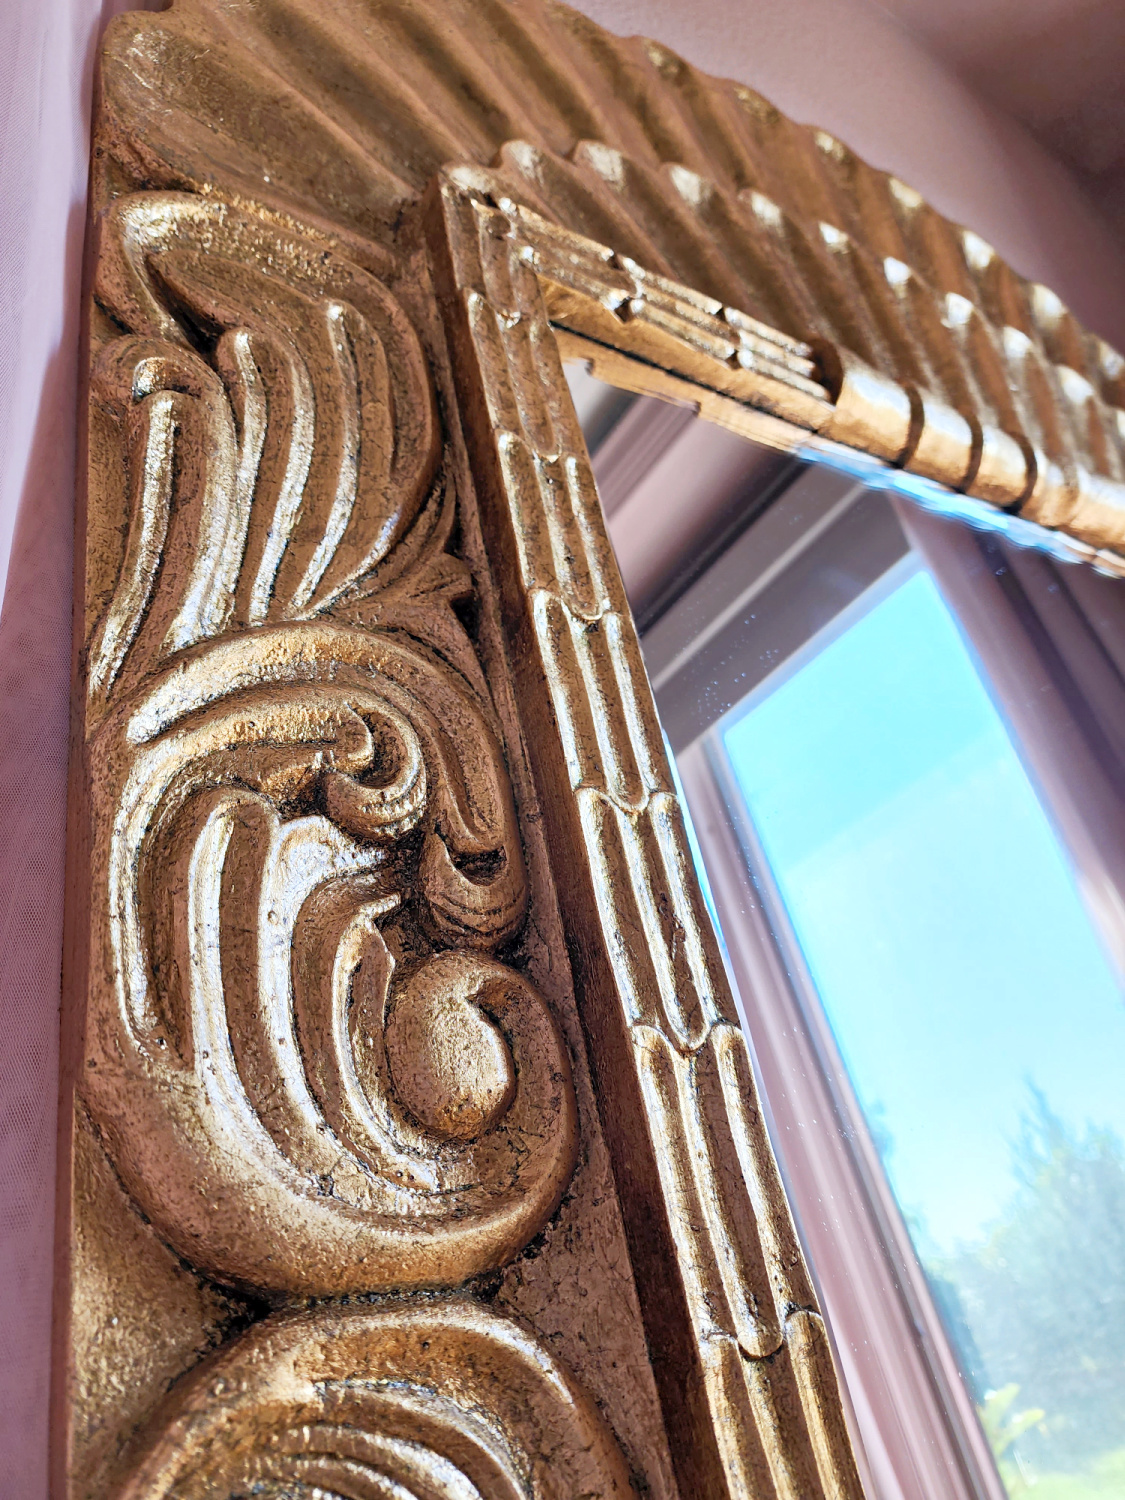
The texture you see is from where I pressed the gold leaf in and where sealer was heavier than other areas.
The entire process from start to finish took between 10-12 hours. (I lost track) Even though I cursed my hair brained ideas a few times I’m so glad I took on this project and gave it this glorious makeover.
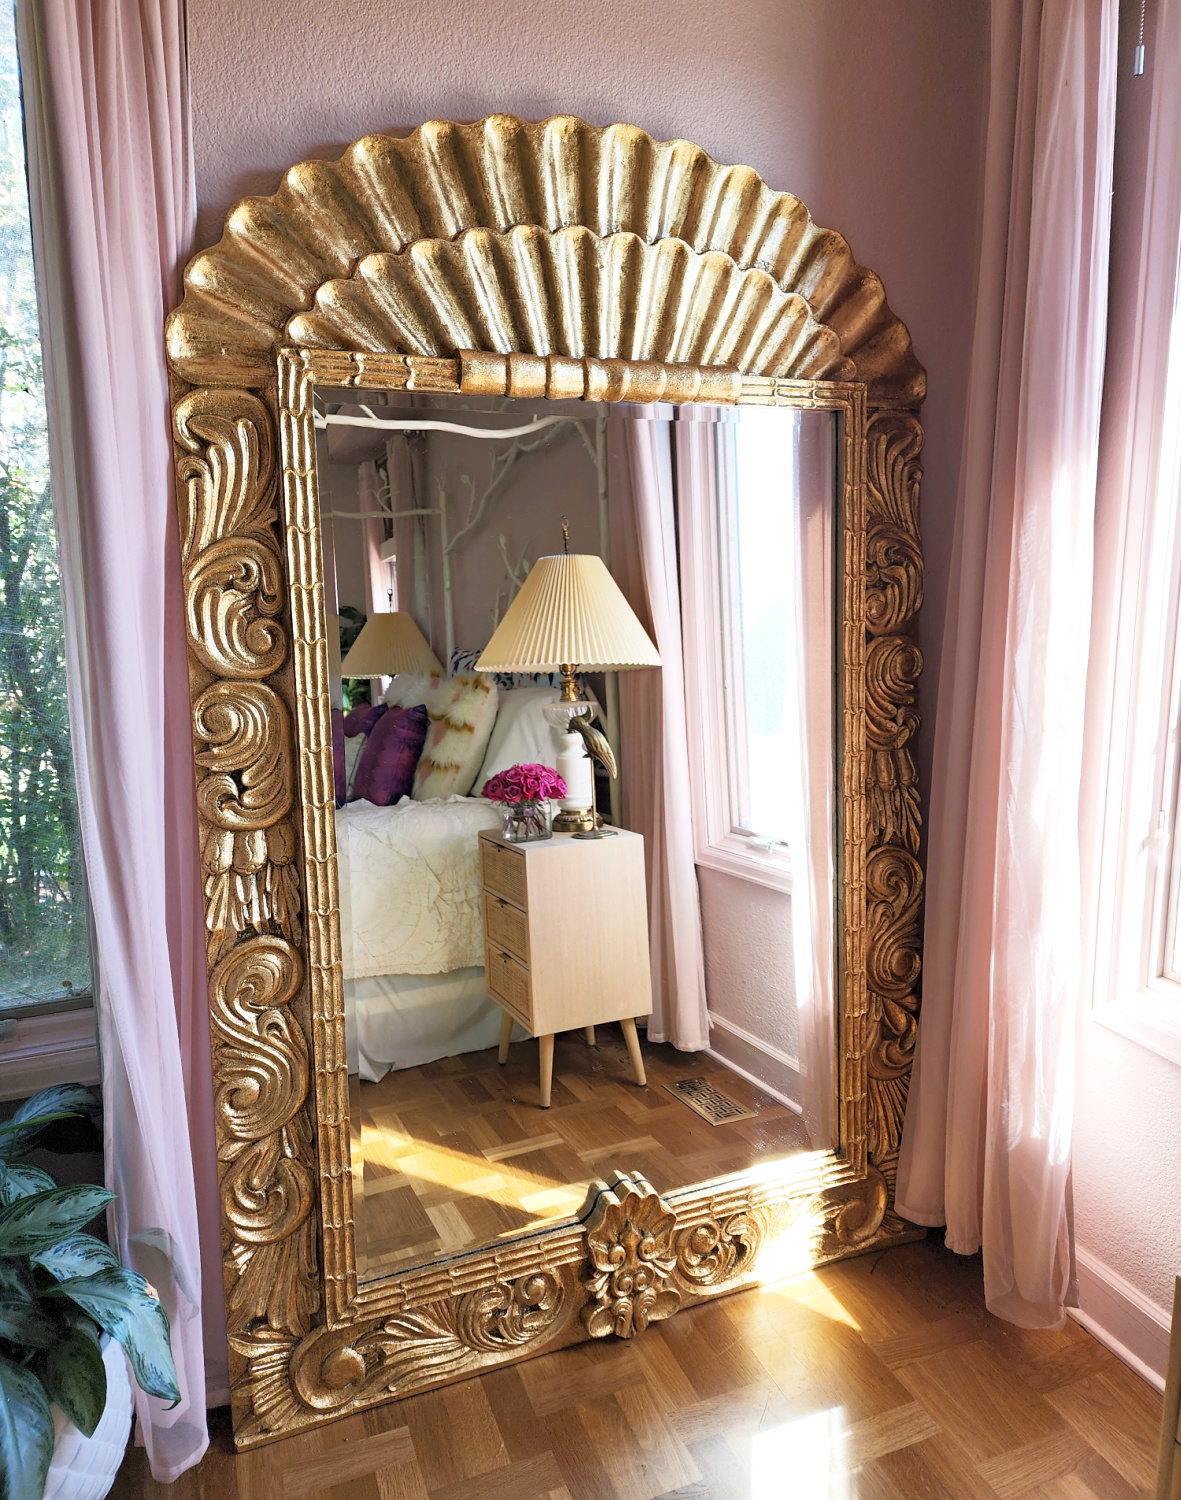
10-12 hours of work?! Worth it.
What do you think did I nail the “came from Versaille” look? Would you ever gold leaf something like this? I always love to hear from you so hit me up in the comments.
And don’t forget to hit up the subscribe box, you only receive emails when there are new projects posted!
XOXOXOXO




Pat
August 30, 2022It’s absolutely stunning!! You must have the patience of Job to do this gold leafing…and many other projects! 😁 I really appreciate your sharing the details cause if I ever do something similar I feel comfortable with your directions. It looks gorgeous in your room ~ enjoy!
xo
Pat
Tina
August 30, 2022OM Gosh!!! It is amazing! It definitely was worth the time and labor involved. And, yes, you definitely nailed it. ❤❤❤
Amy Straley
May 2, 2023Omggggg it turned out beautiful!!!
Tina Bousu
May 10, 2023Hi Amy, the nooks and crannies were a huge pain in the butt but it was SO worth it in the end! Thank you so much for stopping by I so appreciate it. ❤️