Purple Shelving, Stools Makeover and DIY Copper Drapery Rods!
It’s the final week before the big reveal of our kitchen and we’ve been busy working on all of those little last minute projects and details to really bring it all together! * see weeks 1,2,3,4 *
If you’re not familiar with the One Room Challenge it’s a twice yearly design event hosted by Linda and the Calling it Home team. Which focuses on room makeovers that take place over the course of 6 weeks. And the best part, we share the whole thing with you so you can follow along and get some ideas!
When I left you last week we had just finished getting the entire kitchen painted with Annie Sloan’s Chalk paint in Antoinette.
Here are a few of the things we undertook this week:
- Made and Installed purple shelving
This is a 4 x 10 x 2 slab of purple heart. I found it at a local woodworking store and was obsessed with the color! (It’s more purple than this terrible light shows)

We measured for 4, 12 inch square shelves to install in this weird empty space I have next to an upper cabinet.
Then we used a table saw to cut grooves into the back and chipped out the wood to make space for the wall brackets we bought on Amazon for floating shelving.

SUPER easy and only took maybe 10 minutes for all of the shelves.
Following the install instructions we began installing them on the brackets! See that weird gap before the curve into the bay window? It has ALWAYS bugged me, time to fix it ala purple shelving.
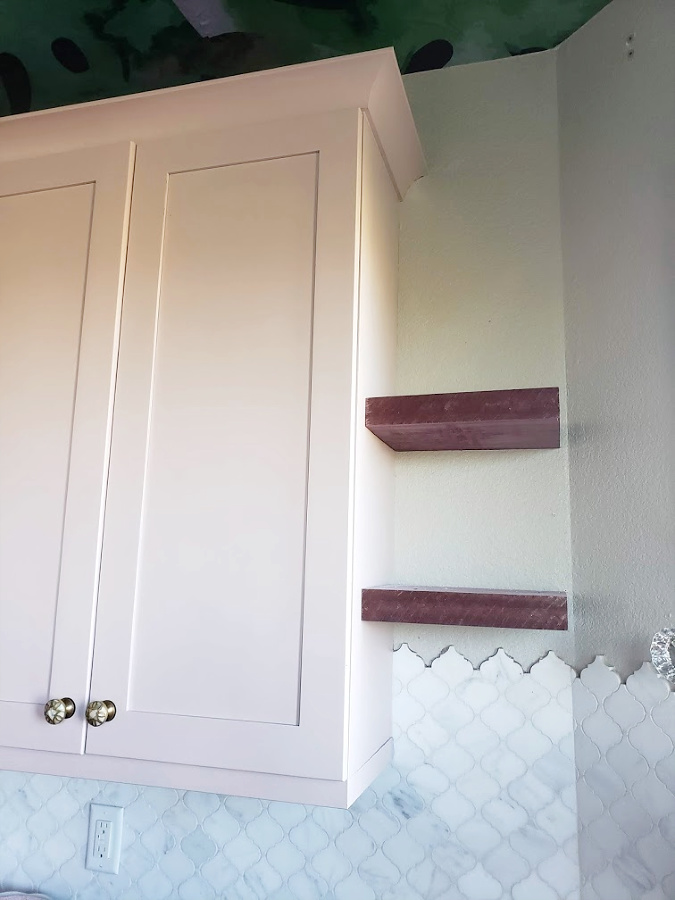
The purple color perfectly matches one of the colors in the ceiling mural!
Here they are all in! I slapped some Vermont Natural Coatings sealer on them to preserve the beautiful color and give them some protection. But I put up some of my vintage thrifted glassware!
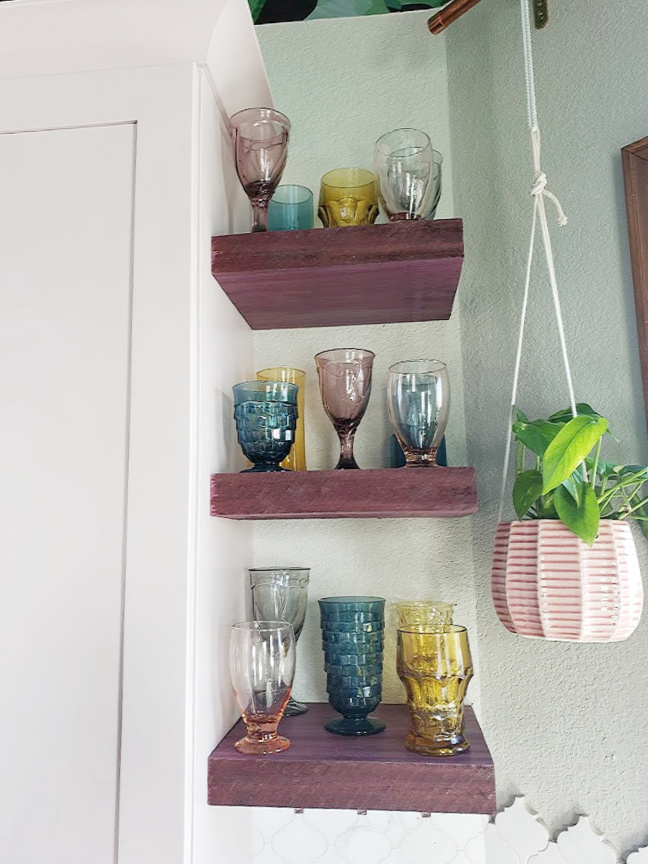
And the 4th shelf…we cut it in half diagonally and installed those 2 in the corner next to our fridge. You’ll peep that next week!
2. Refinished our stools
Here they are prior to messing with them. I loved the color but after getting the cabinets painted I wasn’t loving how they were meshing.
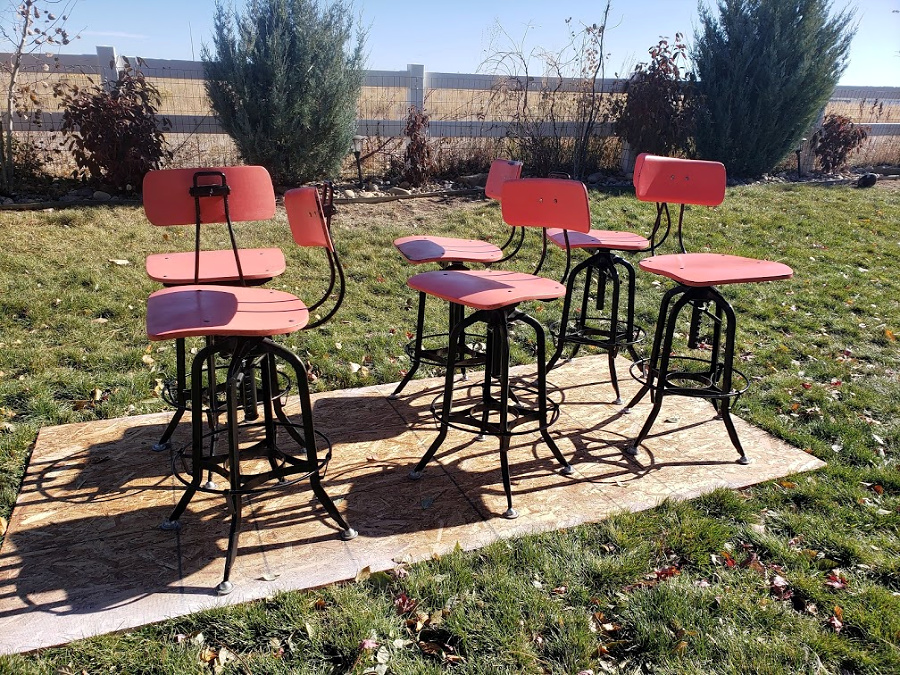
We took them apart and set everything up to prep it for painting.
Here we have the bases with hardware removed and ready for scrubbing.
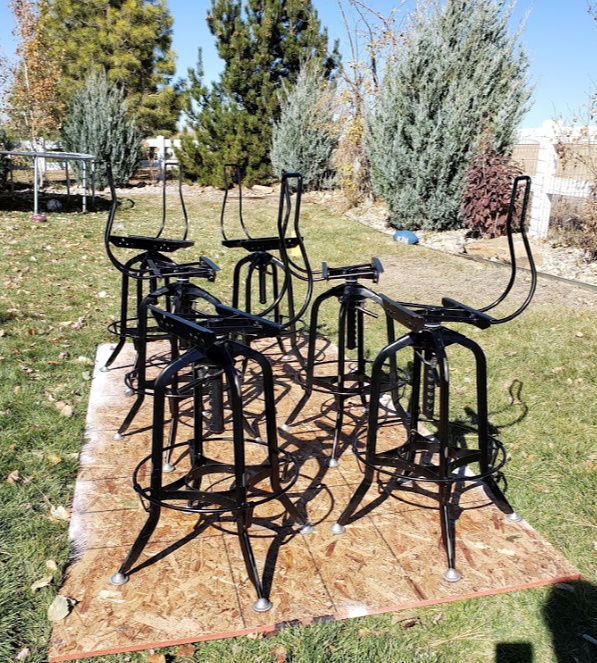
Then we set up the seats and backs on painter points. I began working on sanding these to get the gloss finish off and clean up the scratched edges.

I love these painter point things, they really give you the ability to get the edges beautifully.
We used the same cleaner that we did on the cabinets on the stool bases, seats and backs.

We gave them a good scrubbing to get off any gunk and make sure they were ready for paint!
I used these 2 for the project. The gloss black was for the seats, backs and hardware pins while I used the Vintage Gold (reads brass) on the bases and seat back hardware.
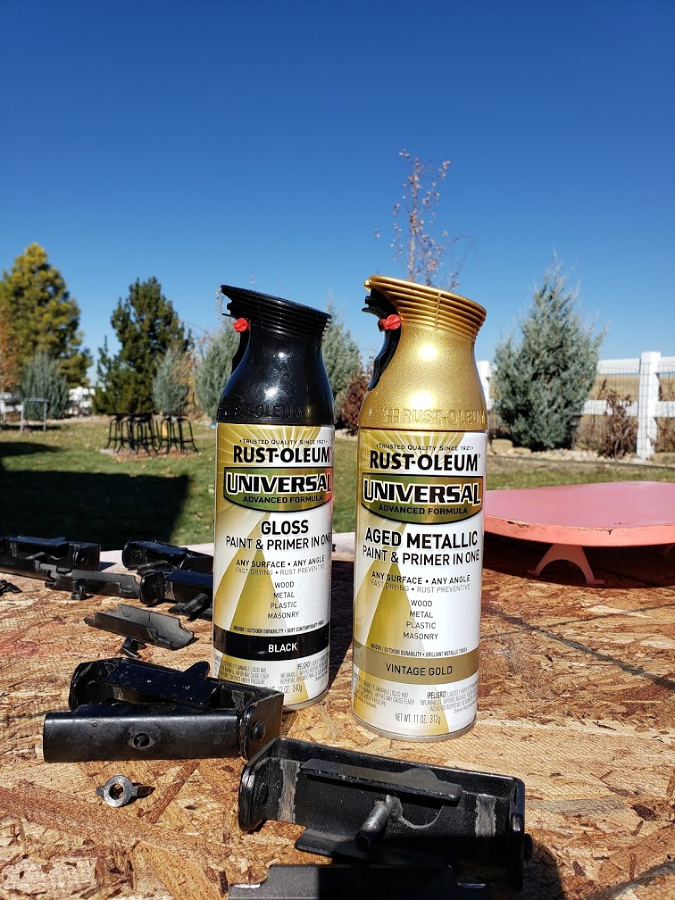
If you are going over a dark color with a lighter color like I did here get LOTS of paint. It took 9 full cans of Vintage Gold to cover those bases. I went back to Lowes A LOT and ended up buying out 2 stores of their Vintage Gold stock!
Here I finished the seats and backs with the gloss black. I let it set and dry overnight in between coats.
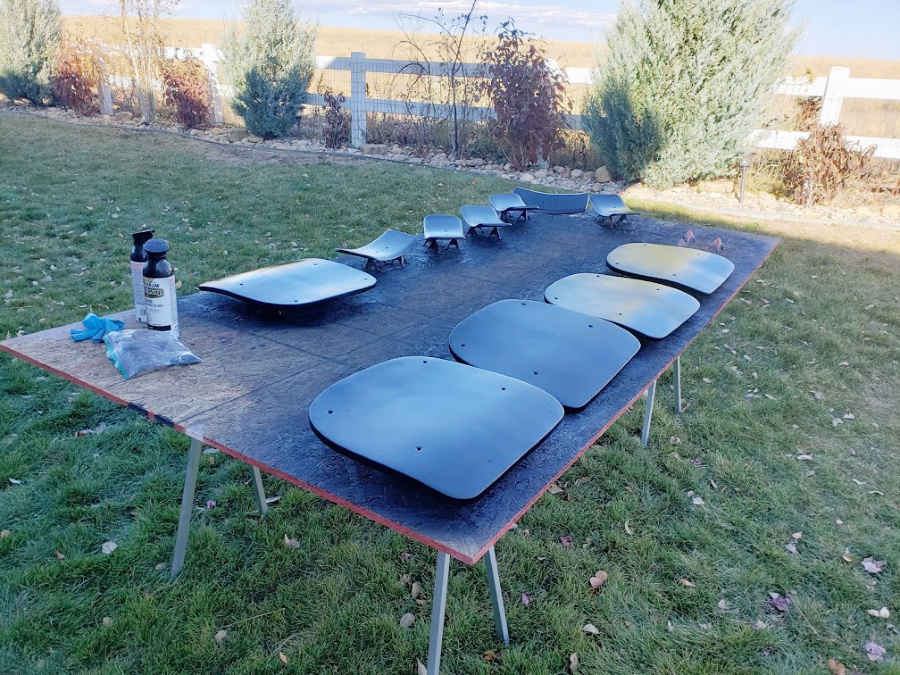
I went with gloss as it’s the easiest finish to clean!
Here are the bases almost finished. I did another coat or 2 (I can’t remember I blocked it out haha) after this pic.

You can see the seat back hardware on the floor of the board I painted to match!
Here are all the pins that feed through the seats and backs to secure them to the bases. I missed nothing I tell you.
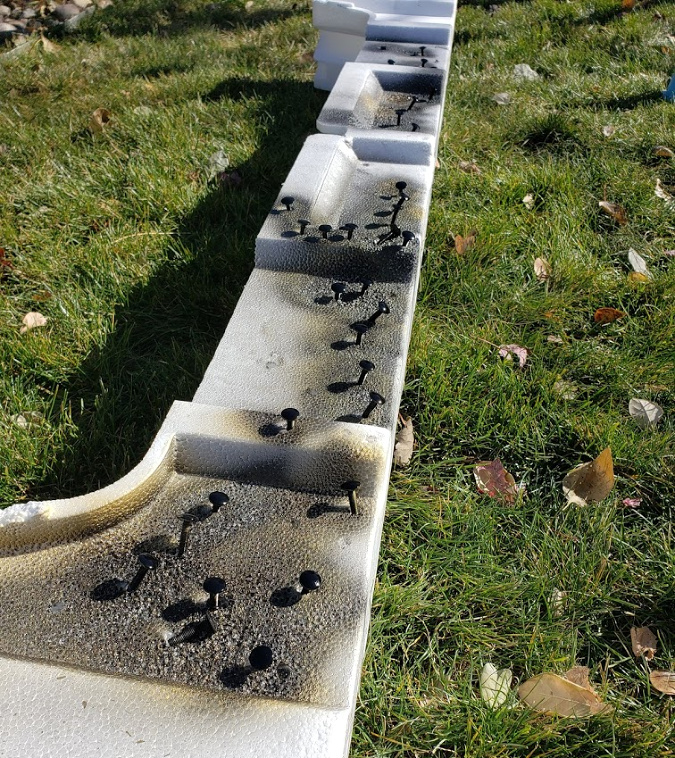
Details are everything!
All in it took me 3 whole days to do the stool refinishing and I couldn’t wait to get them in here. I was SO happy with how they came out. And then I brought them in and I didn’t love them in the kitchen. Cue my incredibly sad face with my perpetually gripping-spray-paint-can crooked hand whilst wiping a tear.
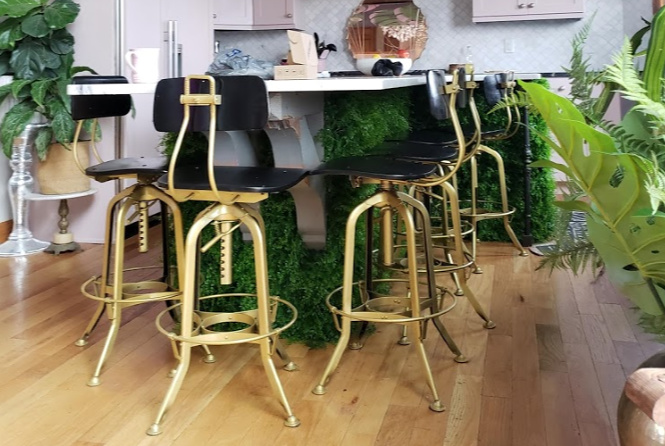
Alas, I ordered some different stools on the fly and am hoping they arrive in time. I am not immediately deciding not to use these but I definitely had another idea that I think might work better. We’ll see which ones end up in the final design!
3. DIY’d copper drape rods for the windows
I am a terrible blogger and forgot to take pics of this but it’s a SUPER easy project. We picked up 3/4 inch copper tubing and 3/4 inch copper ends at Lowes (during one of my many paint pick up trips) and some larger stronger wall hangers.
I painted the hangers brass to tie into the cabinet knobs and lighting while contrasting beautifully with the copper.
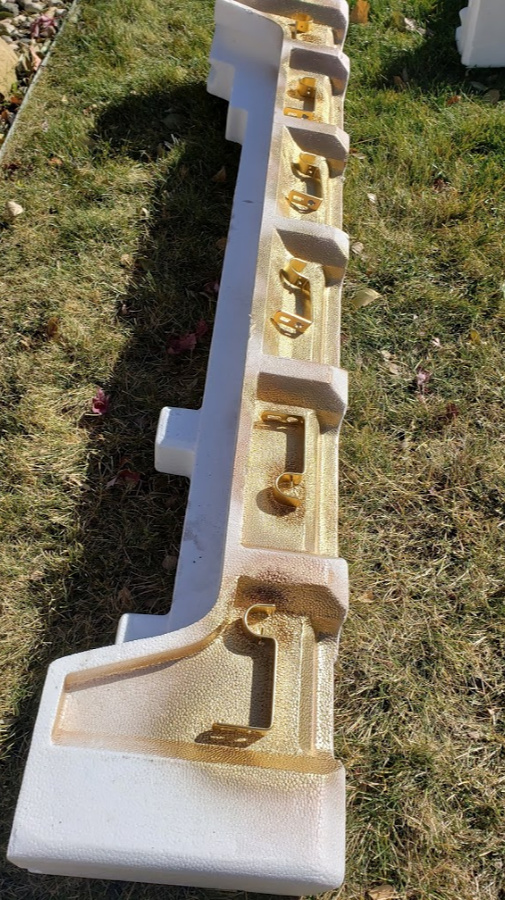
I think it’s clear I’ll paint just about anything!
Then it was a matter of cutting the copper tubes to the desired size. (We went to 44″ given my window size and the way I was going to use them) Popped on the copper caps on the ends and put them up in the brass brackets!
I used larger tubing and more substantial wall hangers because this is what I was intending to do with them!
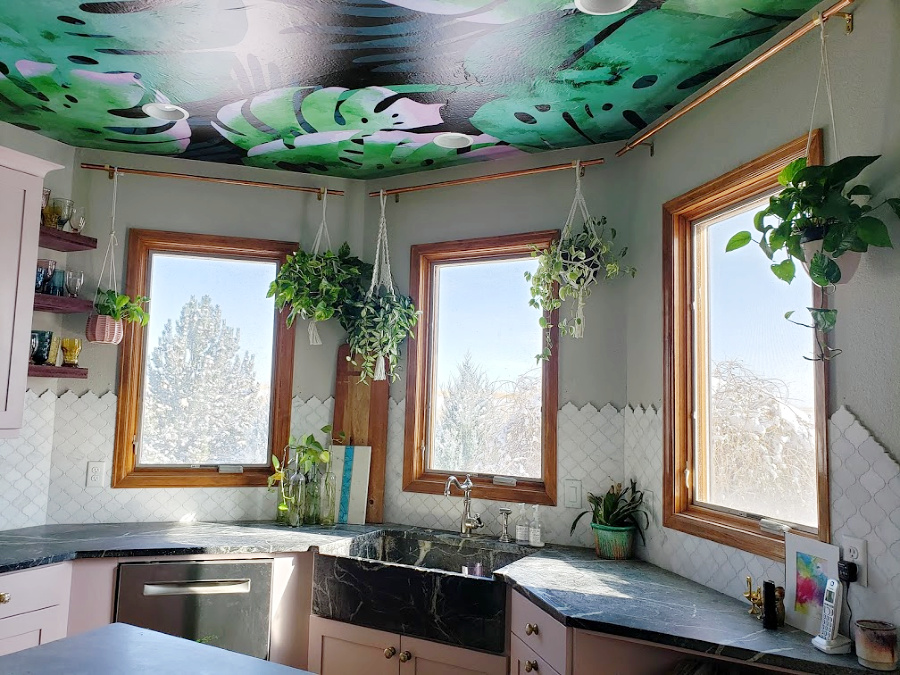
I have more macrame hangers on the way and I need to head to the nursery for some more plants but you get the idea! Traditional drapes here, bah!
Whew! This last week just flew by and we are ALMOST there. I have lighting being delivered tomorrow and hopefully the other stools by Tuesday. But we are absolutely loving this space, I can’t wait to show you the whole thing all finished!
What do you think? Which project this week was your fave? Hit me up in the comments, I always love to hear from you!
And don’t forget to pop in your email in the subscribe box, this is one you don’t want to miss!
P.S. There are SO many amazing designs going on over at the ORC blog, make sure you pop over to see what else is happenin!





Bari
October 30, 2019The pink cabinets! So good, Tina!
Tina Bousu
November 4, 2019Bari thank you! I can’t wait to share the whole space!
Kate Pearce
October 30, 2019Everything looks incredible Tina! I love the change to the barstools – they look fab!
Tina Bousu
November 4, 2019Thanks Kate! And then I went and bought different ones, lol. I can’t make up my mind! xoxo
Cassie Bustamante
October 31, 2019natural purple wood?!?!? my mind is blown.
Tina Bousu
November 4, 2019Right?! Purple heart and it’s HEAVY and solid as all get out.
JAMALA WALLACE
October 31, 2019I’m applauding everything about this look!! The bar stools look stunning in black and gold!! You never cease to amaze me with your stylish eclectic looks
Tina Bousu
November 4, 2019Thanks Jamala! I’m not sure if they will make it into the kitchen, but I have another idea for them! xo
Misty
October 31, 2019The shelves look great! The Purple Heart looks beautiful next to your pink cabinets! Can not wait until next week!
Tina Bousu
November 4, 2019Misty, thank you! The purple shelves tie into the mural so well too, anywhere I can sneak more color in!
christina kelley
November 1, 2019DUDEEEEEE!!!! It looks amazing and I am loving the stool makeover. That makes me want to start scrolling FB marketplace for some treasure
Tina Bousu
November 4, 2019Hey girl!! Thank you so very much! I can’t wait to show you the final space and good luck treasure hunting, my fave activity ever! xoxo
Miranda
November 1, 2019You never cease to amaze me with your fabulousness! I couldn’t pick my favorite part of I tried!
Tina Bousu
November 4, 2019Aww Miranda you are the best! Thanks lovely!