Pink Marble & a Zellige Fireplace….Hells Yes!
We have hit week 3 of the One Room Challenge! Thanks to Linda and the ORC team, along with Better Homes and Gardens for continuing to host this event despite the difficulties the COVID 19 situation has presented. (Here you can check out Weeks 1 and 2)
**Humongous gratitude and thanks to my 2 sponsors mentioned in this post, Hudson Valley Lighting and Riad Tile**
This week I’m sharing the vast amounts of tile we put up on ALL the walls of the bathroom. The original design idea was to balance between elegant and old world with my love affair of handmade perfectly imperfect. Alas choosing to use the Norwegian Rose marble and the Zellige tile both from Riad Tile. Huge shoutout to Riad Tile for partnering up with me and totally trusting this vision!
I had originally designed the space to have multiple focal points. I wanted the tub to have it’s own glorious moment with a floor to ceiling frame of Norwegian Rose pink marble while the vanity was to have it’s own moment directly opposite with a full counter to ceiling NR pink marble installation.
And of course that fireplace needed some love. What better way than to bring in some handmade Moroccan zellige tile?
Ok so this is a teensy step prior from my last post on the flooring install. (see it here!) We chose to put in the upper portion of this wall first as I was really worried about getting mortar all over the gorgeous floor tile. So we skipped ahead with the tub wall prior to the floor installation.
Since I wanted to run the tile floor to ceiling throughout and there was no floor yet, we opted to install a board a smidge above tile’s length up (12″) from the floor.. This would allow for the height of the floor tile and mortar to fit the bottom row of NR marble later.
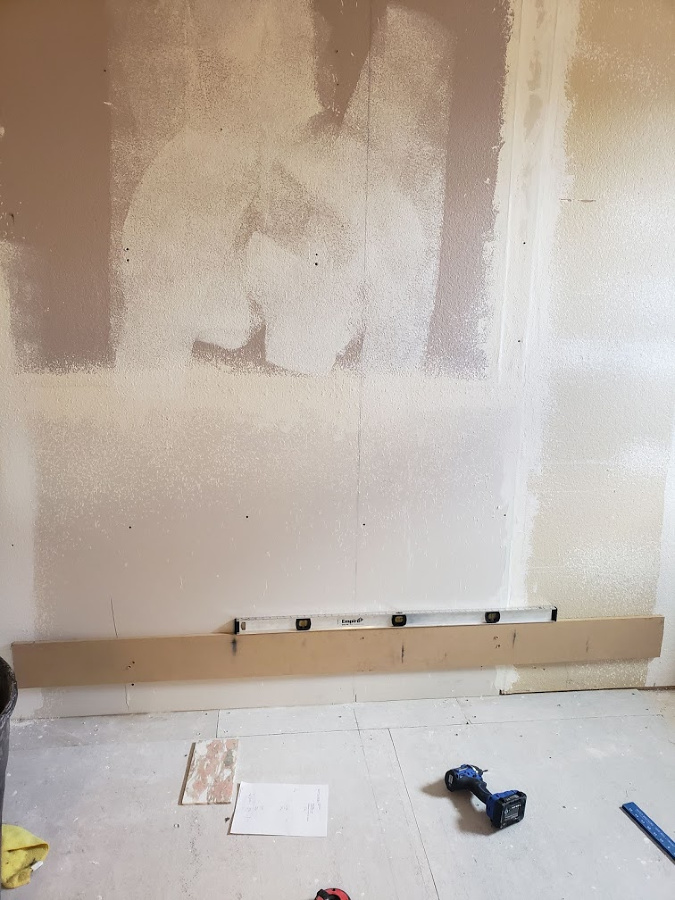
Perfectly level to build the rest of the tile on.
Here we had 2 rows in. We would come back after the floor was installed and custom cut to fit the flooring exactly once the board was removed.
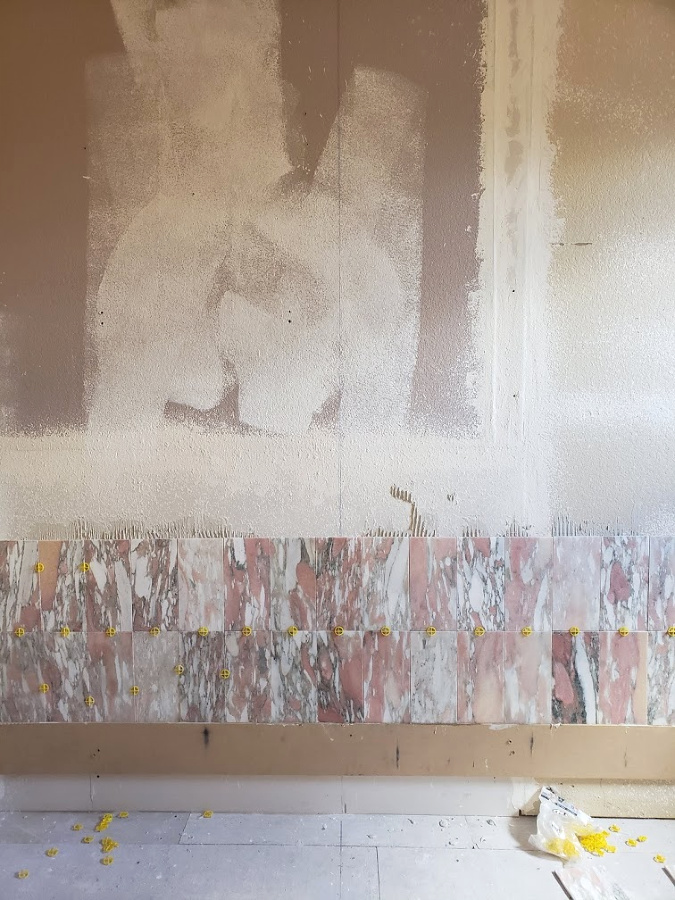
We opted to just tile right to the sheetrock, just like a backsplash in a kitchen. This won’t see any water so waterproofing wasn’t a concern.
And all the way to the ceiling, hello gorgeous.

This shot shows the flooring in (which we did immediately after the pink marble). We removed the board and it’s ready to fit the lowest row. See ALL the info on the floor tile here!
On the other side we’re lookin at the vanity. We employed the same tactic, level board across the bottom 4 inches and tile up. It’s 4 inches instead of 12″ (tile size) as the height from the counter to the ceiling meant we were going to have a 4 inch row somewhere, either top or bottom. I chose to put it at the bottom to keep the full tile going vertically to the ceiling without interruption. Once the countertop gets installed we can come back and fill in that bottom row for a perfect fit. You can see we have our 4 lighting boxes in for sconce lighting!
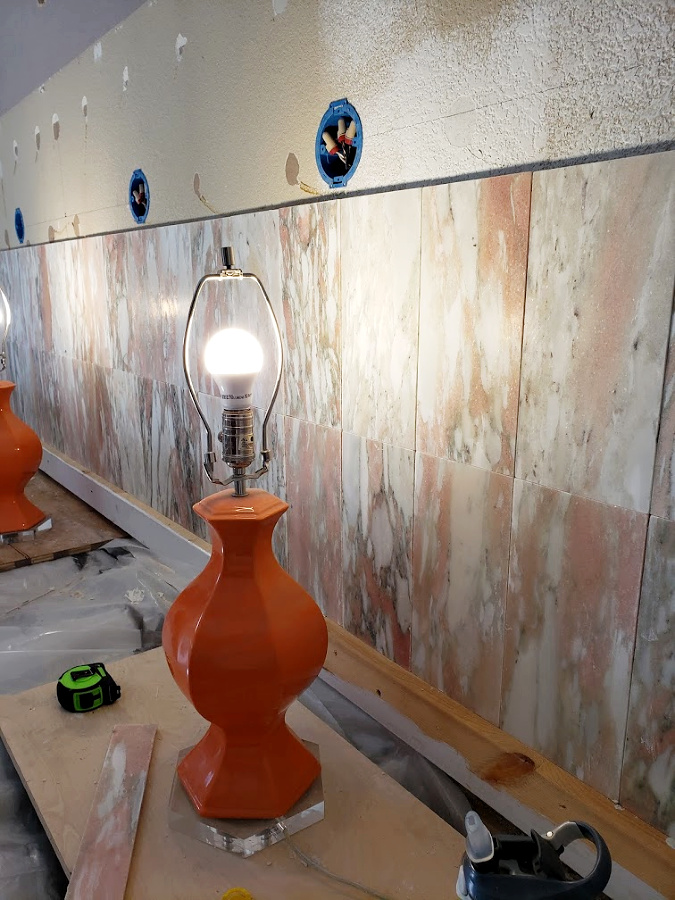
We just used old 2×4’s for our guide on this wall.
And a bit later…

Tiled to the ceiling with our sconce lighting boxes ready for sconces which I’m irrationally excited about.
Of course before it could be finished we had to seal this gorgeous pink marble. Here we’re rolling on the same marble sealer as the floor to protect against any moisture absorption and grout hazing.
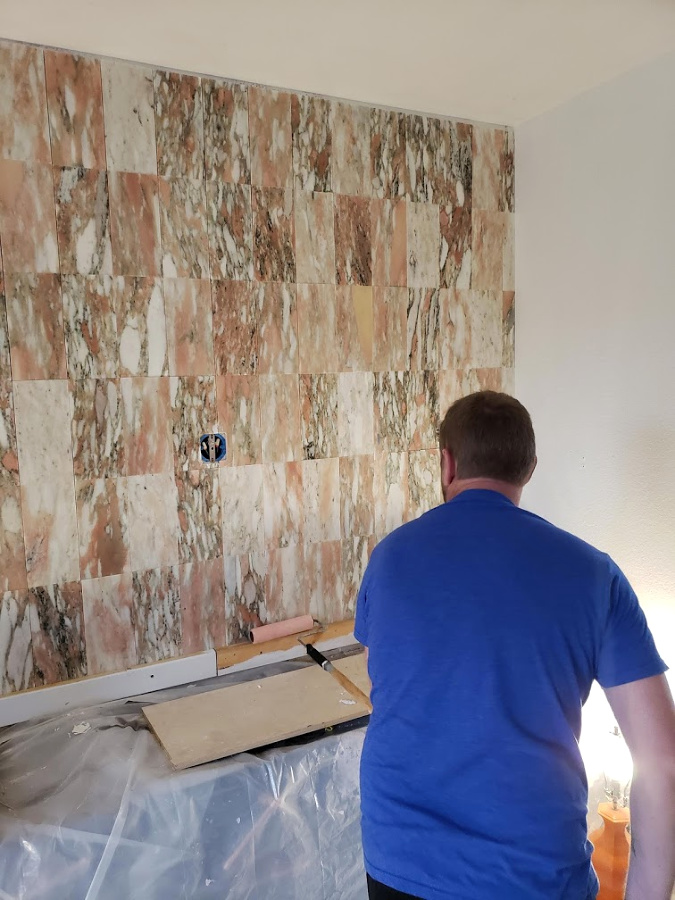
2 applications with a dry time of 1-3 hours in between coats and overnight prior to grouting.
We came back the next day and grouted all of the pink marble. Using the same Mapei Flexcolor CQ in Avalanche as the floor. I kept the grout lines really tight when I laid it initially, almost butt jointed to limit the amount of grout you would see.
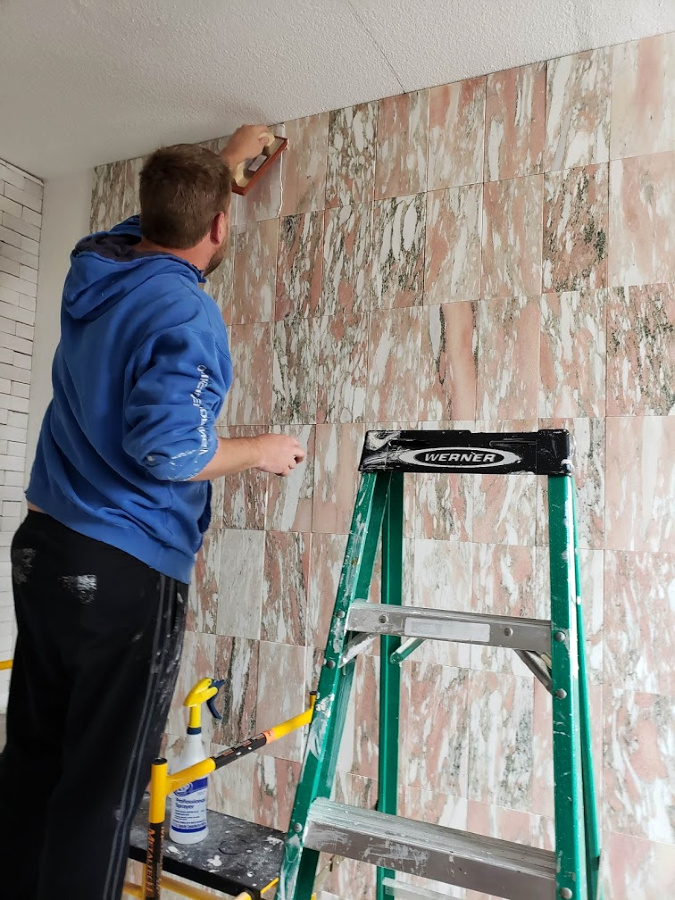
Using the same color grout as the floor it keeps a cohesive look throughout the space.
On to the vanity wall.

Moving over we followed this pic with a full grouting sitch
Here’s the tub wall fully grouted with the EPIC Hudson Valley Lighting Sparta chandelier doin it’s thang!

Big thanks to Hudson Valley Lighting for providing the epic lighting of this Sparta Chandelier and the Sparta flushmount for the water closet (coming up soon!).
Here we are halfway through tiling the fireplace with that gorgeous handmade Zellige tile. This is Riad Tile’s Snow zellige and each tile is different. Which makes installation and grouting both a bit more challenging but I love the inconsistencies.

I laid each of these as well. We did 45 degree cuts at the corner and lined them up to keep everything seamless.
And tiled to the ceiling, pre-grout! The difference tiling to the ceiling makes friends, if you can tile to your ceiling, do it. It amplifies the space not only on a size level (feels ten times larger) but it gives it a super high end feel.
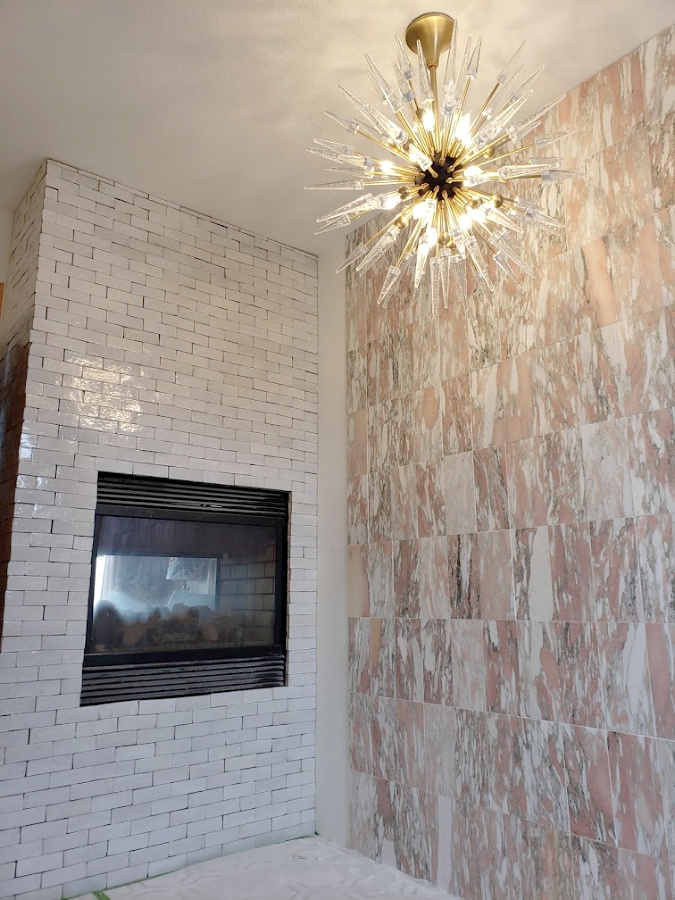
Here’s the fireplace ready to be grouted but we’re waiting to do the double shower in all snow zellige before we grout so we can do both at the same time. Our kids actually thought the fireplace looked like the Harry Potter entrance to Diagon Alley…and I’m not mad about it!
Loads of tiling in and we are almost halfway there! I have the copper shower pan install coming up next week including where you can score one and how easy it is to put in. (spoiler, it’s a total knockout!)
What do you think of the combination of the pink rose marble and the white zellige tile? I always love to hear from you so hit me up in the comments!
Don’t forget to hit up the subscribe box in the sidebar to keep up on all the happenins over here.
And of course make sure to pop back over to the One Room Challenge blog site here, to see what other fab projects are being completed by other featured and guest participants!





Jewel
May 20, 2020No dad joke about it! Oh so high end Tina!
Tina Bousu
May 21, 2020Thanks Jewel! I so appreciate it! xoxo
Laura Mitchell
May 20, 2020Absolutely OBSESSED!!!!
Tina Bousu
May 21, 2020Aaahhhh yay! I”m so glad you like it Laura, thank you!!
Jenasie Earl
May 20, 2020Tina!!! I freaking love the tile!!! The pink is so pretty and that light fixture is stunning! Bravo my friend!
Tina Bousu
May 21, 2020Hey girl! Thank you so much!! xoxo
Lindsey from Hilltown House
May 21, 2020That pink marble is out of this world!!! So happy you went bold with this design
Tina Bousu
May 21, 2020Thank you so much Lindsey! I so appreciate it!
Laura
May 21, 2020I love this! It is turning out so great and unique
Tina Bousu
May 27, 2020Hi Laura! Thank you so very much!
Jen @ Jenron Designs
May 21, 2020WOW! That Marble is a show stopper Tina! I love it and the fireplace is such a luxury for a bathroom I wish I had one in ours. I would put a fireplace in every room if I could.
Tina Bousu
May 27, 2020Thanks Jen!
BrandEye Home
May 21, 2020Oh my goodness. This tile is what dreams are made of. I absolutely LOVE it.
Tina Bousu
May 27, 2020Thank you so very much!
Carrie
May 21, 2020Wow! That pink marble and the chandelier are both showstoppers! I really love the white tile, too. I’m a sucker for handmade tiles that don’t fit precisely together:)
Tina Bousu
May 27, 2020Thanks Carrie!
Holly Volpe
May 22, 2020This pink looks amazing with the tile! So beautiful!
Tina Bousu
May 27, 2020Thank you so much Holly!
tim
May 22, 2020wow what a statement! love that marble and how it partnered with the handmade tiles on the fireplace! gorgeous!
Tina Bousu
May 27, 2020Thank you so much Tim!
Jenna Pilant of Room Bloom Designs
May 22, 2020Epic chandelier ?
Tina Bousu
May 27, 2020Thanks girl! xoxo
Kristen
May 23, 2020This tile combo is just stunning. I can’t even… There are no words! So ???????
Tina Bousu
May 27, 2020Thanks Kristen! I so appreciate it! xoxo
Julie Ann Shahin
May 24, 2020This is looking so pretty! Love it all!
Tina Bousu
May 27, 2020Thank you so much Julie!
Libbie
May 25, 2020WOW! Just WOW! That tile is stunning and I love the tile on the fireplace too. I cannot wait to see this space finished.
Tina Bousu
May 27, 2020Libbie! Thank you so much lovely! xoxo
Joy
May 26, 2020So freaking gorgeous! I cannot wait to see the next update!
Tina Bousu
May 27, 2020Thank you so much Joy!
Denise
May 27, 2020I am loving how all the tile is coming together! Such a great combo! Loving that light fixture too!
Tina Bousu
May 27, 2020Thank you so much Denise!
Kristy Mastrandonas
June 2, 2020Loving every detail! That marble is absolutely gorgeous!
Tina Bousu
June 4, 2020Yay I’m so glad you like it!