How to Install Box Paneling + Plum’s the Word
Gah its been a few weeks and I have so much to share with you! My last post shared the initial plan for the office space which of course I changed up almost right after. (You can catch up on that here.) I have changed the paint color, found some really funky art, opted to go for a bold ceiling and lastly a FB marketplace sofa I will be giving some DIY pizazz to. Since we’re almost finished with the challenge I will be saving these for little reveals as we go.
Now for the updates aka the fun part! Starting with where I left off, we cleaned out the room which left us with something that looks like this.
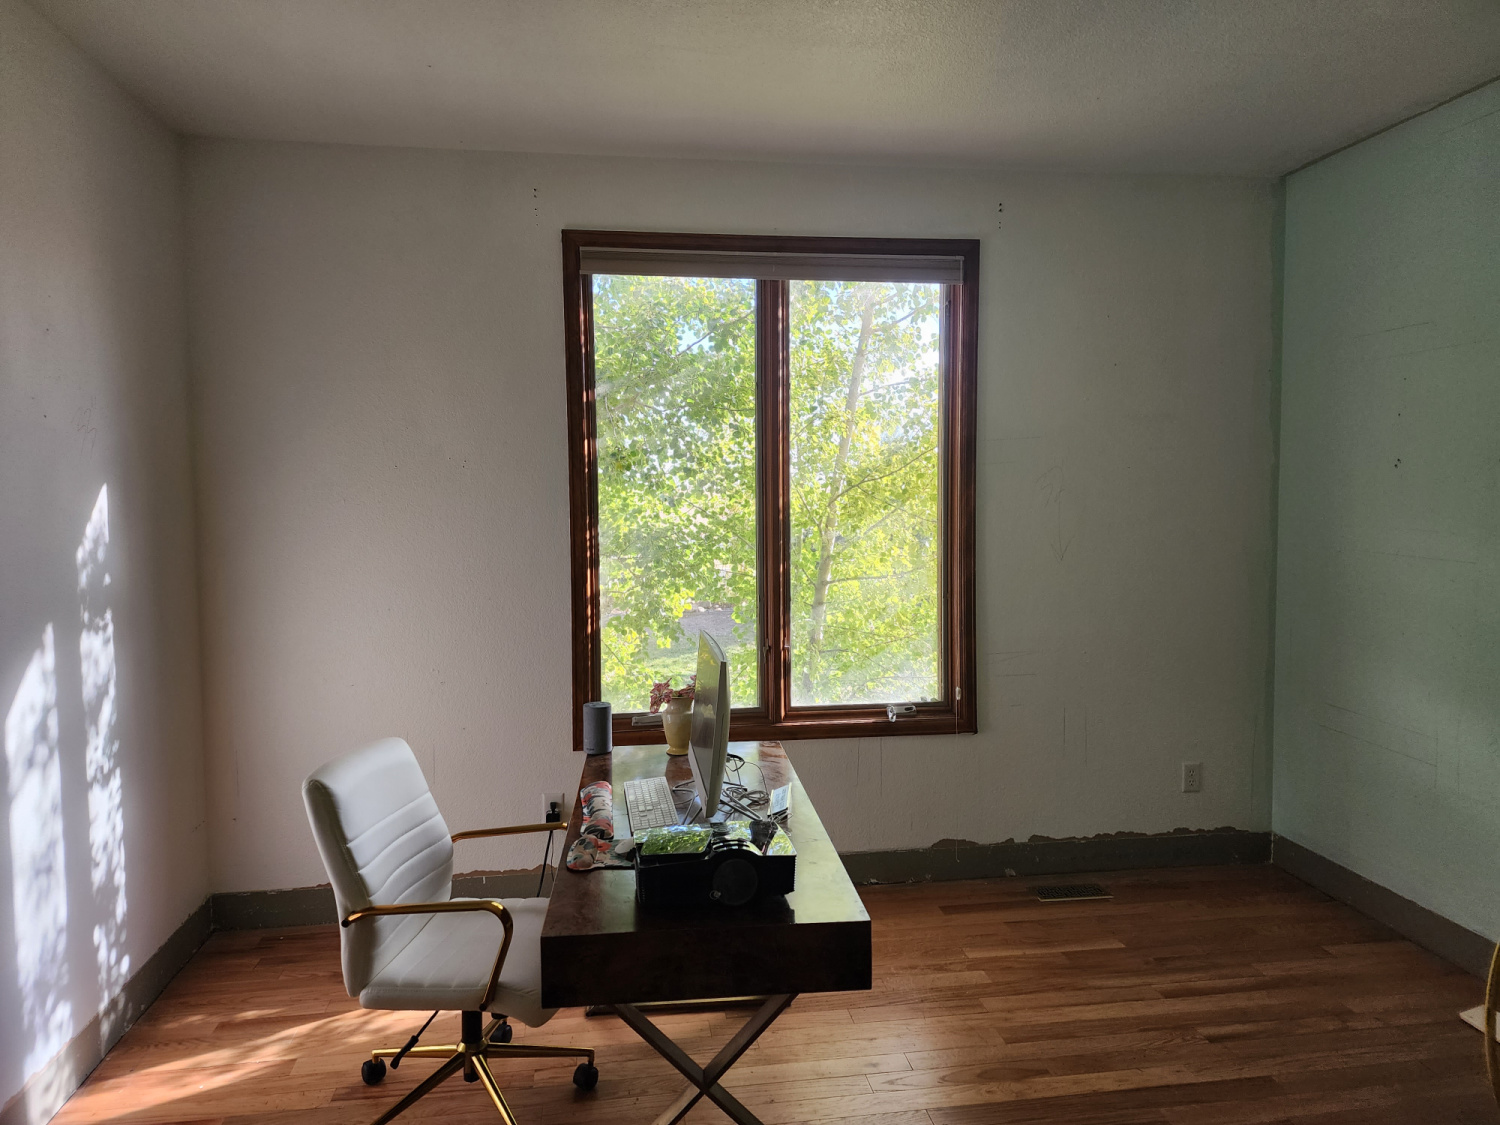
We not only removed all the furniture except for the desk and chair but we pulled up the base boards as well. We’re going to be replacing those with the box paneling trim.
Looking out from the corner you can see the other side of the room. Prepped and ready to start installing some molding.
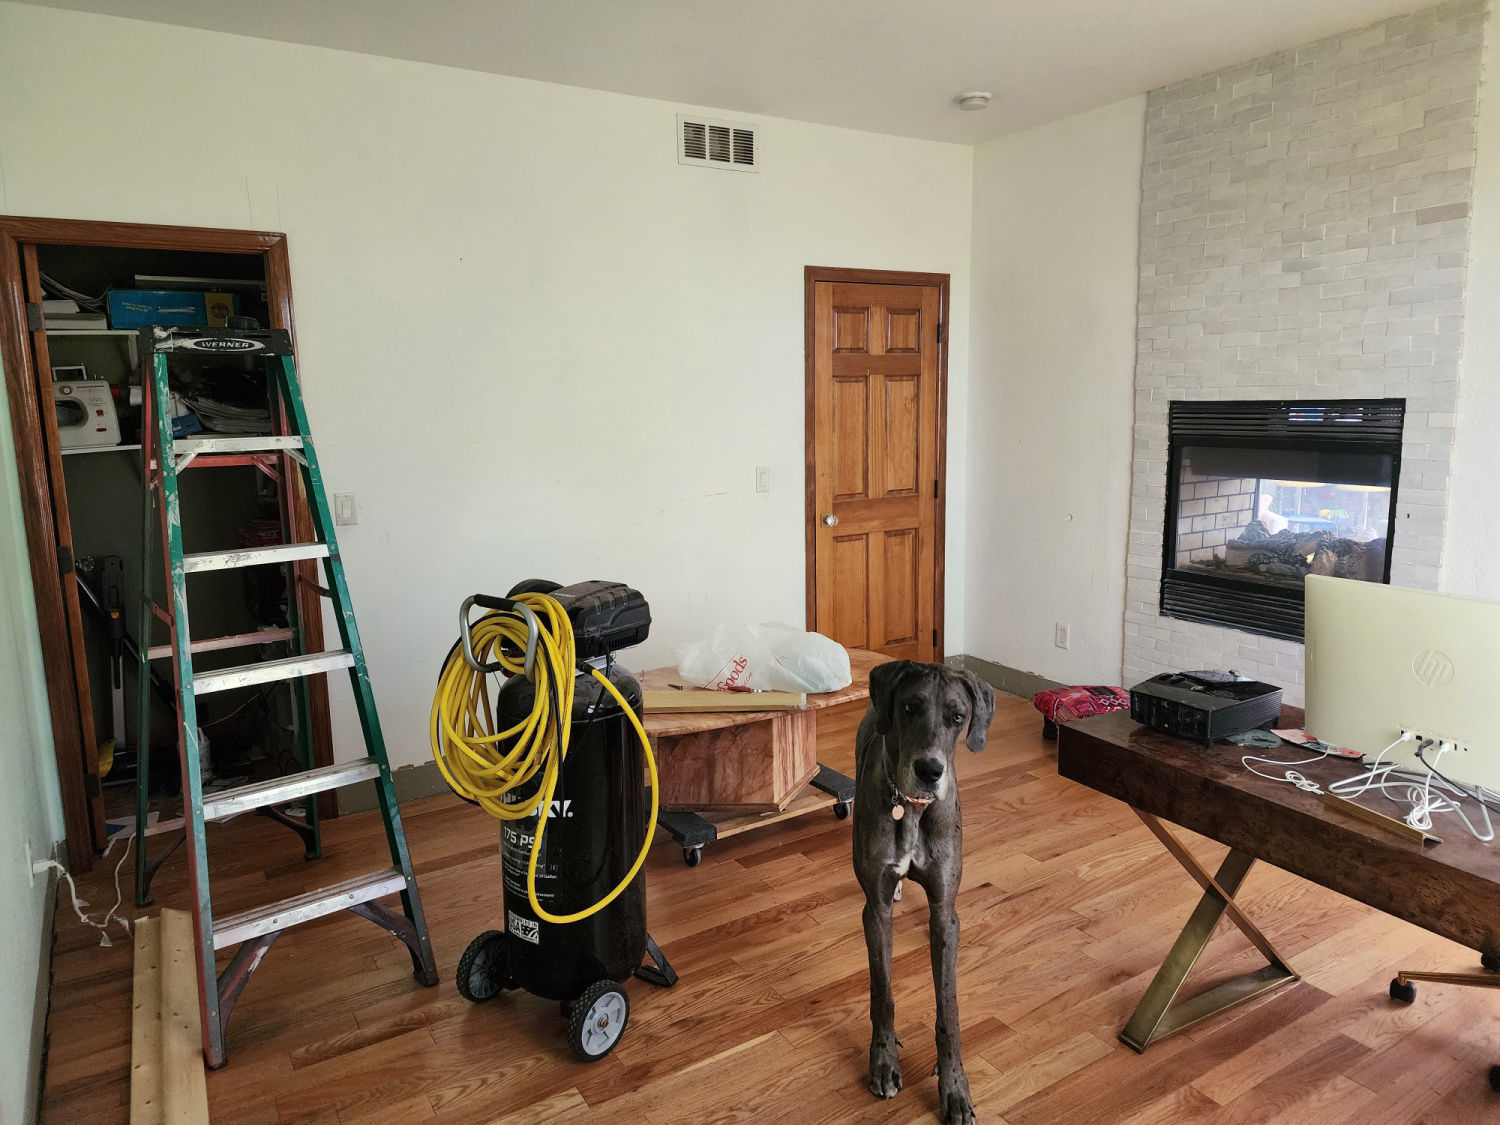
Of course Miss Luna was coming in to see what I was up to.
Installing this paneling is really straightforward and really pretty simple. A quick note about wall texture, I have textured walls and while ideally they would have been perfectly smooth I was not going to go through the effort to smooth them all. The other option of applying plywood sheets floor to ceilings on all walls was immediately nixed by the hubs, I can’t really blame him. Alas I really wanted this look and decided to embrace the walls as they were, textured and all.
You will need:
A circular saw
1×4’s
Measuring tape
Pencil
Level
Nail gun
Caulk and caulk gun
Wood Filler
Sander
Painters tape/protective covering
Paint sprayer
Paint
First you need to decide the size of your pattern, this is completely subject to personal preference. I wanted larger squares since I was carrying it around the entire room so our measurements were specific to the width and height of the walls as well as my box size.
Once we had measurements pinned down, we determined we would start with the horizontal rows. This saved on wood for our particular wall height but you can definitely start vertically too. Using your level to assure a straight line install your 1×4 using your nail gun. Tip: We pre-marked the wall with pencil marks so we had the location set for each row.
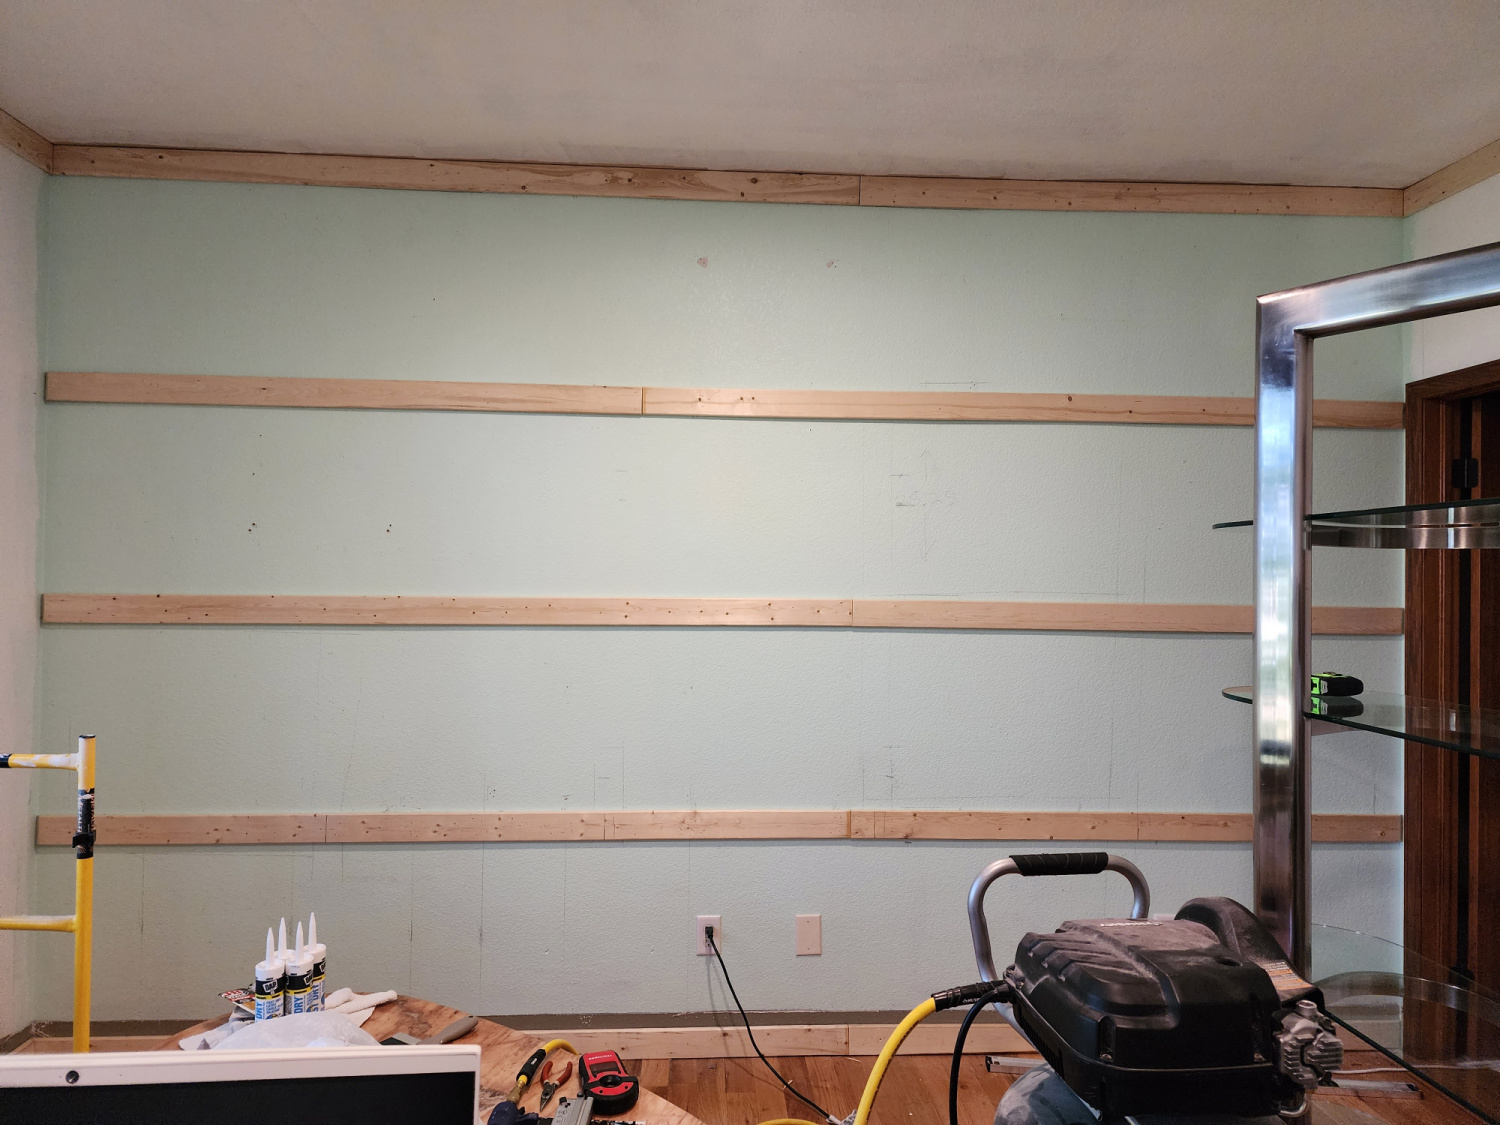
The box molding acts as the baseboard and almost like a crown trim so it covers all the bases.
When you have the horizontal rows finished come back in with your smaller pieces and install vertically to create your boxes. Use the same method of checking the level and attaching with a nail gun to do this.
Here we had the first wall completed and had begun carrying over onto the second wall. The corner vertical pieces were done with 45 degree angle cuts for a snug clean fit in each box. All the corner horizontal pieces are also 45 degree cuts. These are easily done with a circular saw.
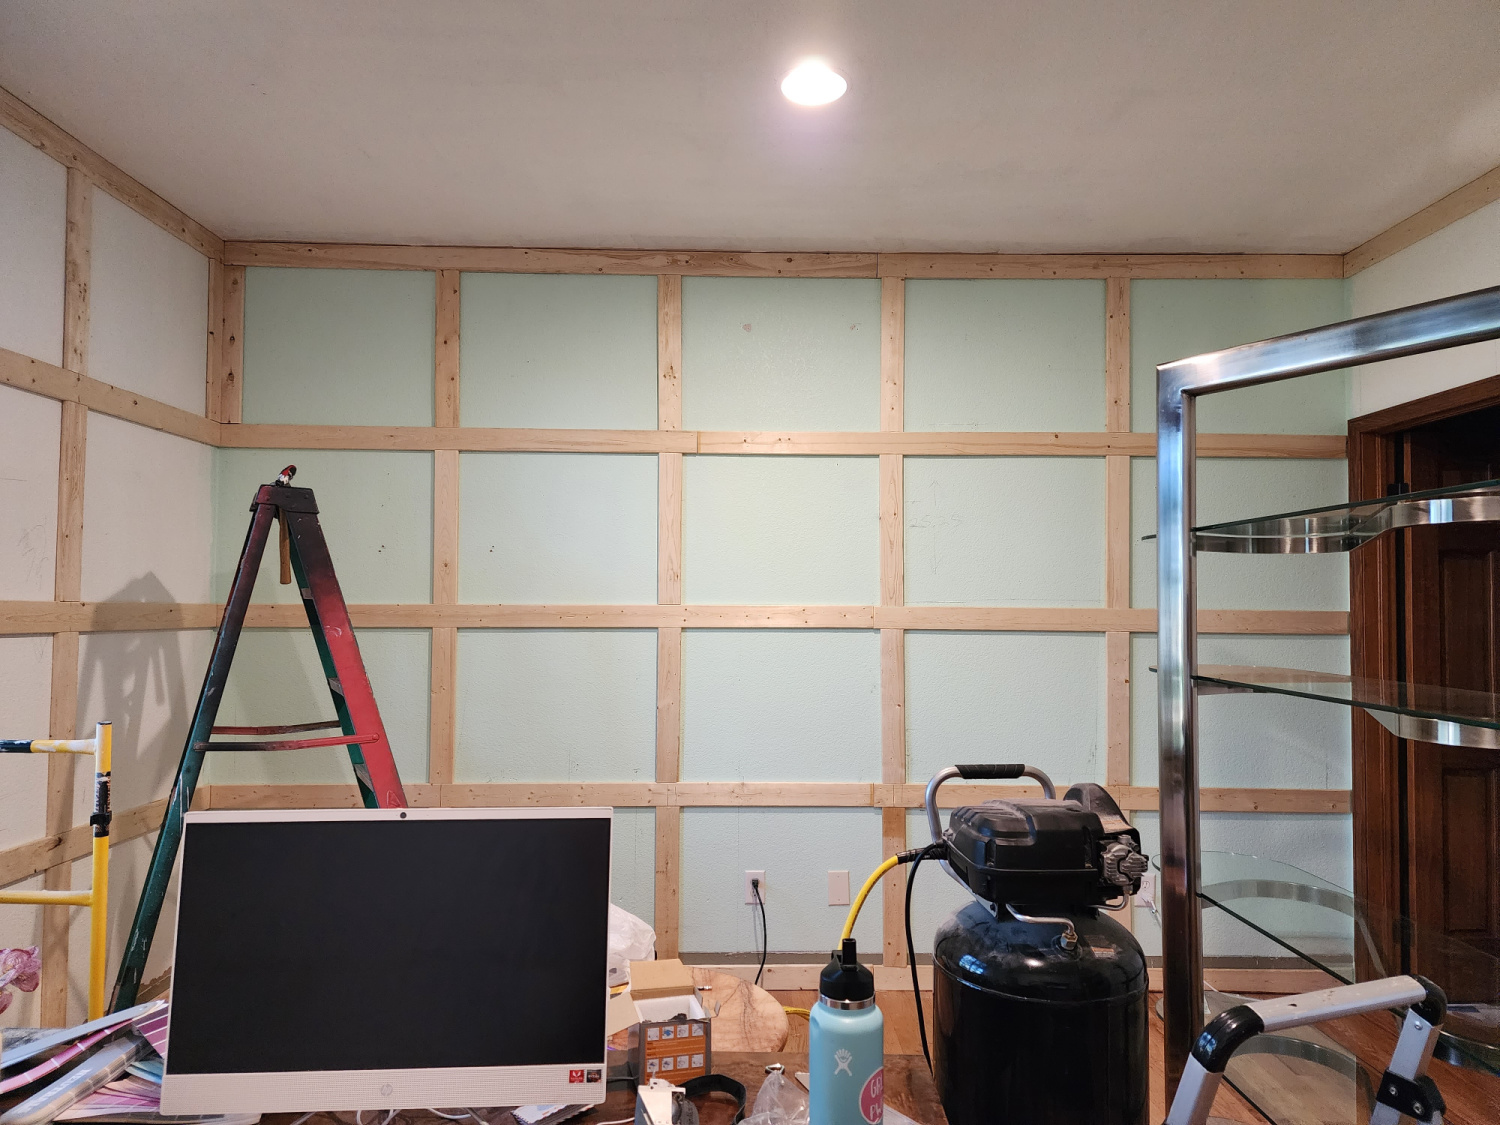
It looks so crisp and sophisticated already!
I was thrilled with how even just the molding made such a difference in the feel of this room.
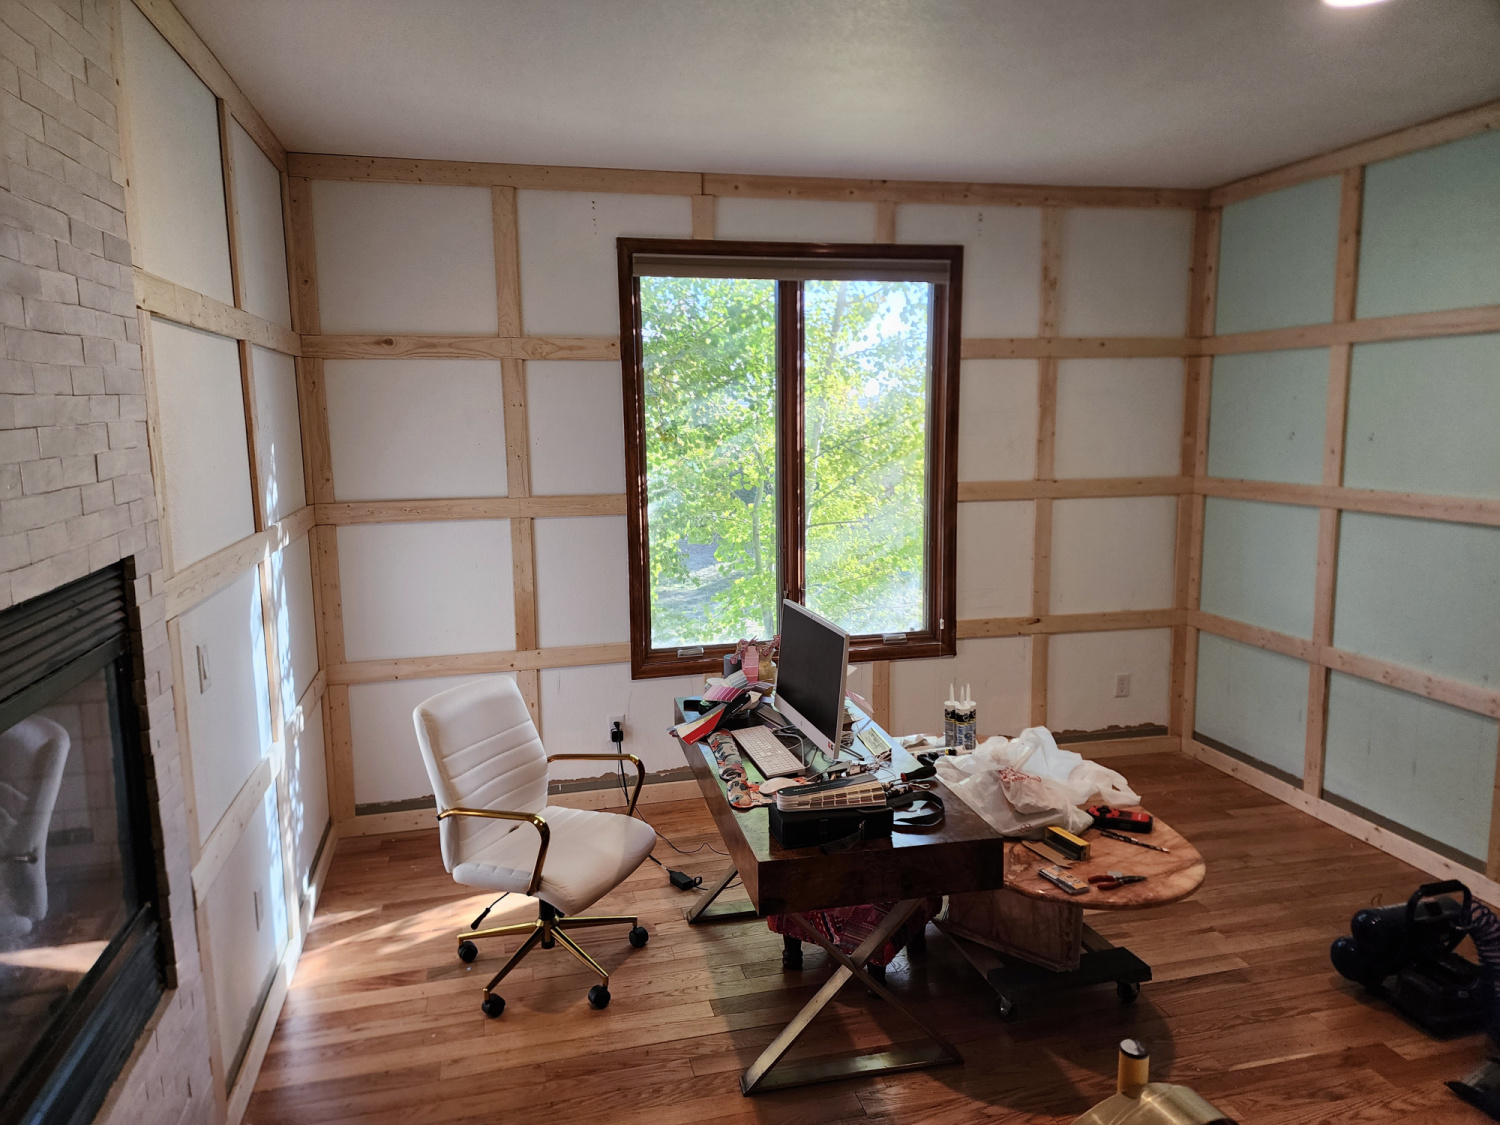
Fun fact: the dark green color at the base of the walls was the original color of this room when we moved in.
Here is the other side, the paneling made it seem so much bigger.
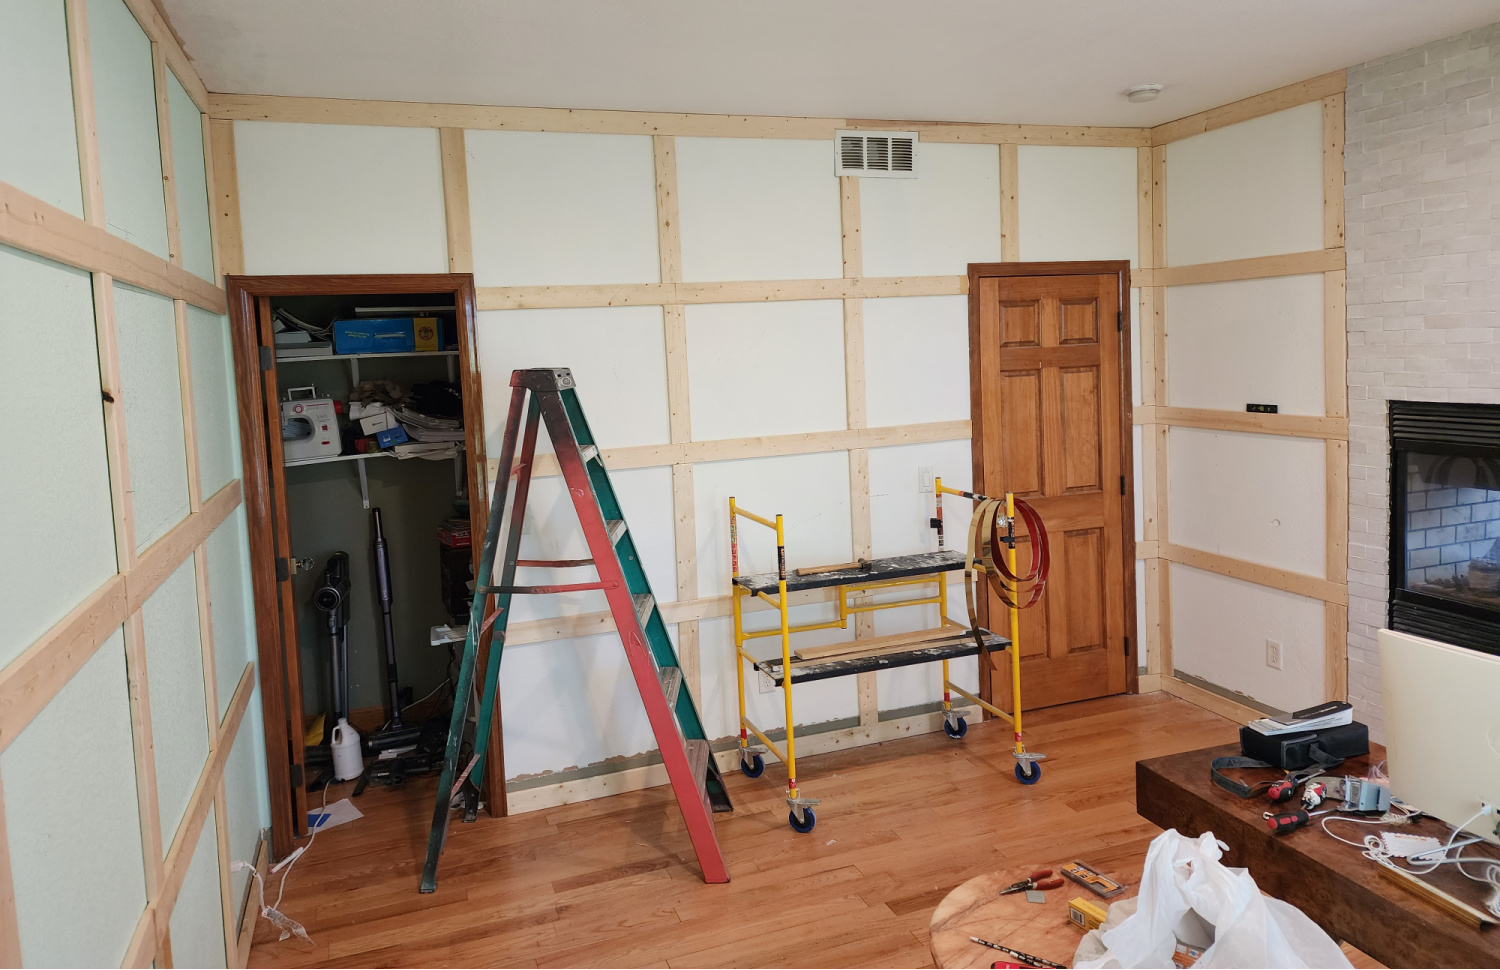
Next up its time to prep for paint. We caulked all the boxes for a clean edging followed by wood filler and a light sanding to smooth it all out.
We used commercial construction paper and painters tape to cover the fireplace and floor. Given all the molding we wouldn’t be able to roller or brush paint unless we wanted to be here for an eternity, so a sprayer was the way to go. We used this sprayer which we bought from Lowes and it worked so well. There was very little overspray, great even coverage and super easy clean up.
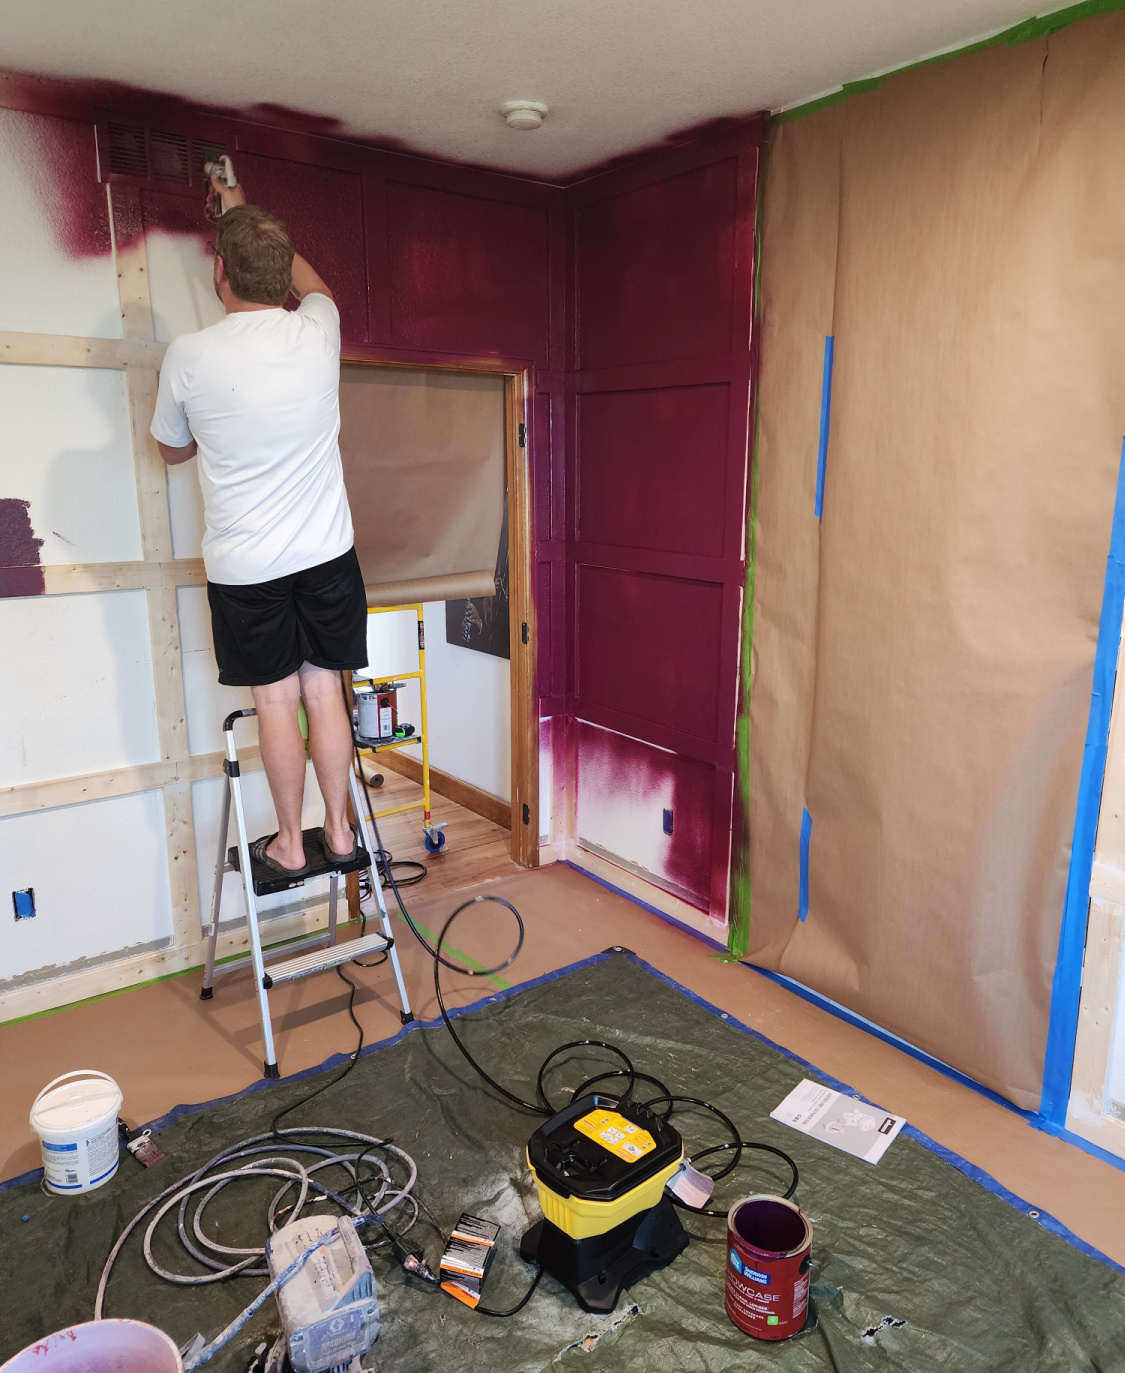
Color surprise!! I decided to go with Benjamin Moore’s Grape Juice, a rich plum color.
Given the dark hue it needed multiple coats but here is how it looked after the first go round.
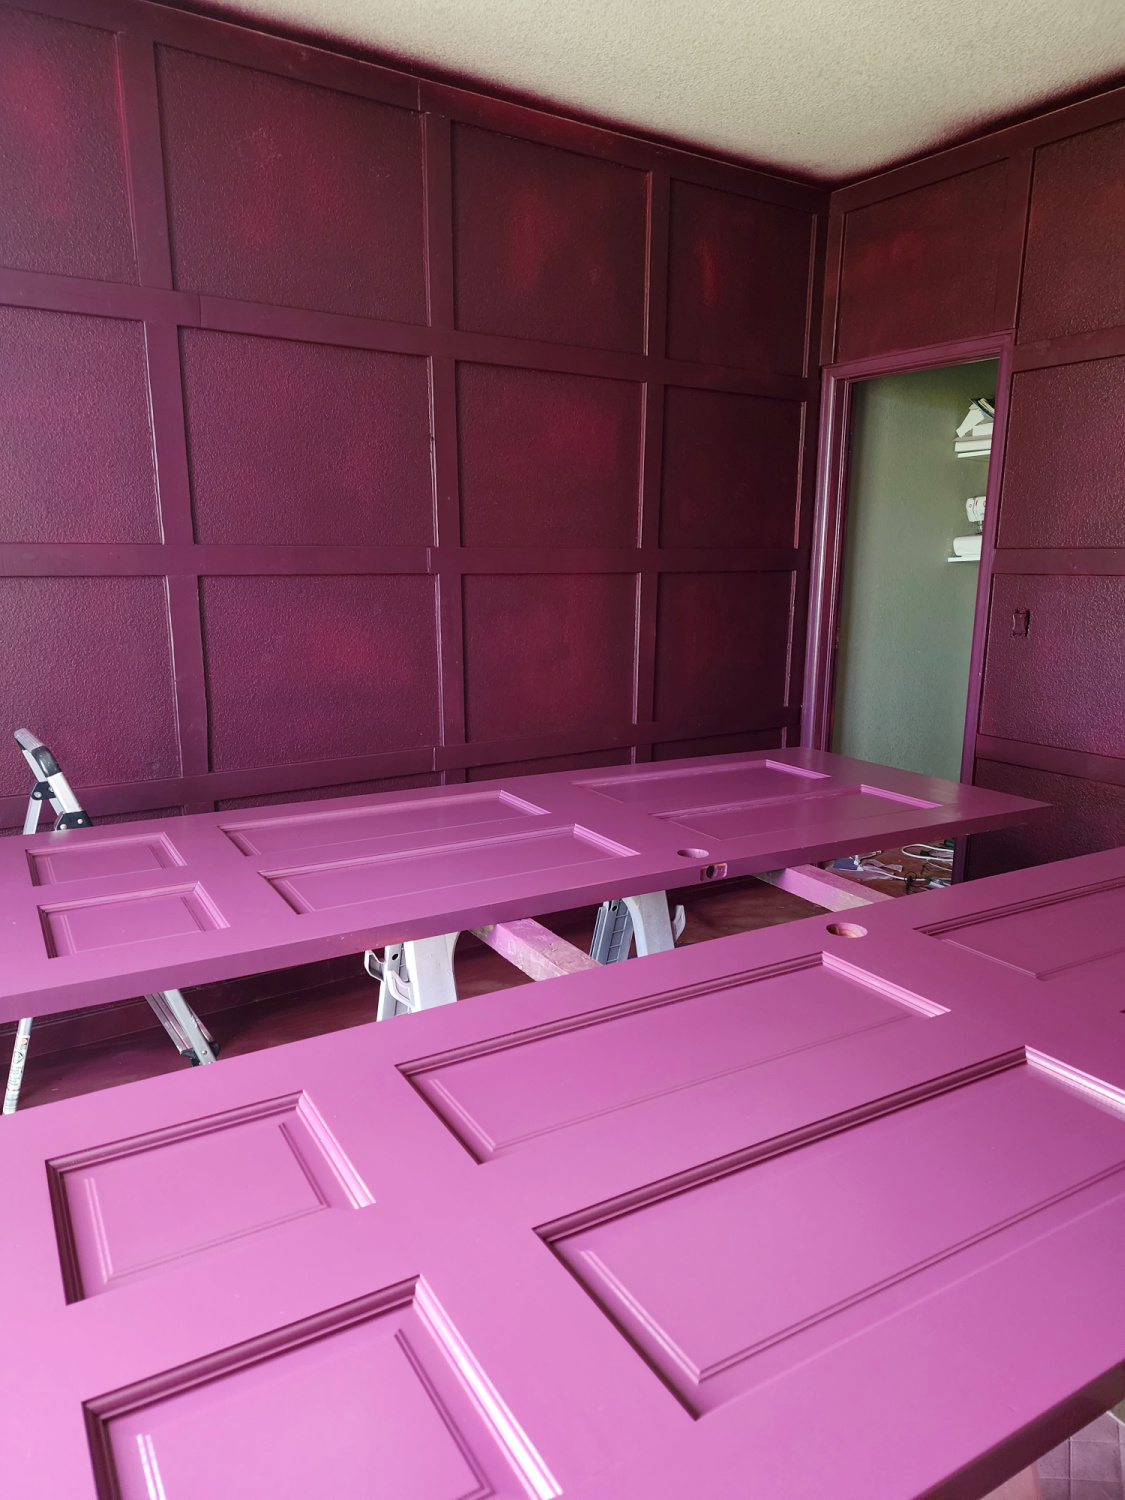 With the paint freshly sprayed it looks so much brighter here but how luscious already amiright?!
Another pass over it and a few touch ups later this is how it looks. All the heart eyes for this elegant color paneling combo.

The doors/trim are the same color freshly sprayed in a semi gloss finish, the walls are eggshell.
And here’s the dry finished color on the one solid wall in the space. In total we used 4 gallons for the walls. I was nervous about going so dark but I really wanted to push myself to try something outside of my comfort zone. Let me tell you I am SO glad I did!
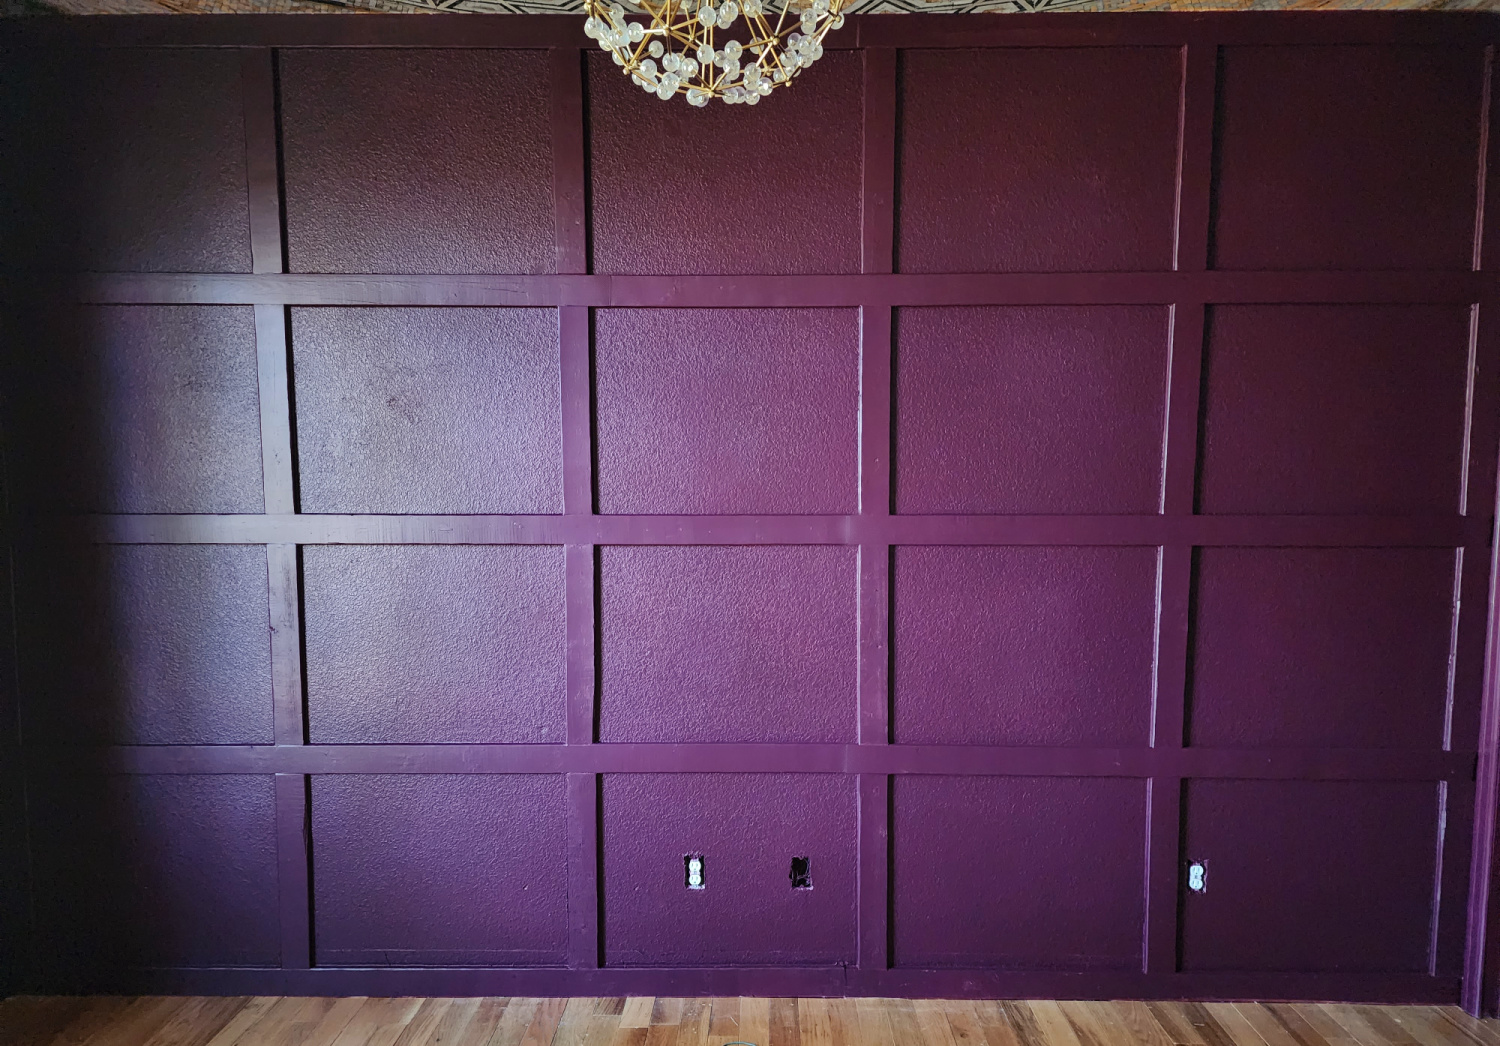
The paneling combined with the rich color really creates depth and mood.
Next up is the ceiling mural which is a knock your socks off, elevate it to the nines design. I’ll be sharing the tools I used and tips to installing a mural design that needs to be perfectly centered in the space.
What do you think? Would you install a full room of molding like this? How about using such a dark bold color in a small space? Be sure to hop on over to the ORC blog to see what all the other participants are up to, so many fantastic projects are happening.
I always love to hear from you so hit me up in the comments!
And don’t forget to pop your email in the subscribe box to be the first to know when the next post goes lives with all the goodies.
XOXOXO






Pat
October 30, 2022Fabulous!! As much as I love color, this is one I would never think of. I’m so glad you did! It’s deep, rich and elegant. Can’t wait to see the ceiling mural!
xo
Pat
Tina Bousu
November 6, 2022Thanks Pat! This color is outside of my comfort zone but I’m so glad I decided to go with it. I’m in love!