DIY Wallpapering a Ceiling
We’re continuing to make progress in my office with a ceiling mural installation! If you want to catch up to how we got this far you can peep the last post here.
To compliment the fabulous rich plum color and box paneling I decided to go with an equally statement moment in the form of a mural for the 5th wall.
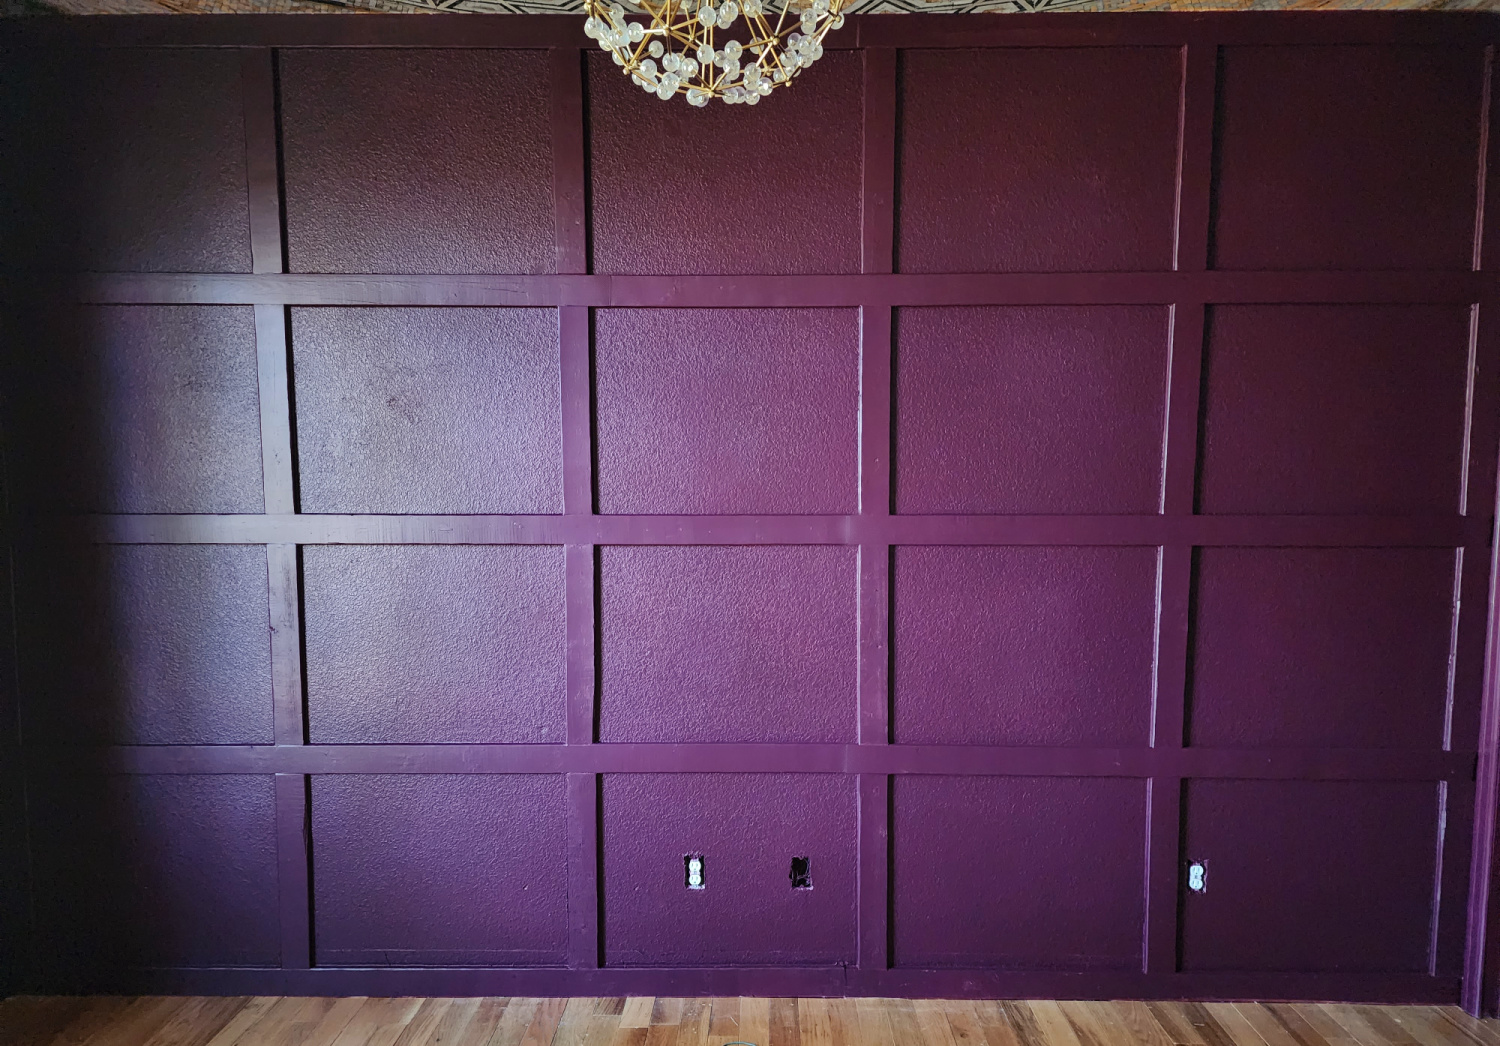
The back wall with our trim/box paneling project and Benjamin Moore’s Grape Juice color.
Installing wallpaper on the ceiling is trickier than walls with gravity working against you, but its still possible so have no fear.
My mural has a central point so it was crucial that I have it perfectly centered in the room. We began by measuring and identifying the exact center using chalk lines to mark the central intersection.
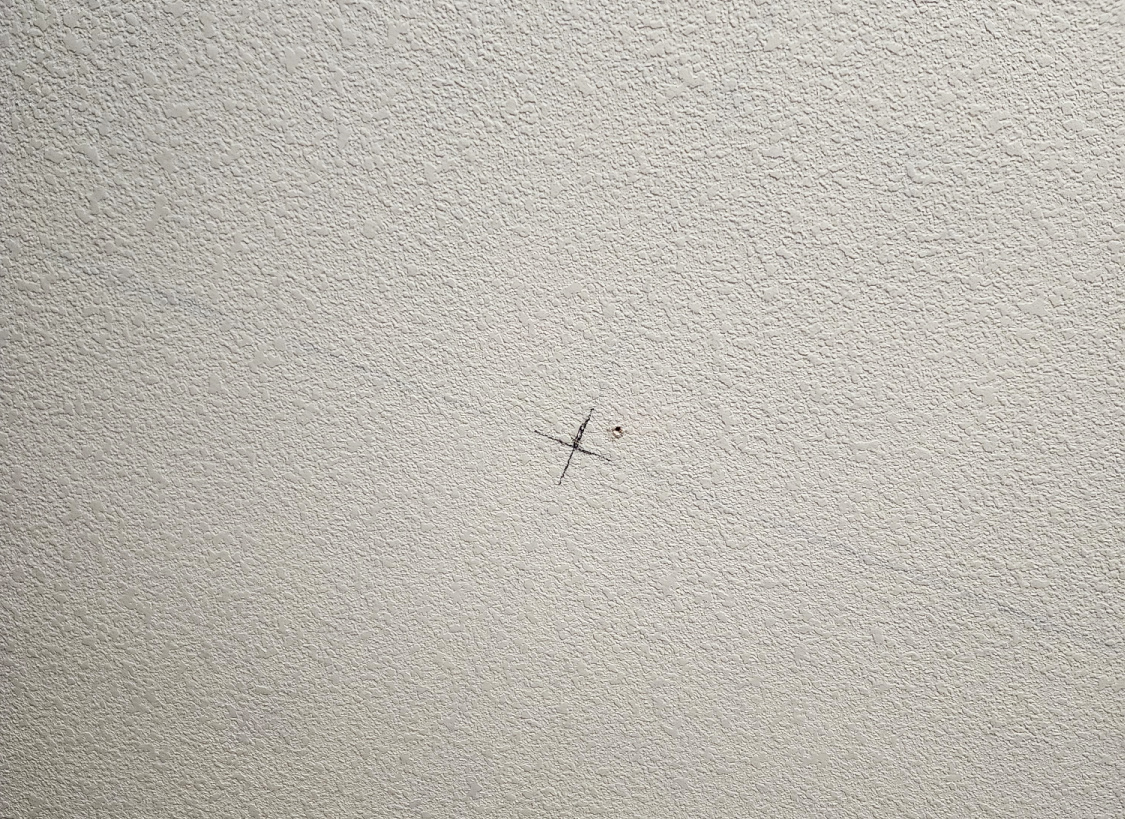
Here we used a pencil to highlight the center and make it easier to see from the floor. The hole is from a previous hanging piece so ignore that.
Time to start hanging the center strip on our mark. We used Roman 543 wallpaper adhesive, wallpaper glue roller heads, paint tray and large tabletop. Not pictured but important are a wallpaper smoothing tool, utility knife and laser marker.
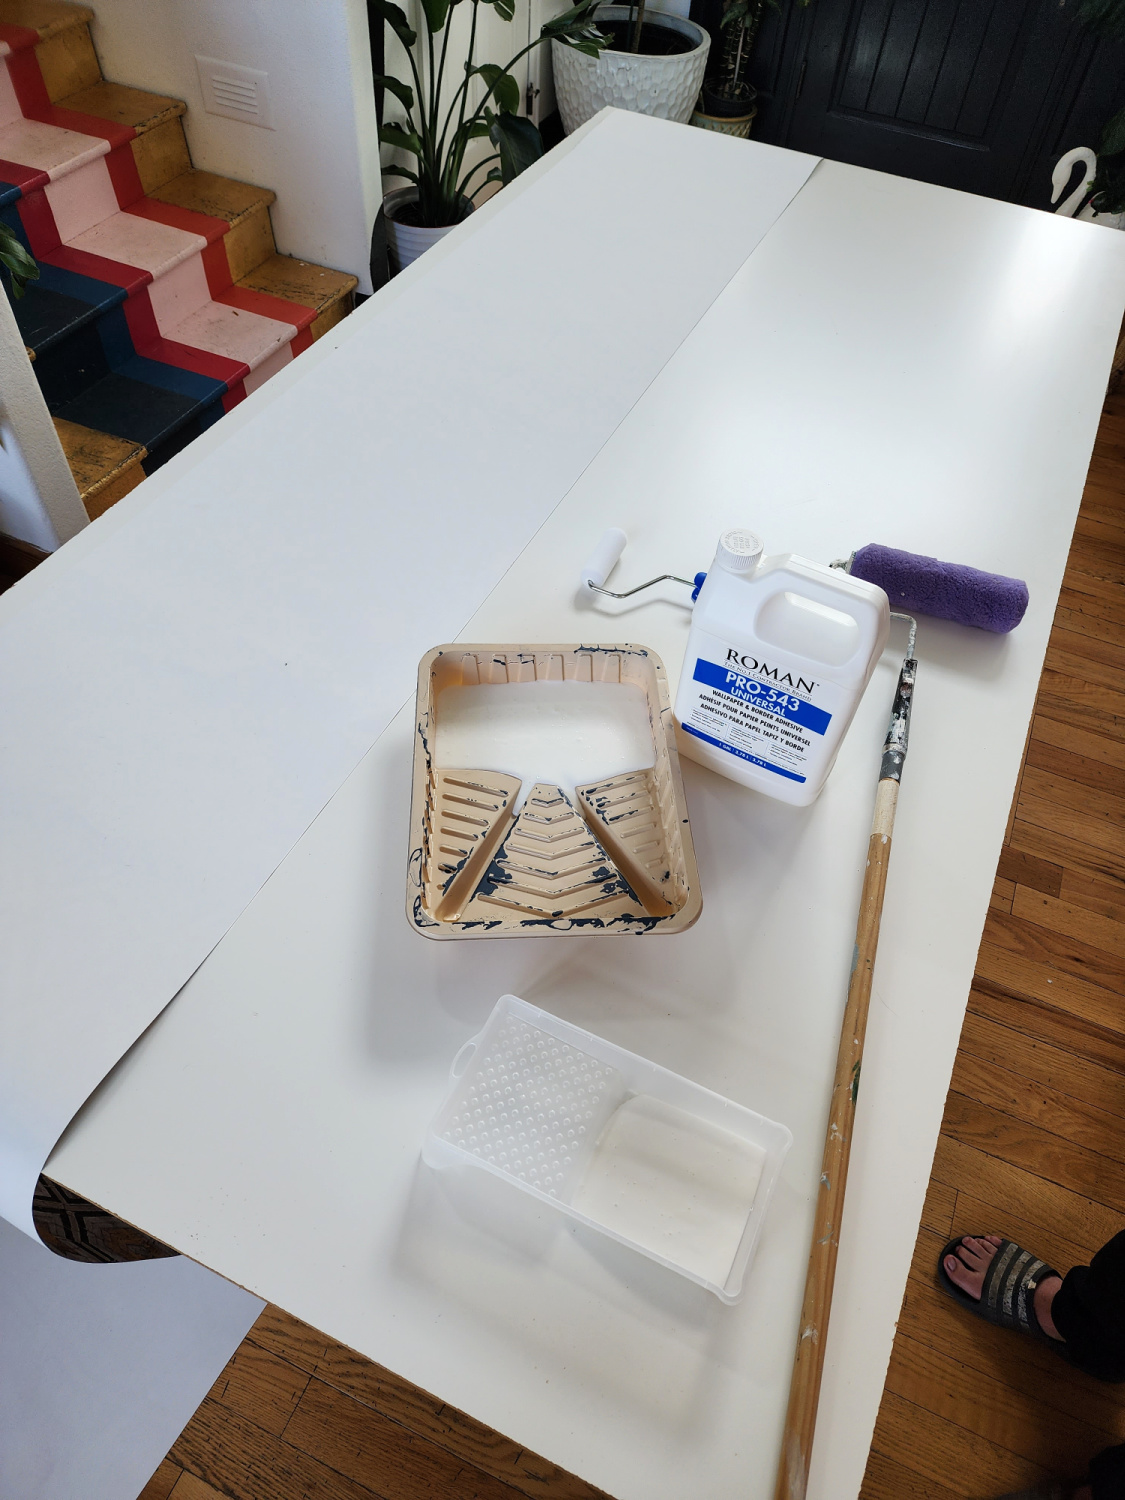
Prepped and ready to go.
We learned from previous projects that pre-pasting the wall and the strip it would give us more time to adjust the paper to line up perfectly. Once you apply the paste to the strip gently fold it onto itself.
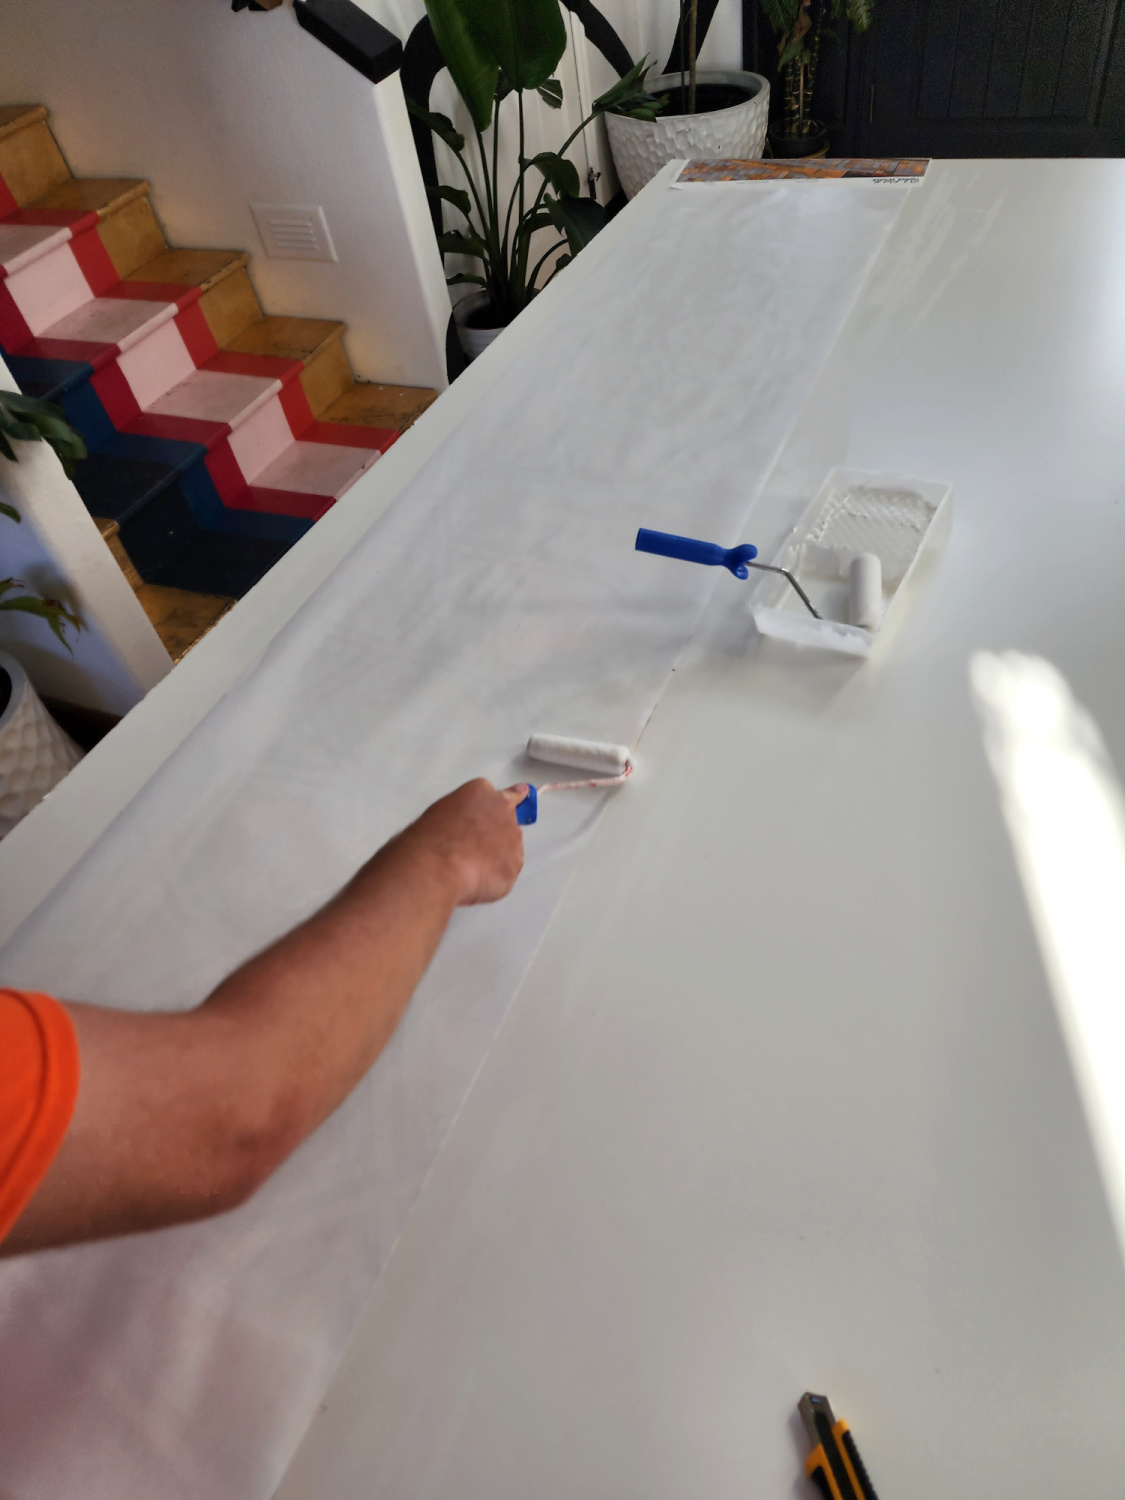
Rolling the adhesive directly the strip after applying it to the ceiling.
Get into position and start with the top portion. As you apply it slowly unfold and press firmly. Doing a ceiling this big I had my husband and son assist with holding the strip up so I could line it up and press down. This ended up being the easiest and most efficient way to apply it so I recommend a helper if possible.
Working from the center out be very careful to keep the strips perfectly straight using a laser line, it’s really easy to get crooked.
**Hot tip: Any wallpaper you order add 6 inches to your measurements to allow for overhang, this gives you a bit of extra wiggle room in case you get a bit crooked or the walls are just a bit different from one end to the other.
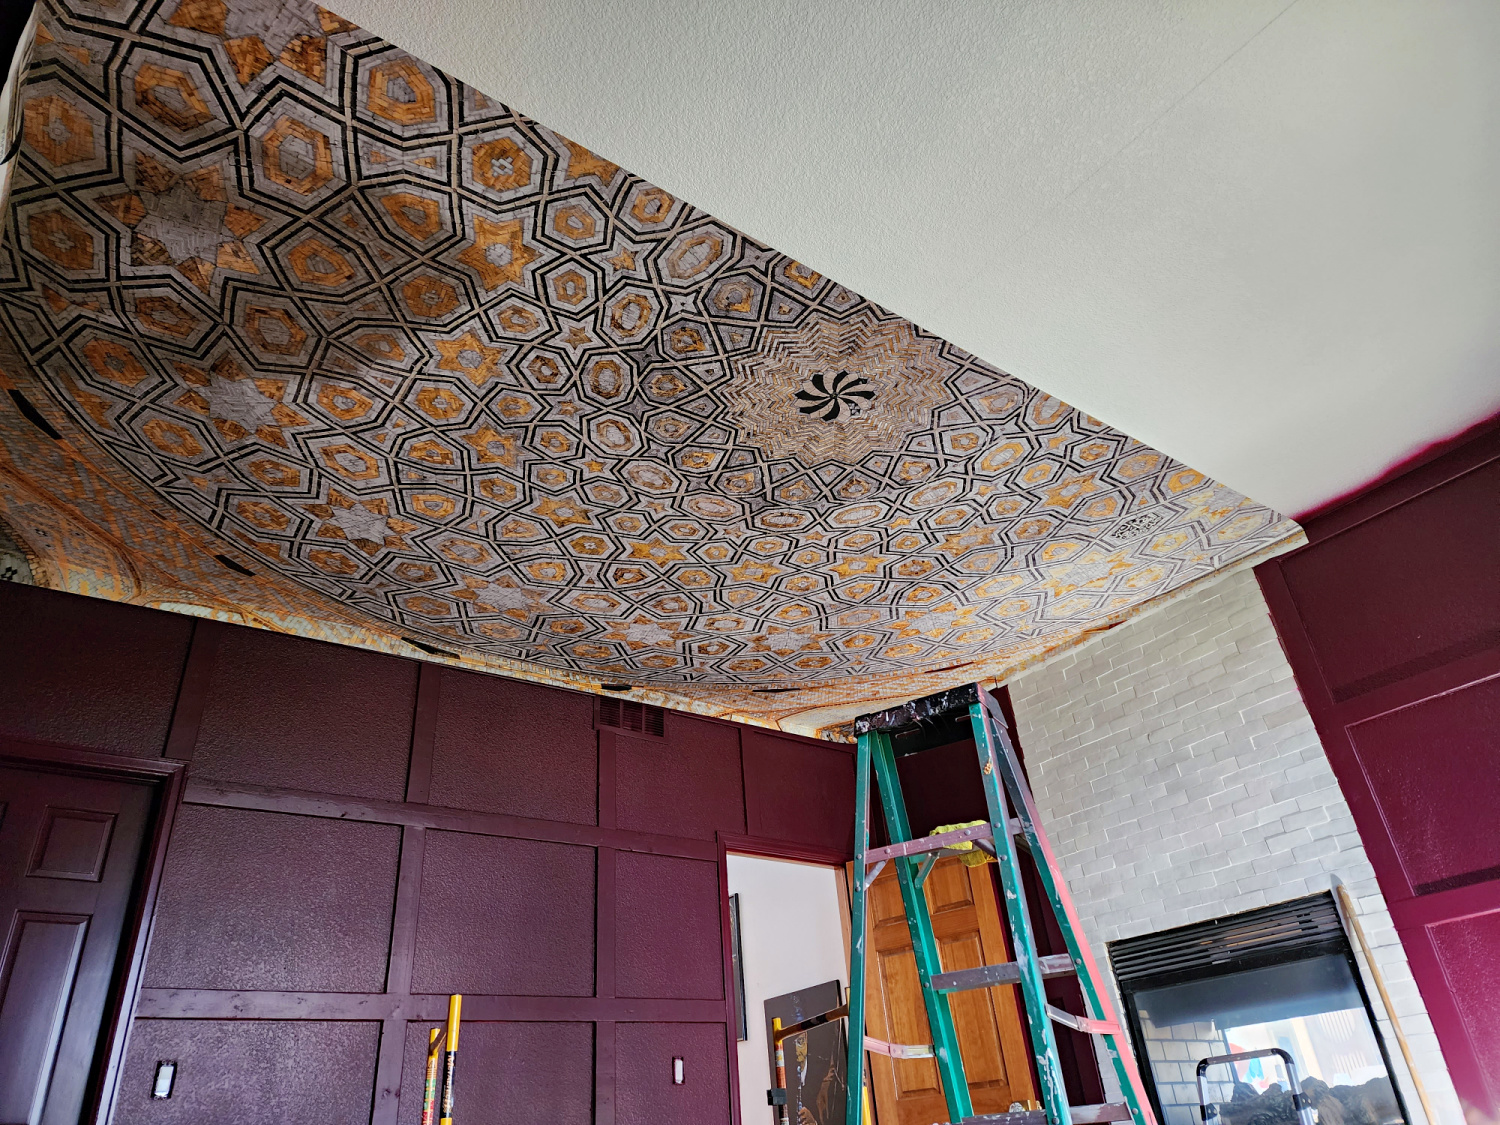
This is after we got the first half up, you can see the excess on both sides.
Another **Hot tip: Wait until the paper has set and the adhesive is dry before going back to trim it. You will get a much cleaner cut than if you cut it right away when its still wet. Also use a really sharp utility knife, preferably with a new blade for best results.

Looking from the other side, see the center point in the black and white circle? That’s what we were marking out in the beginning for perfect placement.
Most wallpaper murals come with the panels numbered for easy installation so there’s no confusion on what goes where. Continue your installation of pasting, lining up, pressing and creasing the ends at the wall until you finish your mural.
Once complete I left it to dry, then came back and trimmed the entire perimeter of the ceiling. The finished product looks like this!
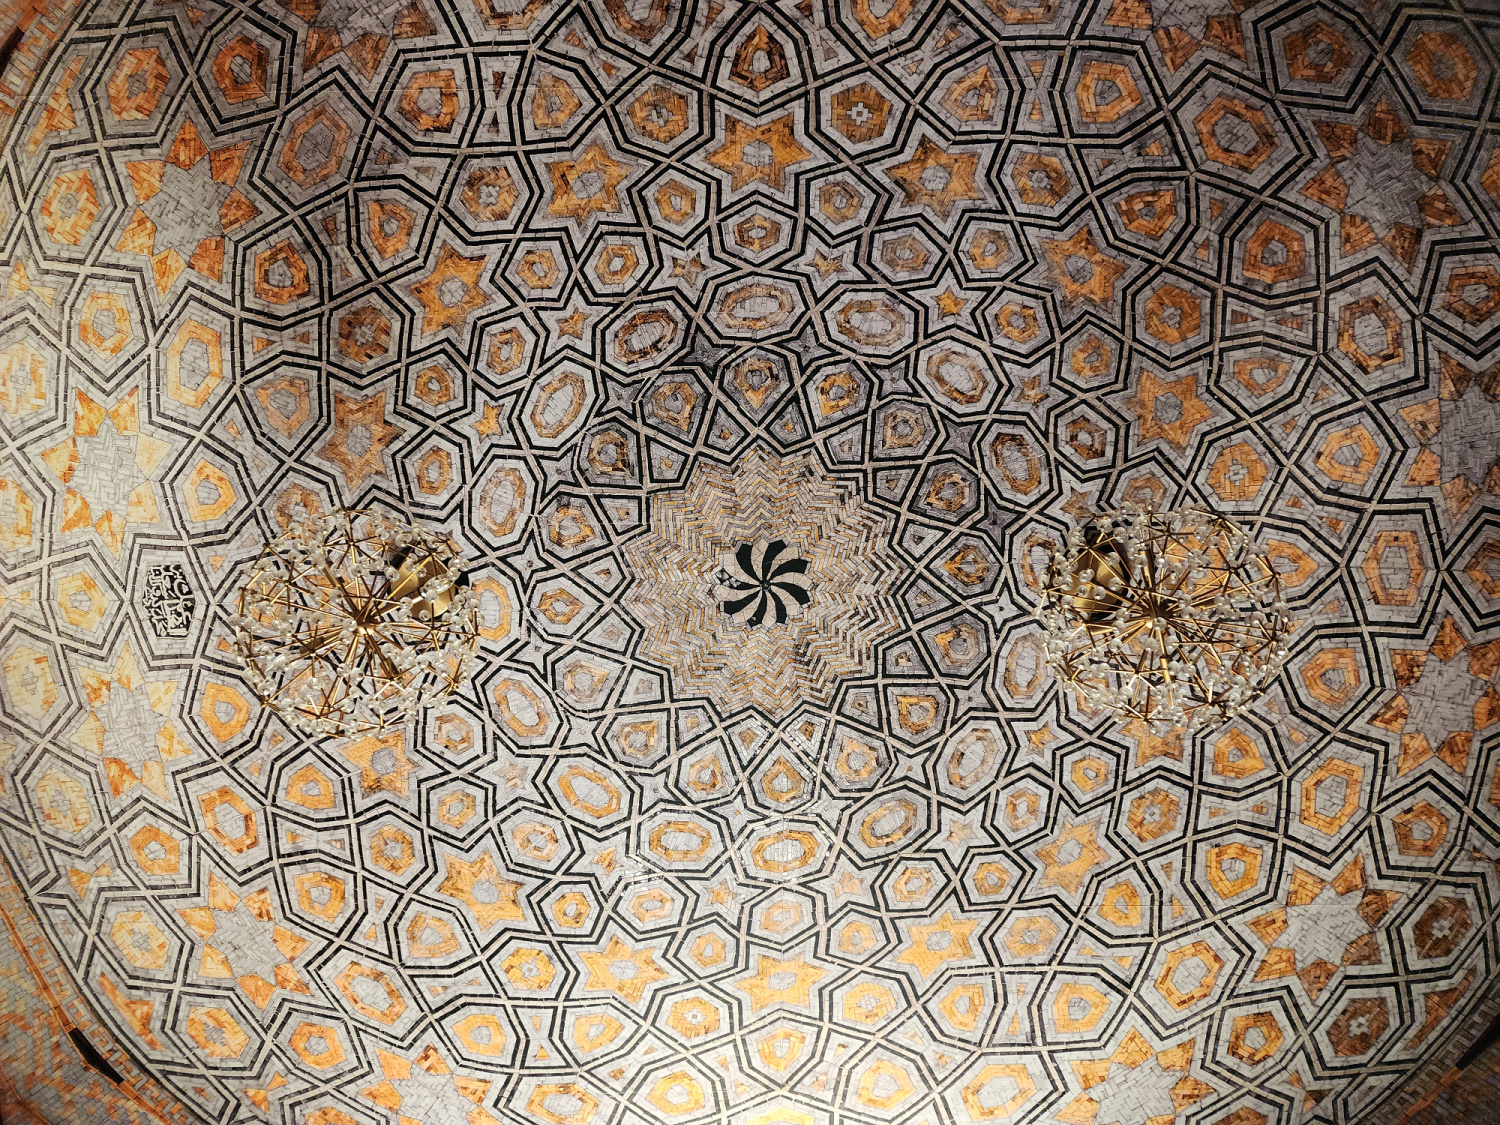
We installed the lighting right away, which are some fixtures I already had that worked perfectly with the mural.
And I’m definitely not gatekeeping and I know you wanna know, this is the Tehran mural from Rebel Walls. It’s a digital image of a tiled ceiling found in Iran and let me tell you, it looks exactly like a mosaic.
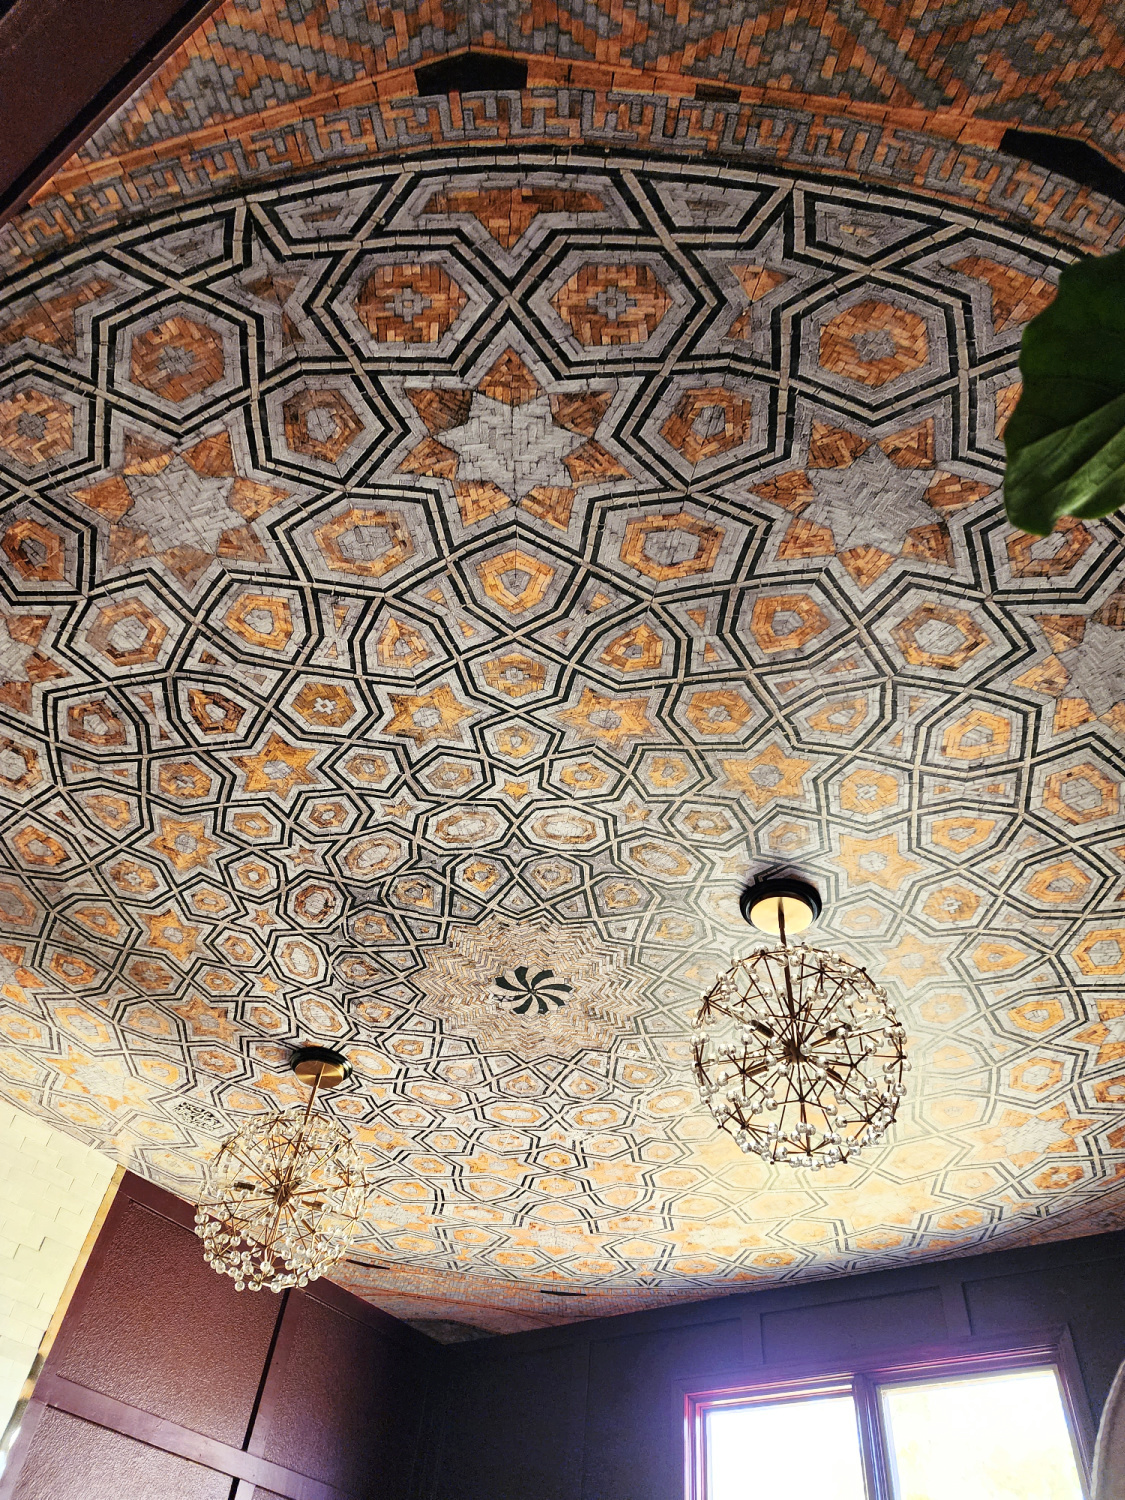
I love the way the walls are so rich in color yet balanced with the contrasting mural.
From the other side looking in, those were can lights that we adapted with kits from Lowes and installed the dandelion chandeliers.
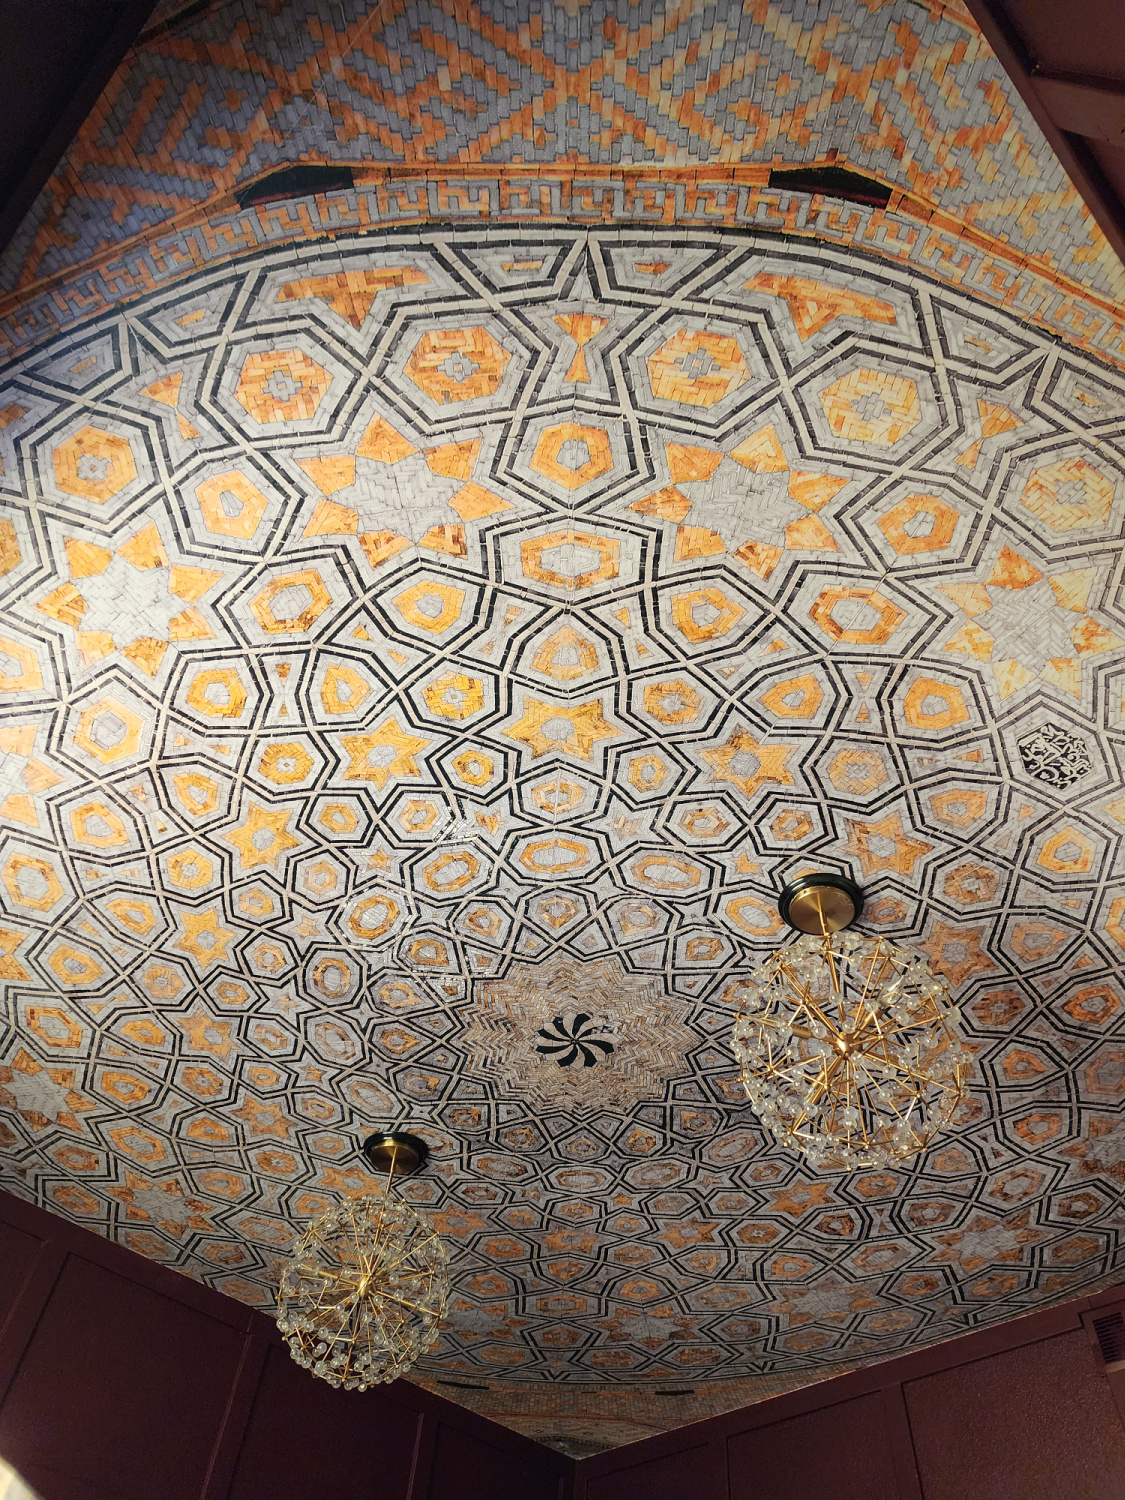
A statement wallpaper installation combined with a space full of custom woodwork and a rich color is a fabulous base for the finishing touches. Next up I’ve got a cool and super inexpensive trick to frame the fireplace along with a little DIY update on a facebook marketplace find!
What do you think? Have you ever installed wallpaper on a ceiling? Would you take a project like that on? I always love to hear from you so hit me up in the comments with your thoughts.
For more projects going on right now pop over to the ORC website, there are so many amazing spaces to see!
And don’t forget to pop your email in the subscribe box to be the first to know when a new post is up.
XOXOXO





Sunny
November 7, 2022I love how it came out – nicely done!
Tina Bousu
November 14, 2022Hi Sunny! Thank you so much
Tina
November 8, 2022I absolutely LOVE the ceiling!! It makes it look so dimensional and the lights are perfect. I’m sure that it’s even more awe inspiring in person. And a hard no! I would never attempt this! 😂
Tina Bousu
November 14, 2022Gah, thank you sweet lady! The lights have been sitting collecting dust in my storage area for a few years, I always meant to sell them. Luckily my laziness paid off and they worked perfectly here. haha And you could totally do it! xo
F. Ali
April 6, 2024I absolutely adore this ceiling! I come from an Islamic background and have been mulling over this wallpaper for my dining room ceiling for a couple days. Seeing your post and how nicely executed it is, has tipped me over the edge!!! I’m obsessed. Now I just need to convince the hubby to get onboard 🤭
Tina Bousu
April 12, 2024Hi! Ooo yay I hope you get to use it, its totally worth the effort!