How To Add Fringe to Furniture!
Starting the new year off right with a quick and easy DIY project! I promised this tutorial when I revealed my new office space and thanks to the holidays time just got away from me.
Thus it’s been a couple of months since I did this and I’m happy to report that the fringe is holding up perfectly with normal use!
I knew I wanted to try fringe on a piece of furniture, I just needed to find the right piece for this room. Whelp the universe answered with this vintage pink beauty on FB marketplace for $200.

I love the smaller dimension, the angled arms and the color. Bonus, it’s so comfortable and literally in perfect condition!
Next up was ordering my bullion fringe, I got mine from Amazon but there are tons available on Etsy and fabric/upholstery sites as well. I decided to go with a deep blue to tie in the color of the rug, but also to contrast with the pink for a bold moment. *Tip: Measure your furniture length and depth then convert it to yards, this will tell you how much fringe you need to order.

I previously glued some feather trim onto chairs that I turned into counter stools. (see that project here!) So I had leftover Liquid Stitch from that project. It worked well with those so I figured it would be a safe bet with this fringe. Also you most definitely need pins to hold the trim in place while it sets.
Now to remove the skirting. I have done this several times with other pieces and just this step alone is a quick way for an instant update to any piece of older furniture.

All you need is a scissors, pliers, and flathead screwdriver.
I always start at a corner. Since the fabric is usually overlapping and double stitched here just cut straight up to where its stapled into the frame. Take your flathead screwdriver and wedge it up into the staple popping it out. If they break (age causes alot of staples to break in half when removing) use the pliers to grab the edges and pull them out.
Here’s the sofa after I removed the entire skirting! Much cleaner and fresher looking already.

It took me maybe 30 minutes to remove the skirting and all staples. It really is so easy.
Next up was attaching the fringe. I started on a back corner, this allowed me to do the entire front and sides on one full length piece of fringe before I had to start a second for a seamless look.

A super easy way to line it up to be sure its straight is to follow the indention left behind from the skirting.
I apply the Liquid Stitch to a section, maybe 2 ft, then line up pull tight and hold with one hand while using the other to pin at an angle securing the trim to the sofa. Repeat all the way around.

This takes a bit longer, just from the tediousness of lining up/pinning the fringe and scooting around. To do the entire sofa took me an hour or so. Not bad at all for the look but I couldn’t stand up straight for awhile after haha.
I let it sit overnight and checked on it the next day. It was completely dry and fully adhered to the sofa. I just went around and removed all of the pins to be left with this lovely sight!
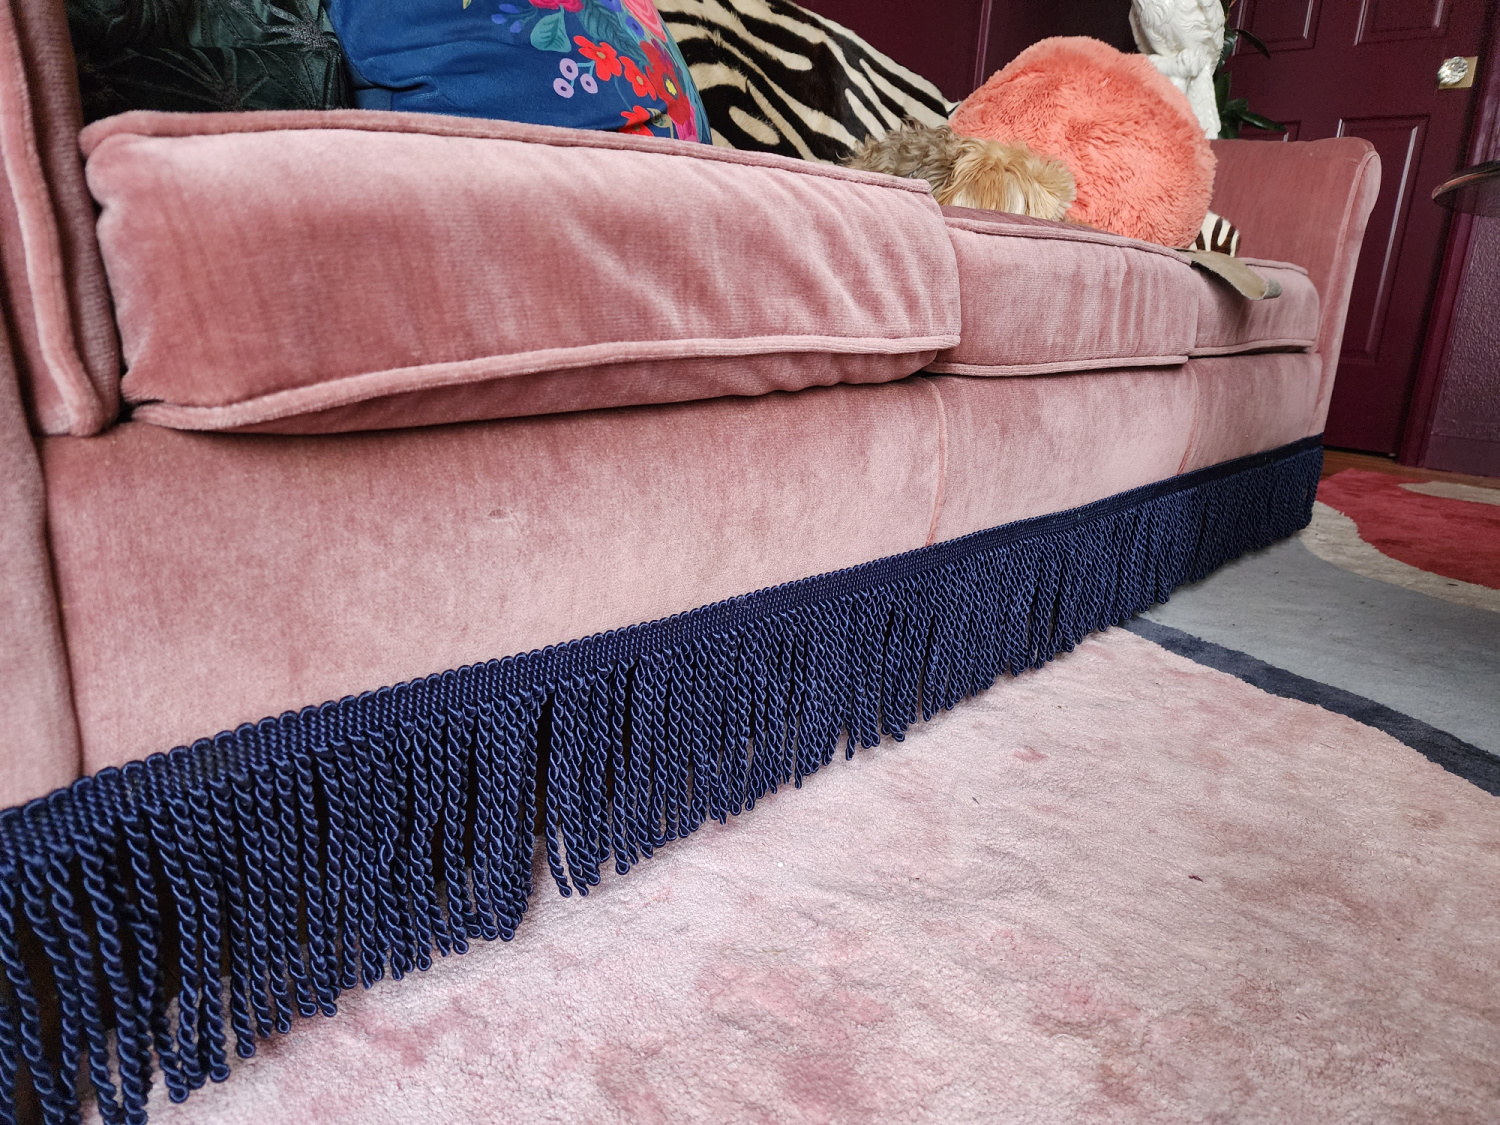
I’m officially obsessed with fringe now and will most definitely be doing it on other furniture in the future. Especially considering how easy the whole process was!
Here it is in the completely finished room. Because I just had to add some extra jooj I draped a zebra print cowhide over the back for a patterned moment. (For more pics of the finished space check it out here!)
And the entire sofa in the room with that added textural element of the fringe. It leveled up the whole piece and creates this fabulous transition from rug to sofa/wall tones.
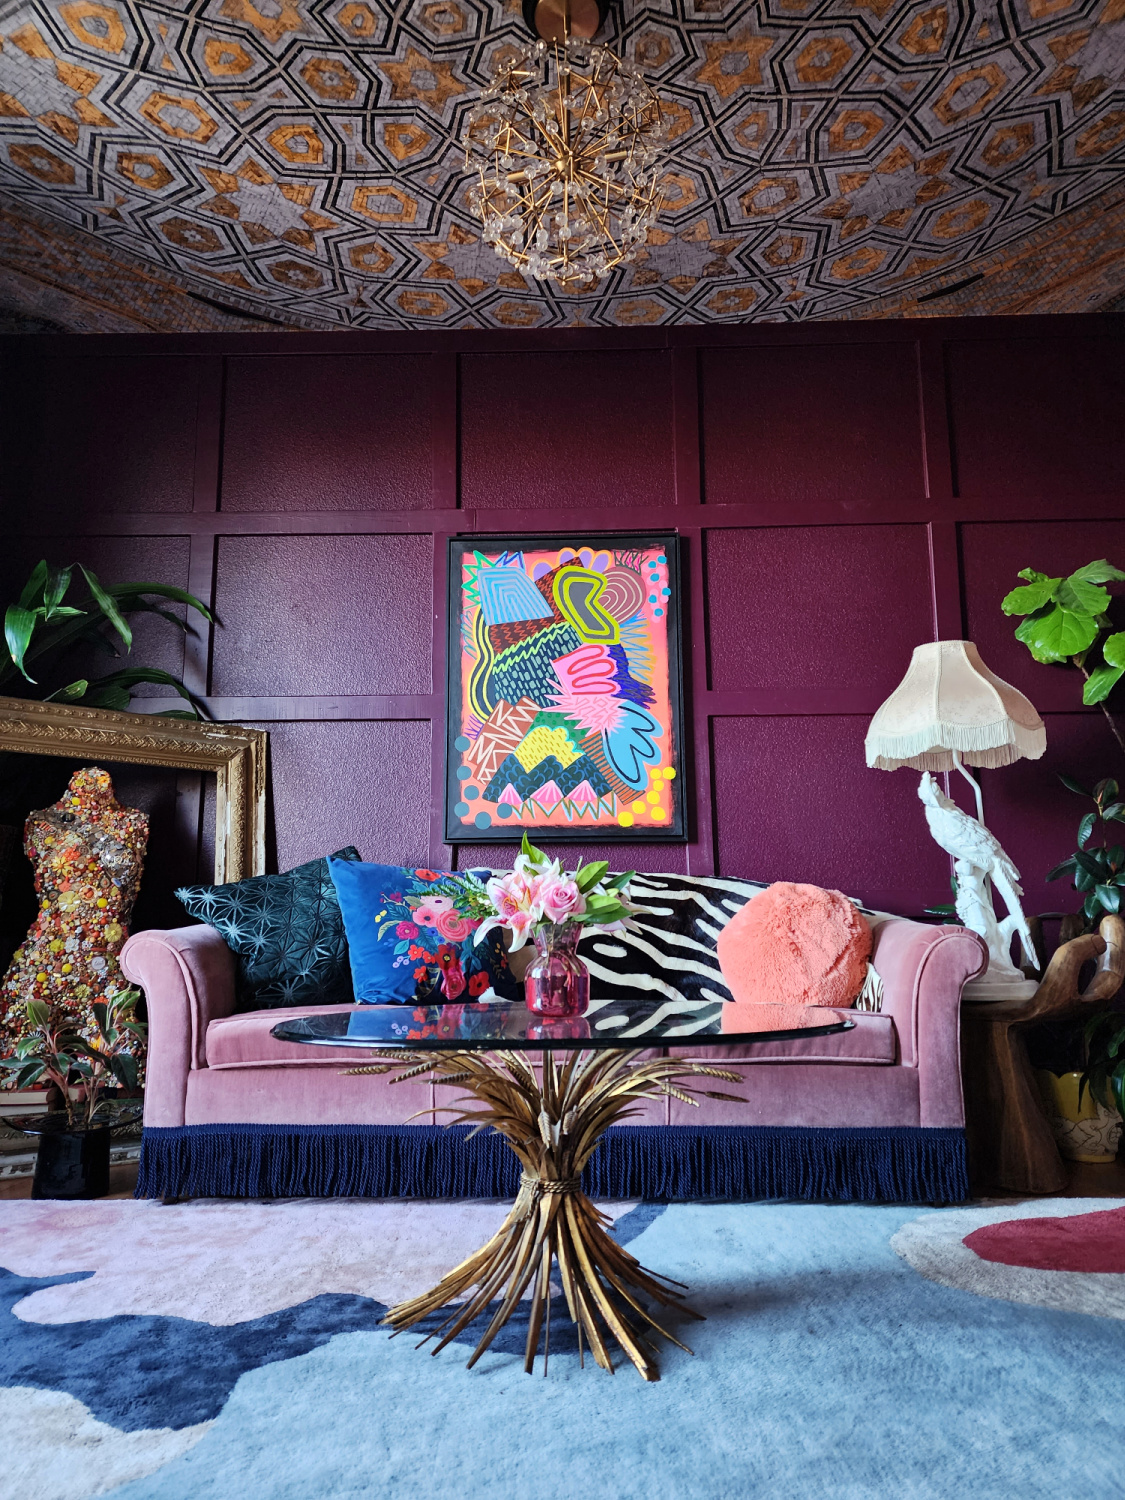
It adds such a custom detail at a tiny fraction of what custom would have cost. I spent a total of $270; $200 for the sofa and $67 on fringe, and I could not be happier with how it turned out!
What do you think? Are you ready to add some fringe to your furniture?! I always love to hear from you so hit me up with any questions/thoughts, etc in the comments!
And don’t forget to hit up the subscribe box for new posts when they go live!
XOXOXOXO





Kim
January 5, 2023So good!!!! Now I want to go find a sofa I can try this on 😆
Tina Bousu
January 6, 2023Hi Kim! Highly recommend, I’m thinking about chairs next!
Louisa
September 24, 2024Do you know how I can get very deep fringe? Like 17inches s my sofas is very high..?