From Dumpster to Bridgerton: DIY Upholstery Project!
Yes you read that right, from the dumpster to Bridgerton! This was a heart project for me. It started when I spotted them sitting in a local thrift store. I grabbed the furniture area manager to get a ticket for them. We got to chatting and he had found them in their dumpster, someone had dumped them overnight. 😬 He thought they could be saved. I completely agree and at $60 for the set I decided it was worth attempting to bring them back to life.
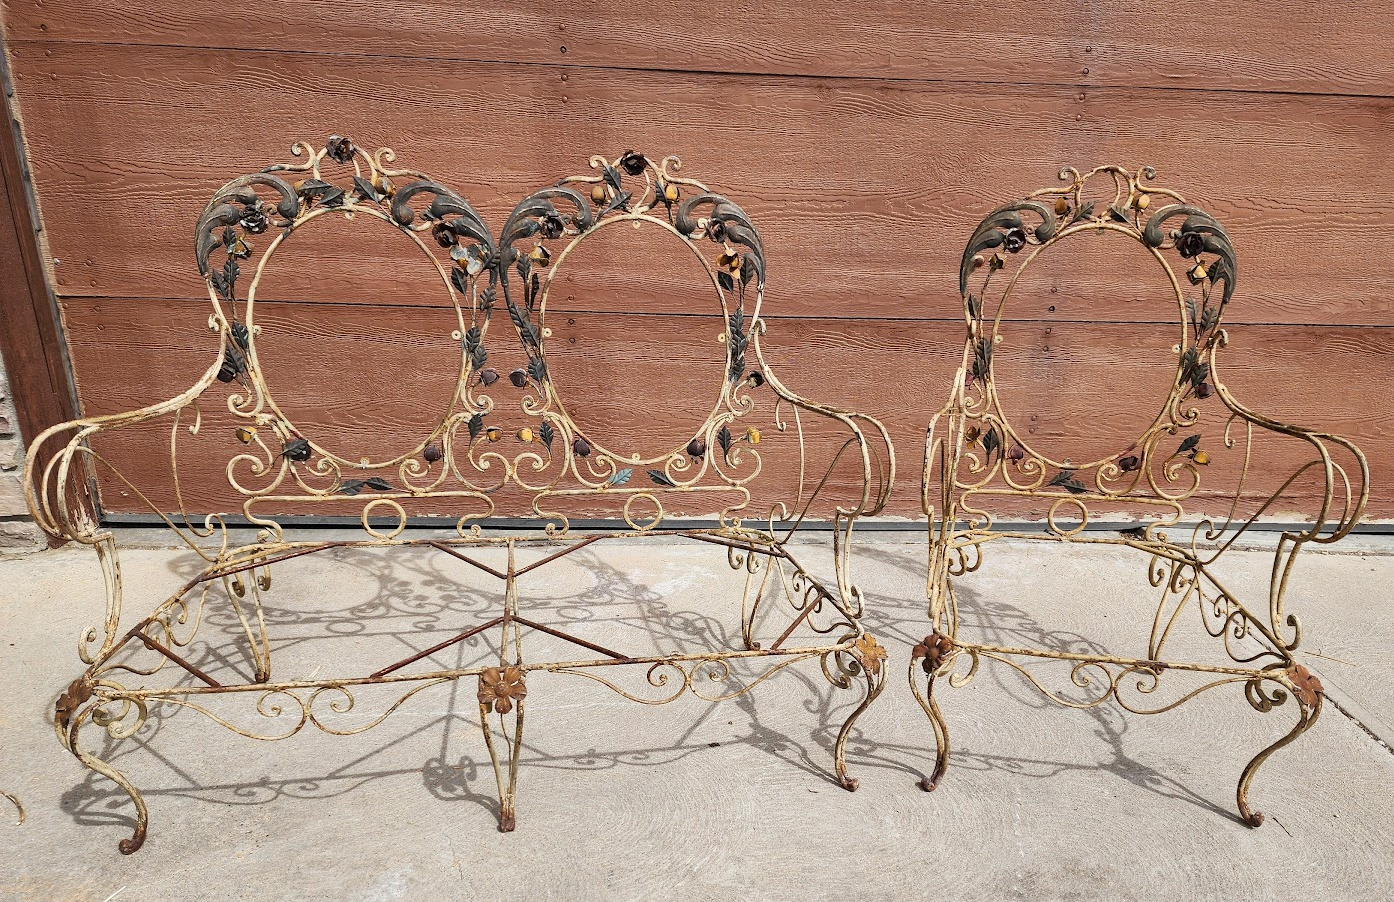
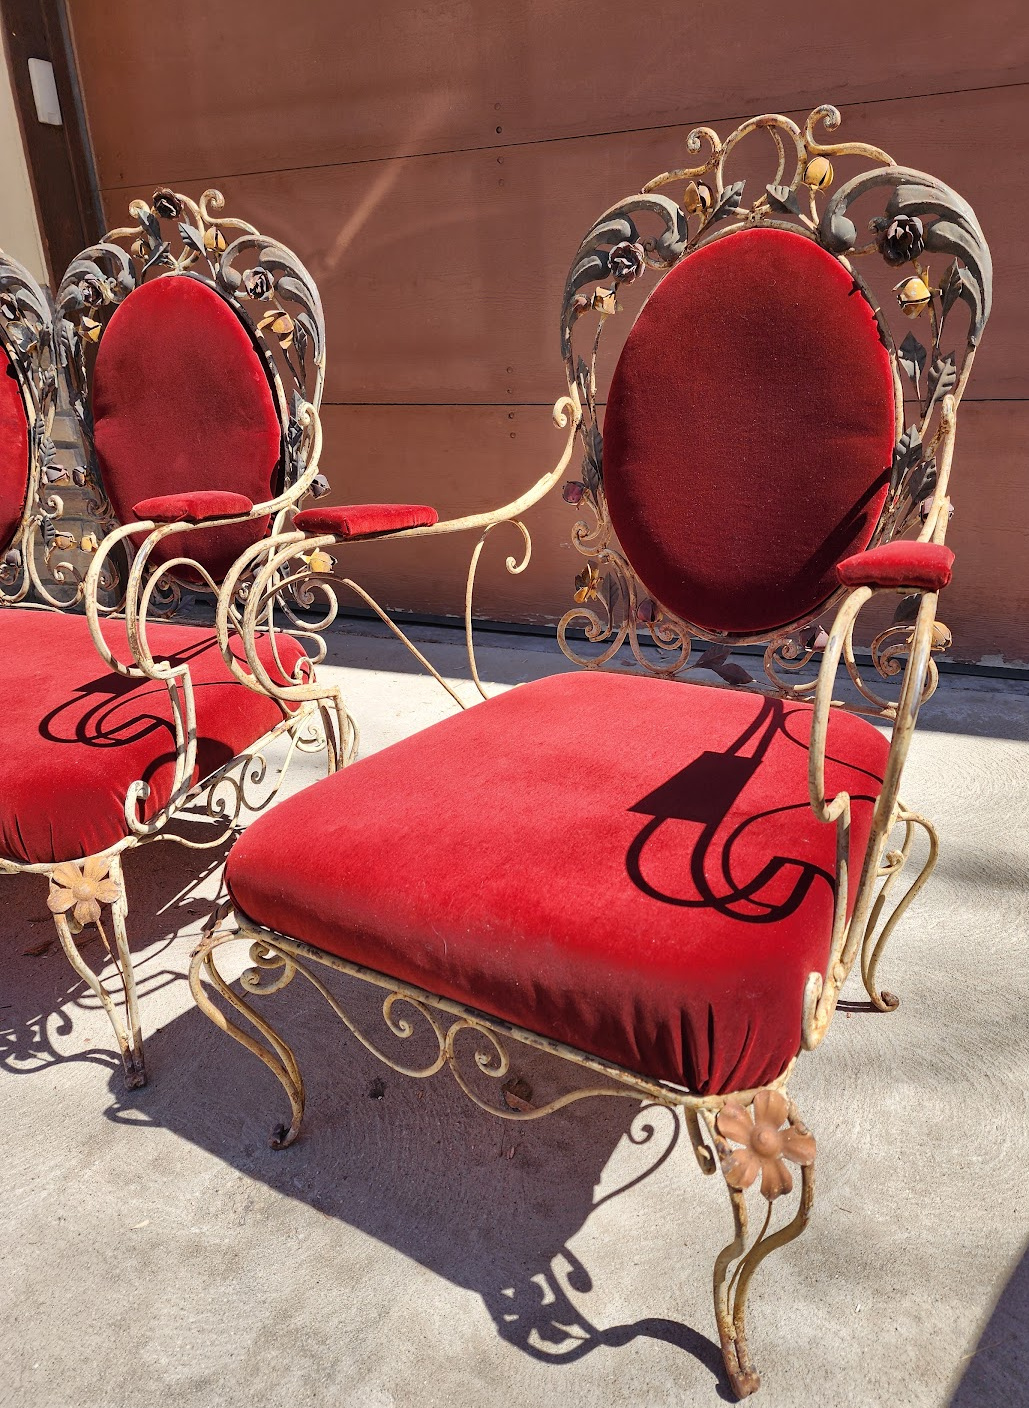
Here are the pieces, they came with no seats.
The first step was removing the existing back cushions/armrests and make seat bases. We had some leftover plywood that was the perfect width and cut 2 pieces in the shape of the frame, 1 for each seat.
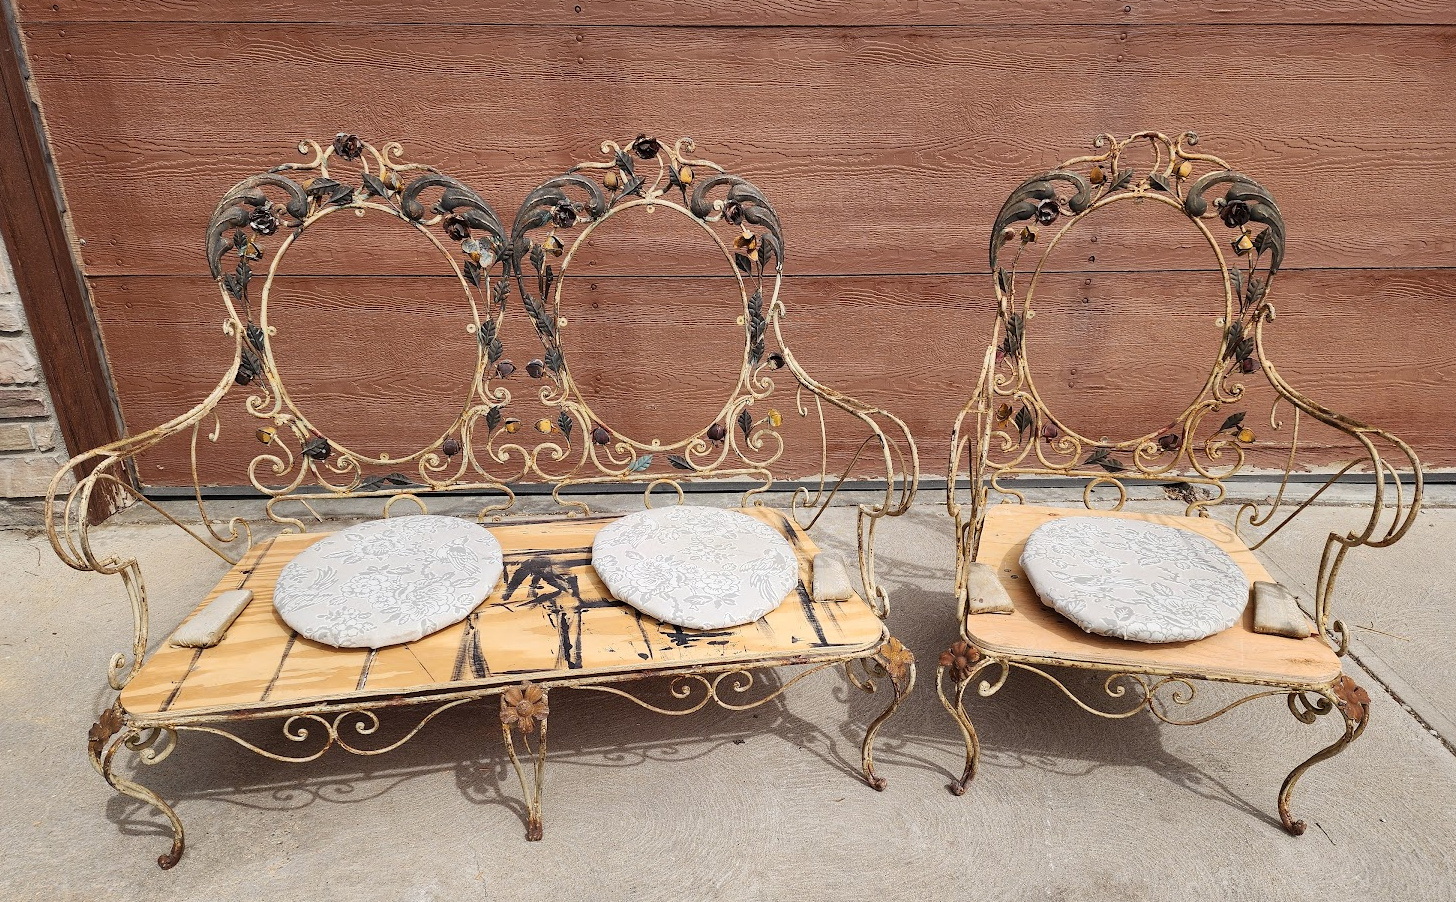
This is what I was left with to start working on upholstering. The original seat back cushions, armrests and seat bases.
I grabbed 3″ cushion foam and upholstery batting. Cutting the foam to fit the bases I used this spray adhesive to attach it to the plywood. Next up was the batting which I cut with enough excess on each side to wrap the cushion and secure underneath.
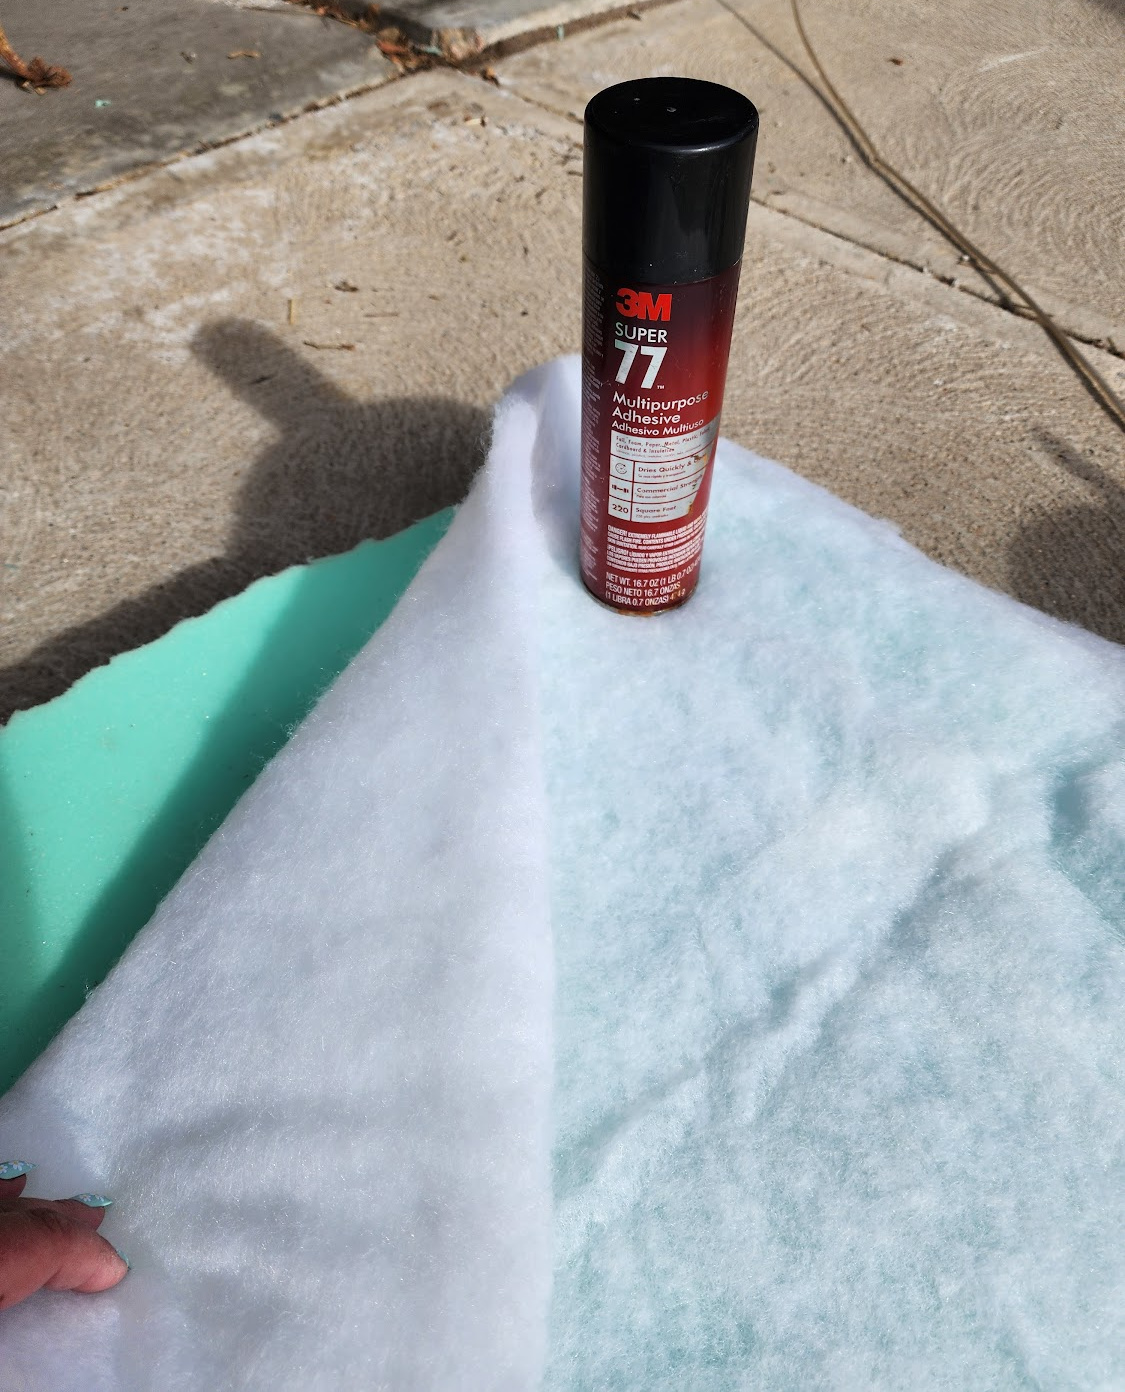
I let the adhesive dry overnight and it was ready to continue working on.
Here is the cushion after securing the batting on the underside using a staple gun.

I tested out the comfort level to be sure this was enough for a good seat and it did the trick!
I found a full bolt of this rich deep burgundy velvet fabric for $7.99 at the thrift store. I went back and forth between the light blue fabric in the background and this burgundy. Ultimately this seemed like the perfect choice for the set and I had plenty to do the entire project.
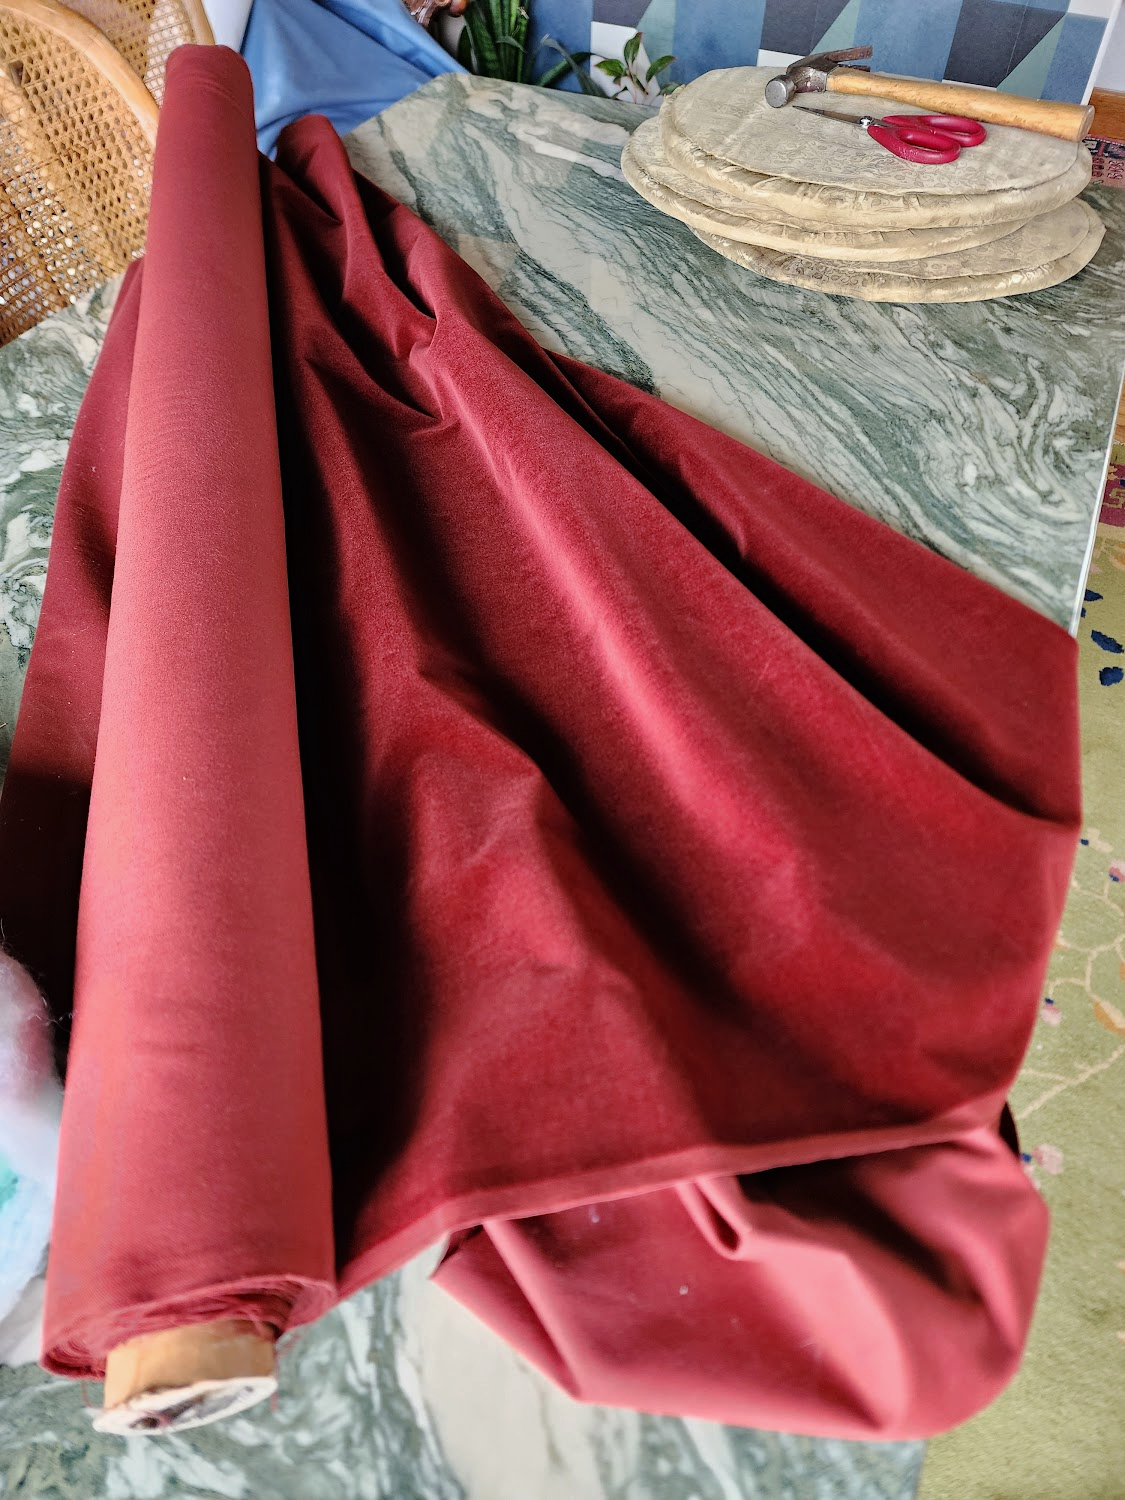
You can find just about everything at the thrift store! I got several bolts of different types of fabric all for $7.99 each.
Here I am testing the look on the chair before diving into the rest.
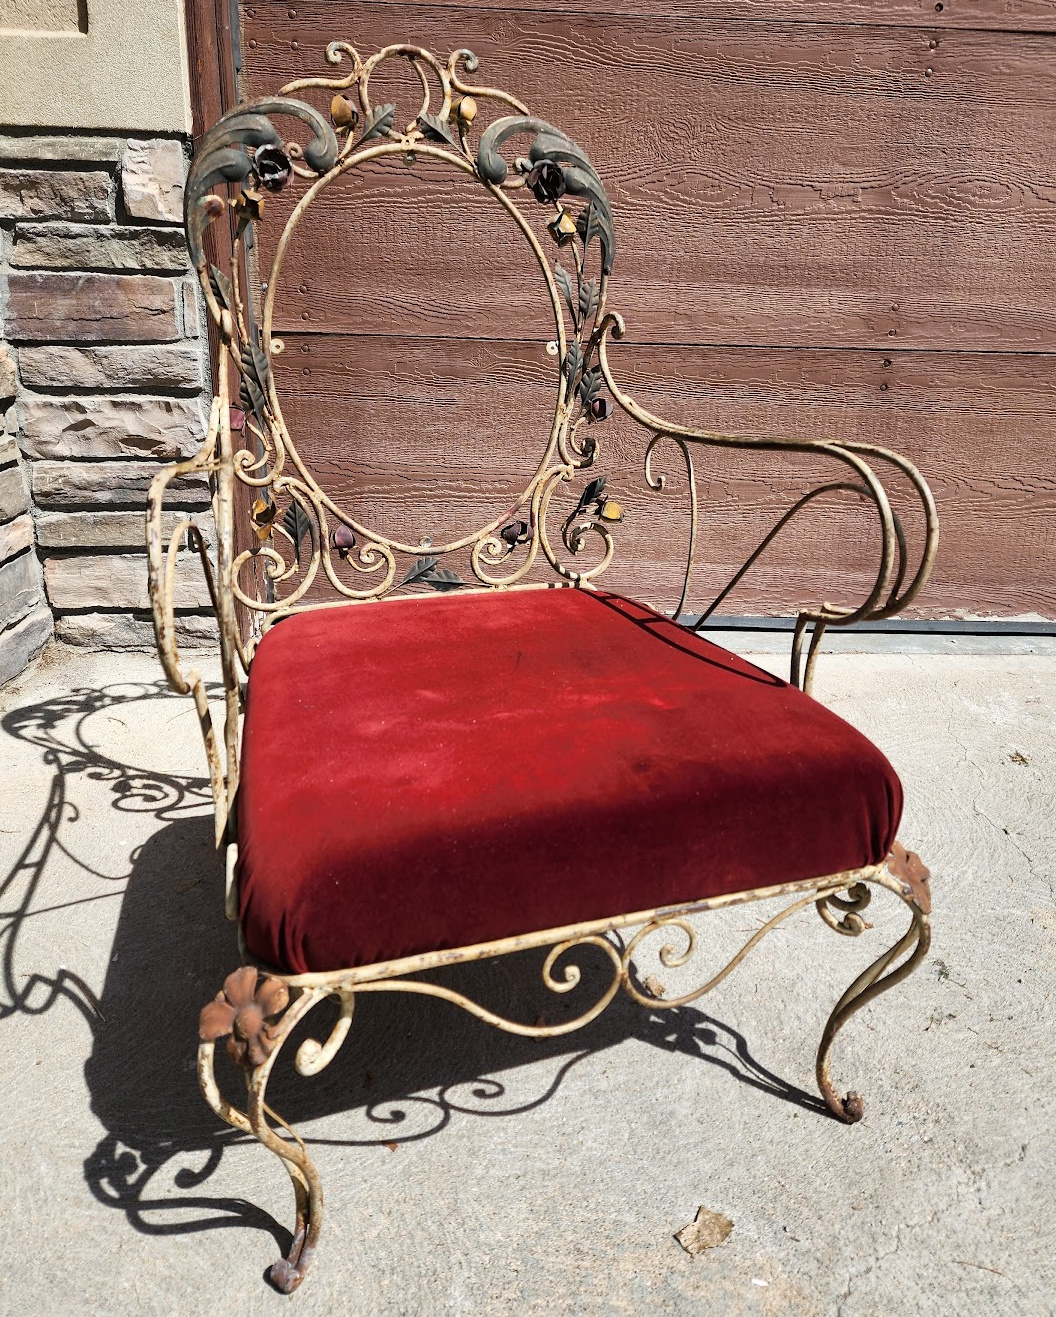
It looks so luscious.
I opted to create a pleated look at the corners because I felt it fit the vibe of the frames while bringing a softness to the iron. Repeat the same upholstering on the bench seat.
Next was removing the old fabric from the armrests and spraying a bleach solution on them. I let those sit outside in the sun to get rid of any icky that was in there.
Then I upholstered those. You can see the traditional staple gun at the bottom of the pic but my hand was so sore we ended up grabbing an electric staple gun for $35. SO worth it! It made the zillion staples I did so much easier.
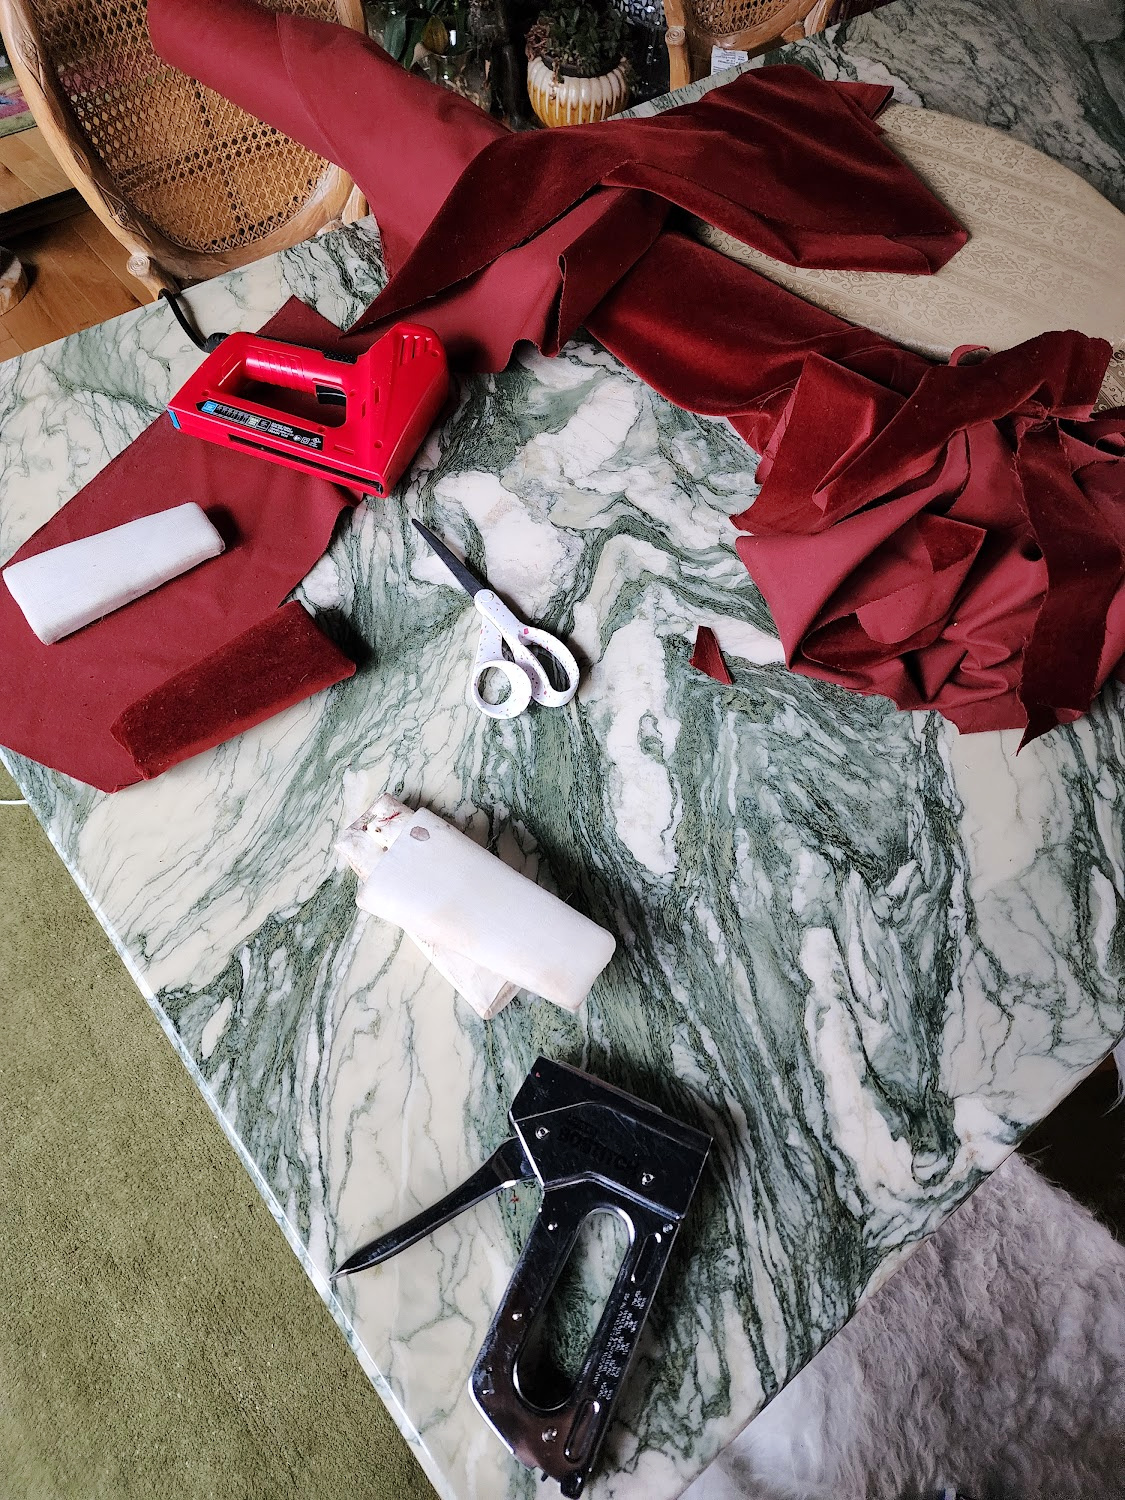
We had to figure out how to deal with the back cushions. The existing were just meant for the front side to lean on. That meant there was no support to lean into, with the added problem that the frame would look incomplete from behind. So I decided to make a second back support piece that would attach from the backside.
We traced out the existing cushions and cut out more scrap plywood.

I sanded all 3 plywood pieces down so they were smooth and even. Prep for the cushions involved stripping off the layers of fabric and repeat the bleach/sun treatment. They were disgusting! They had 2 layers of poorly done fabric and a piece of cardboard for support. 🫣
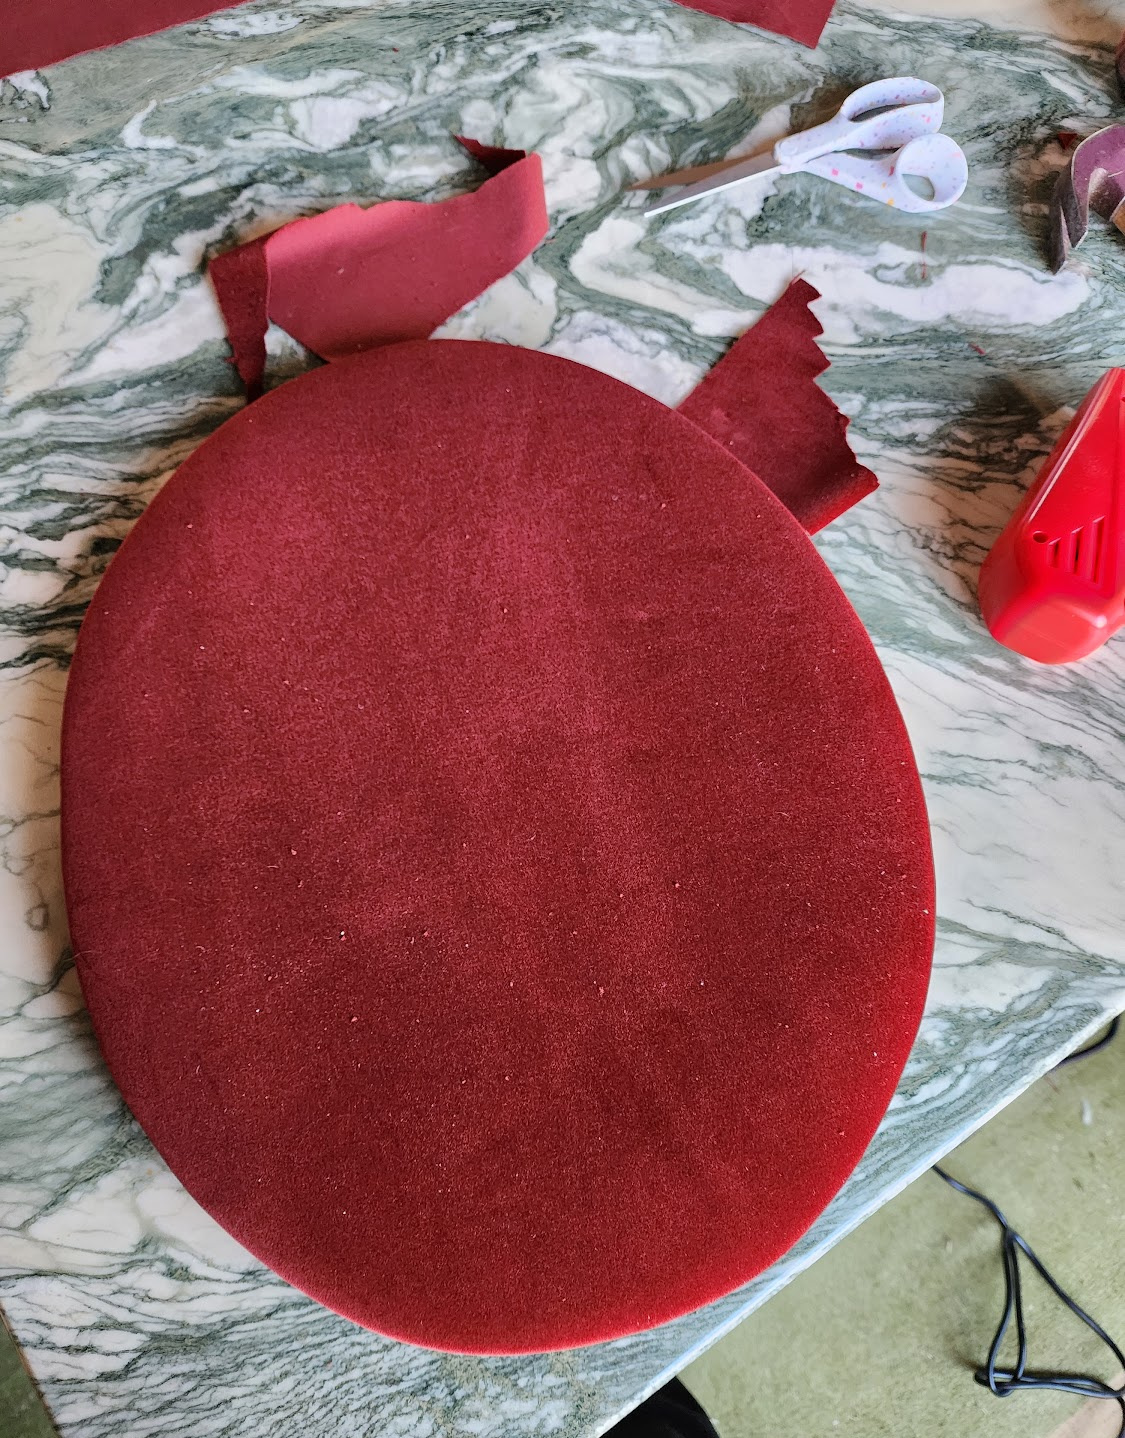
Here’s my newly made plywood back after sanding and batting ready for fabric.

It was ALOT of stapling.
After fabric the back panel was complete. Repeat these steps on the other 2 panels.

Time to tackle the back cushions, which are quite literally just a cushion. I upholstered them in the same way I did the panels.
Finally it was time to put them all back together!! There are holes to secure all of the cushions. Here we secured the armrests. I didn’t do a finishing detail on the underside because no one would ever see it.

Here are the backs secured, think of them like a sandwich. The back support panel here with the front cushion panel on the inside. We used these pretty gold screws to secure both the pieces together and to the frame.

It was really important to me that these were beautiful from every angle, not just the front.
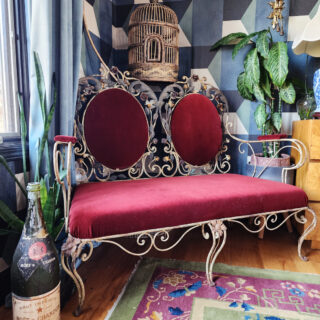
And the finished product, the way these transformed blew me away!

Why didn’t I do anything to the frames? Because the frames not only had hand painted detailing on the backs but the wear, the rust, the discoloration….it tells their story. It would be a shame to cover that up with a fresh coat of paint.
They are now fully functional and are SO comfy to sit in. The backs have lots of cushion AND support, and the seats are plush for the tush.
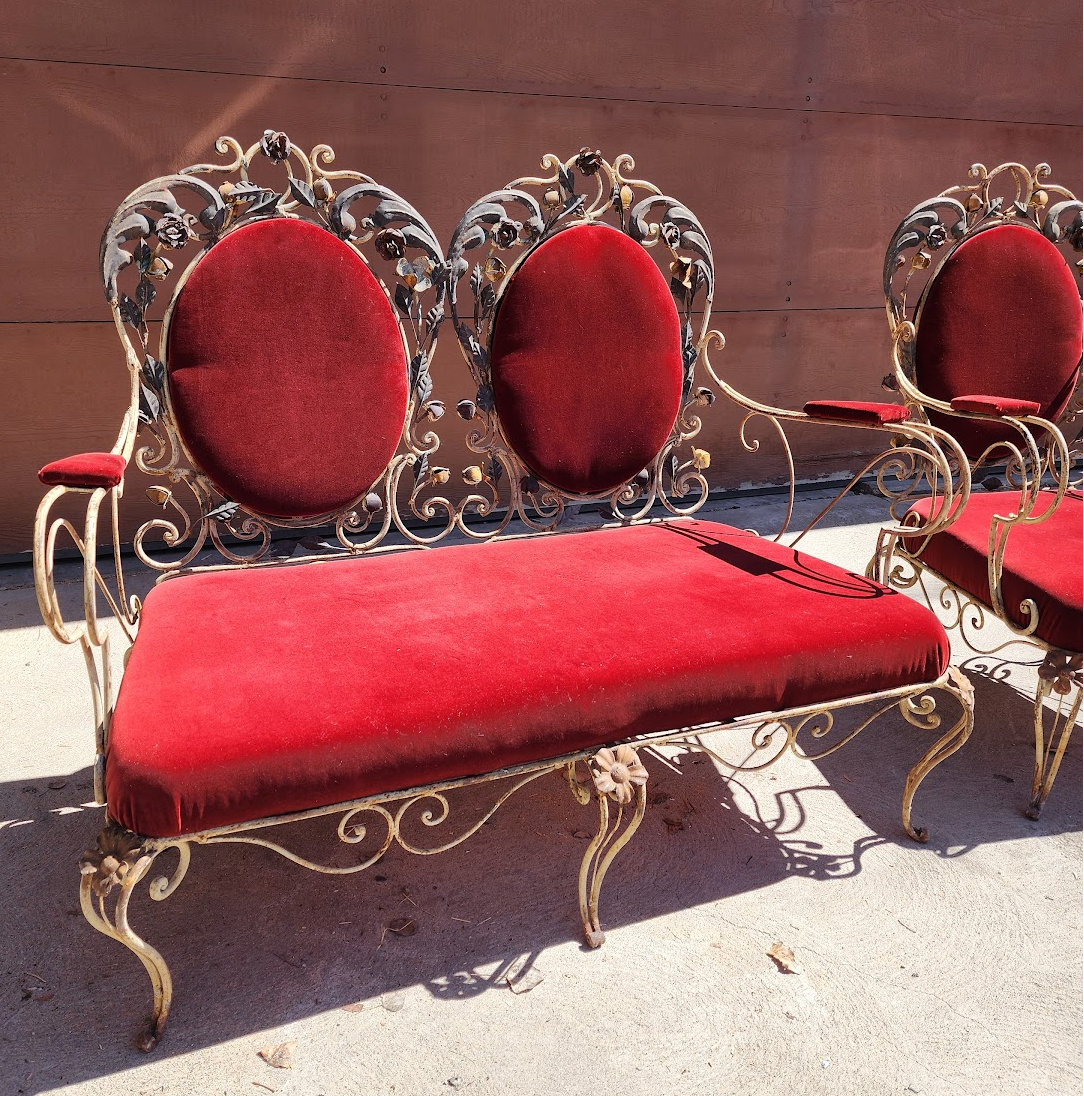
That detail, the shape. They are so elegant with a 200 year old feel.
In total it took me about a week start to finish. I worked on them a few hours a day and would do it all again. Cost was roughly $134 in materials and $60 I spent on the frames which brings the total cost under $200.
What do you think? Would you have painted the frames? Have you ever upholstered before? I always love to hear from you so hit me up in the comments!
Coming up see where I put them, yep a room tour is up next!
And don’t forget to pop your email into the subscribe box in the sidebar. You’ll be the first to know when a new post goes live!




Justine Dennen
April 12, 2024Tina, these are so fabulous – you are truly the Thrifting Queen! I love the red velvet, and I agree that leaving the metal frames as is was the right choice. Can’t wait to see where they end up in your house!
Tina Bousu
April 22, 2024Justine! Thank you so much sweets I so appreciate it!
Steph
July 13, 2024I love everything you have posted! I’m so glad to have found your site! Thank you! I am heading out on an antique road trip this August and I am so inspired by you!!!!
Tina Bousu
July 22, 2024Hi Steph! Oh my gosh thank you and yay! Have so much fun and keep a lookout for all of those treasures!