DIY Upholstered Bar/Cabinet Panel
This DIY upholstered cabinet panel is a super easy, quick and inexpensive project literally anyone can do! I did this back in December and have had so many requests from folks on IG for a step by step that I thought I better put together a post with all the deets.
*I did this project in partnership with Waverly fabrics*
If you have a cabinet, an alcove or a desk front; literally any space that is blah and needs some oomph you can do this project! It’s temporary so great for renters or the ever changing design individual (ahem like myself).
Here’s the before, a bare bar cabinet panel with literally zilcho aesthetic appeal.
DIY Upholstered Cabinet Panel

Who wants to look at this, I mean yech.
Assemble your very basic supplies:
- Waverly’s Santa Maria Desert Flower fabric (amount depending on panel size!)
- Batting (I bought mine at Walmart for $5)
- Staple gun with staples
- Piece of plywood cut to cabinet size (this was a piece we had leftover in the garage but HD or Lowes will cut it for you in store)
- Tape measure (not pictured)
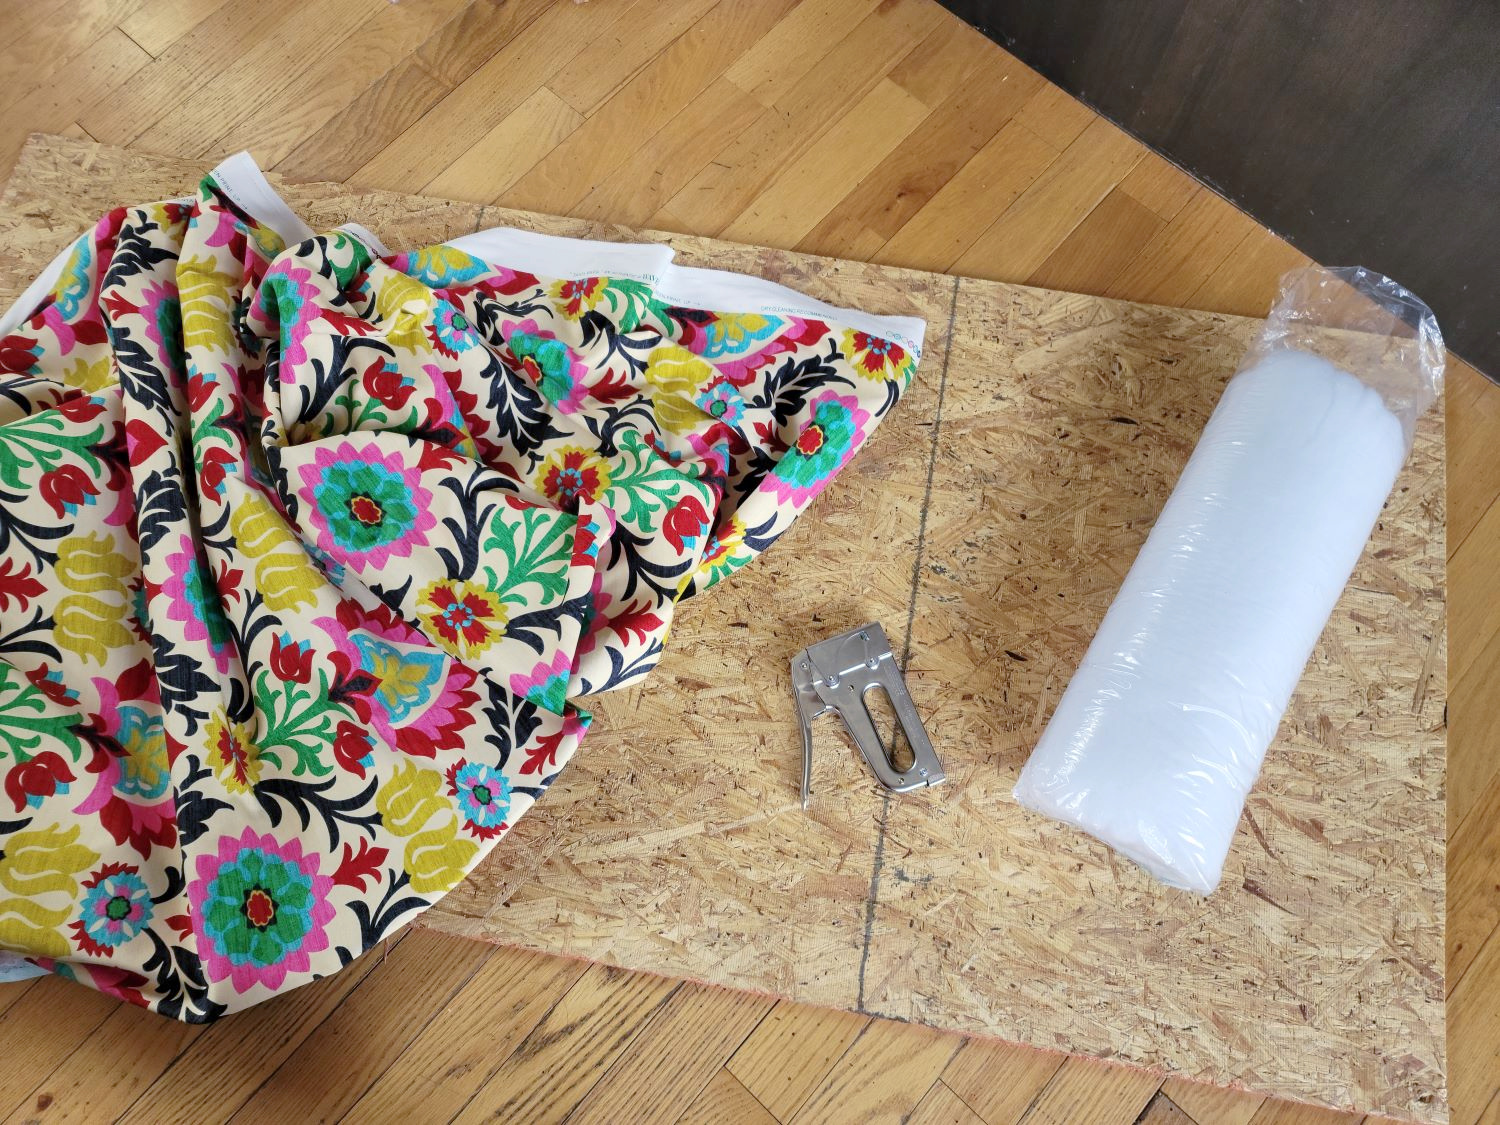
You don’t need anything expensive for the plywood, bare basic aka cheapest will work just fine
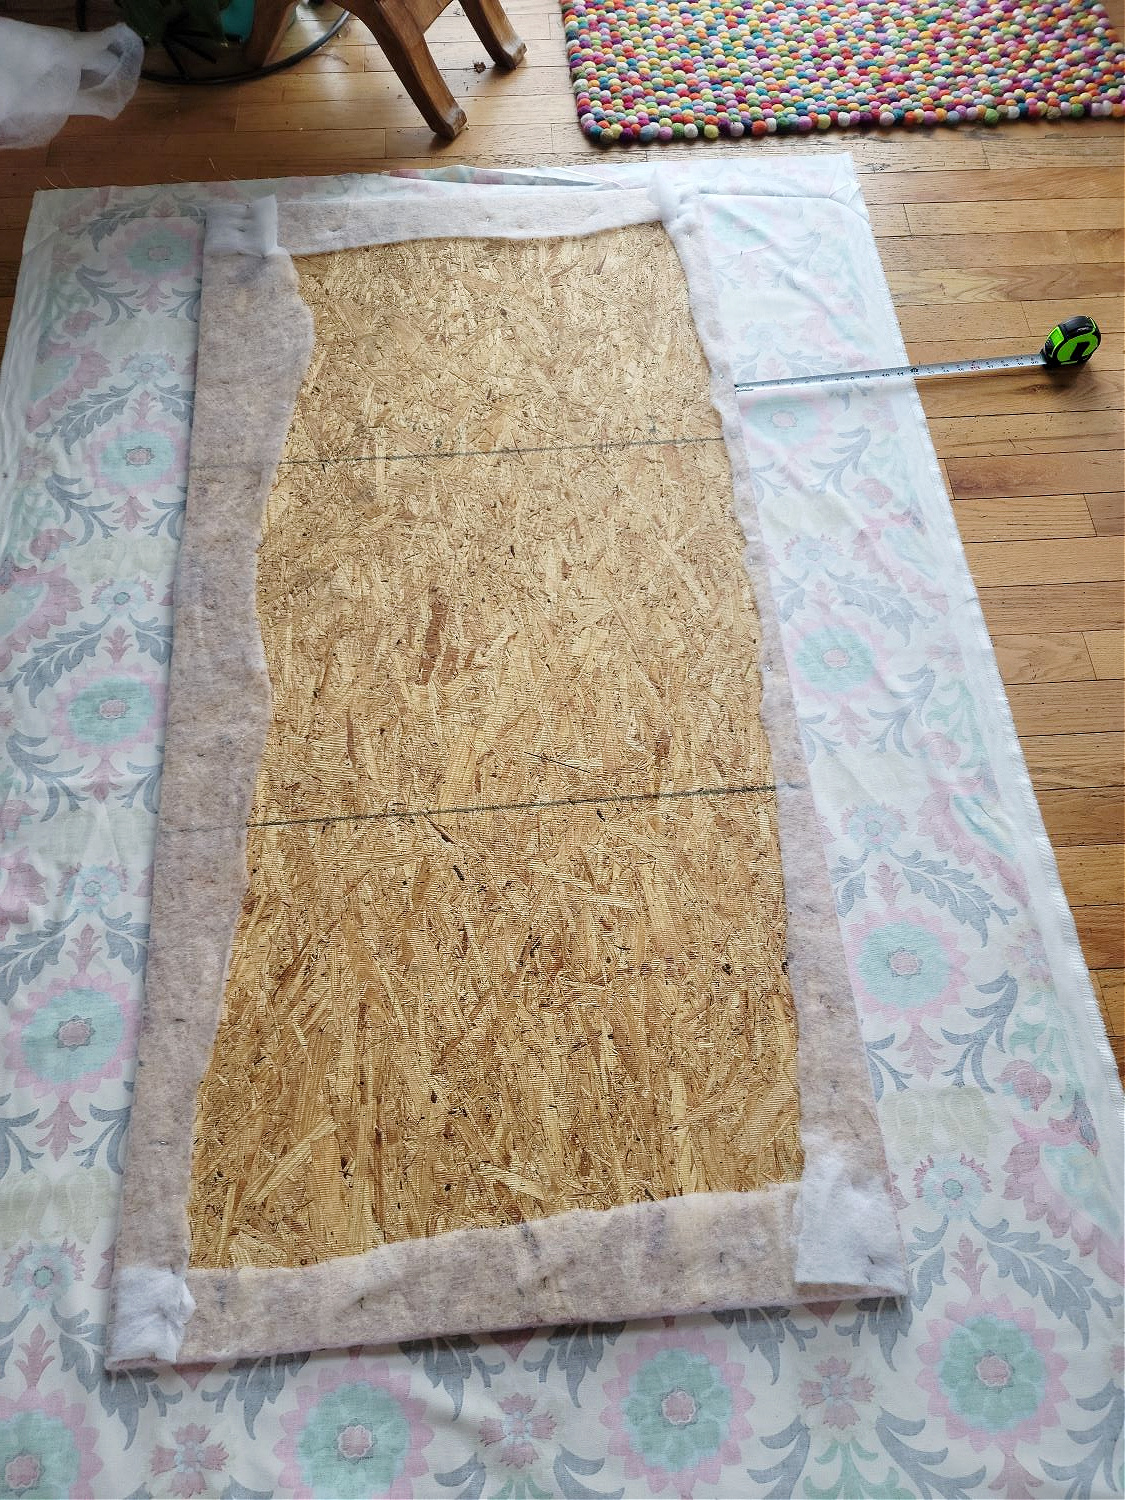
Layout a layer of batting and place plywood on top. Fold over the edges of the batting pulling snug to prevent wrinkles but not too snug it tears or loses some of it’s poof and staple.

I would occasionally lift up the panel as I went and check the front to insure there were no wrinkles and the batting looked even.
Next up layout your fabric and measure from each side to ensure that the pattern will line up evenly across the panel.
Cut the fabric once you have it measured and spaced accordingly.
Fold the fabric over the side and using the same process as the batting, pull snug and staple every inch or so. Do both sides first so you have the right amount of tension across the fabric before doing the ends.
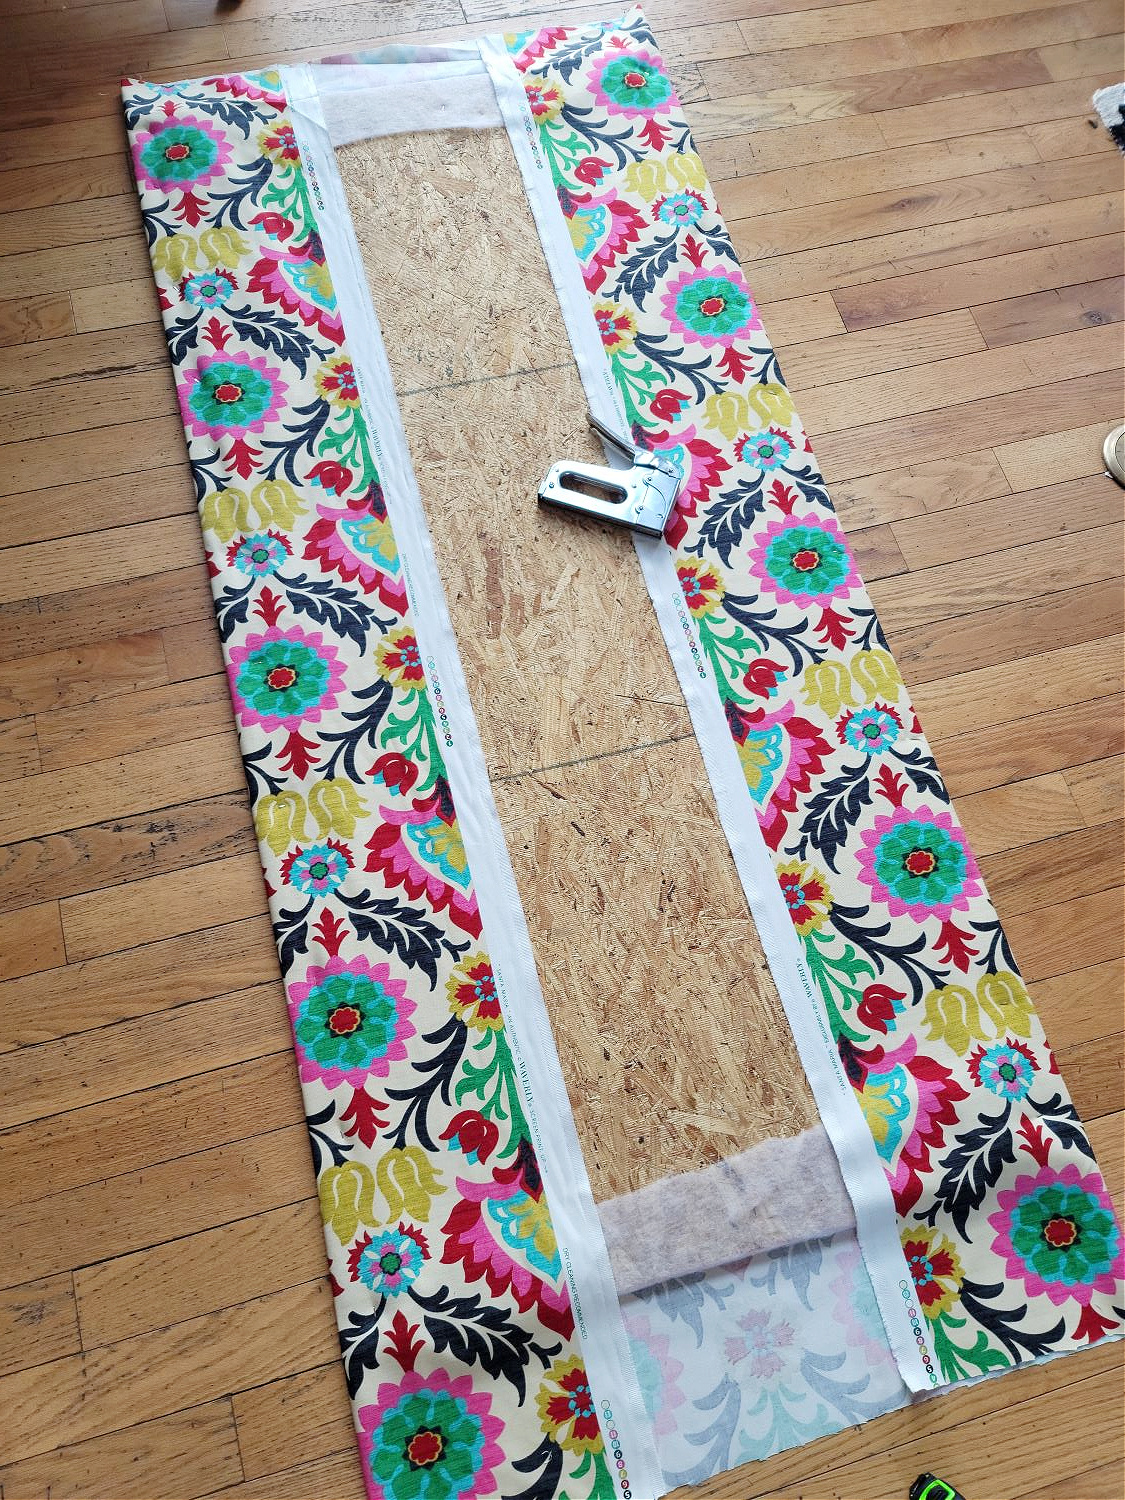
Be sure to occasionally lift the panel checking the front as you go to make sure your pattern is still aligned and even. You can easily pull too tight and kind of jank up the pattern.
Fold corners and pull as tightly as possible before stapling in place. And voila you have a finished upholstered panel. The entire thing from cutting the plywood to finished panel was about 20-30 minutes. So fast and easy!
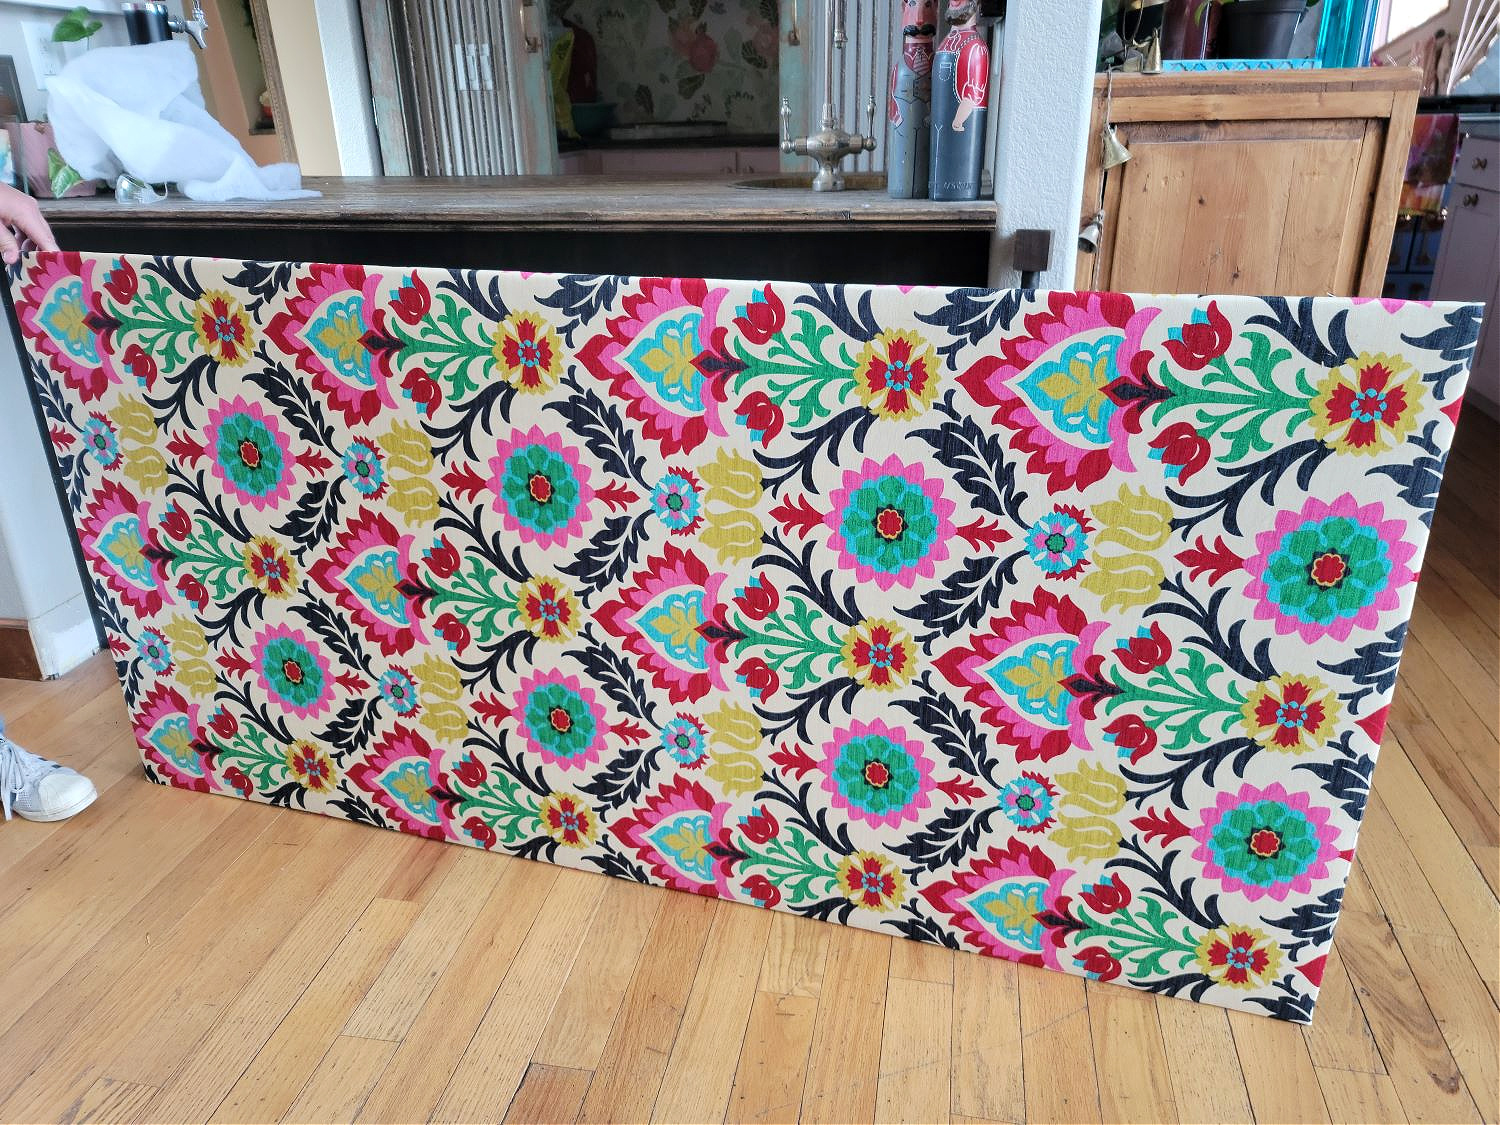
I opted to run the pattern sideways on purpose (a few folks questioned that). I wanted to highlight length of the bar and the pattern visually does that.
There a few ways you can install it. Some small nails tacked at the corners, velcro or just wedge it. When it was upholstered it was such a snug fit that we were able to just wedge it into place. I can use a small flat blade screwdriver to pop it out if necessary, but it’s in there.
And the finished product! It brings some serious pizzazz and fun to this area which is fantastic while the vintage yellow barstools (facebook marketplace find) really make the yellow pop.

Who wants a margarita?!
And that’s it! A super fast easy and inexpensive DIY that completely changed our bar. Anyone can do this with any kind of fabric. And it’s perfect for renters or permanent phobe folks like me because it can easily be changed out!
Would you ever do a fabric panel on your cabinets?
I always love to hear from you so hit me up in the comments!
And don’t forget the subscribe box in the sidebar, you’ll be the first in the know when freshy fresh posts are live!
XOXOXO
Have you ever done an upholstered cabinet panel before? Let me know in a comment below!