DIY Rainbow Stairs….Business Goin Down & Party Goin Up
Did you rip out carpet on your stairs? And do those stairs look like this hot mess? And now you don’t know what to do with this situation? This was me when I got so sick of the gross carpet I ripped it out with absolutely no plan. And saw this sight.

So I mulled over what the heck to do with them. There is substantial gapping on the sides of the treads and risers all the way up, the stairs are constructed of a thick particle board and covered with texture, paint and nail holes. Paint them, re-carpet. tear out and replace…so many options and none of them seemed awesome.
Fast forward a few weeks later and I had devised a plan. To completely re-do them with new treads, new risers and fresh paint on every square inch of dis biotch. And I did it all with $300, yep that includes all the materials and paint samples.

Yikes, we also hadn’t carried the white paint up the staircase that we did 2 ish years ago. (cue covering eyes and shaking head with embarrassment)
First up was painting the entire space white. (Chantilly Lace by BM) It made it feel 100 times bigger. Along with sanding and painting the railing and trim at the top of the stairs black. (Caviar by SW) We have been talking about doing our entire house trim in this finish (white walls black trim) to update it. The honey color is so eww I can’t deal. So this was a good opportunity to test out how we liked it. (We have a LOT of honey wood)
Next up was a bit of an unusual step. We had tried to pry up the treads with a crowbar to replace with solid wood. We ended up damaging the riser structure underneath without actually getting the tread up. Since we didn’t want to actually rebuild the staircase (umm scary) we opted to make new riser coverings and install the solid wood treads on top.
So we took a jigsaw and cut all of the rounded edges of the treads flush with the risers. (yep unorthodox but hey work with what ya got)

Our son helped with this step as we alternated every few, it was labor intensive.
Here’s a shot after all of the treads were cut flush with the risers. Not perfect but darn close!

If you do this yourself, take breaks or have someone you can switch off with, cutting through that thick particle board with a jigsaw made for jiggle arms.
Since our walls are wonky (as most tend to be) I measured and recorded each stair riser and tread measurements for all 15 stairs. We did this to ensure the best fit for each step.
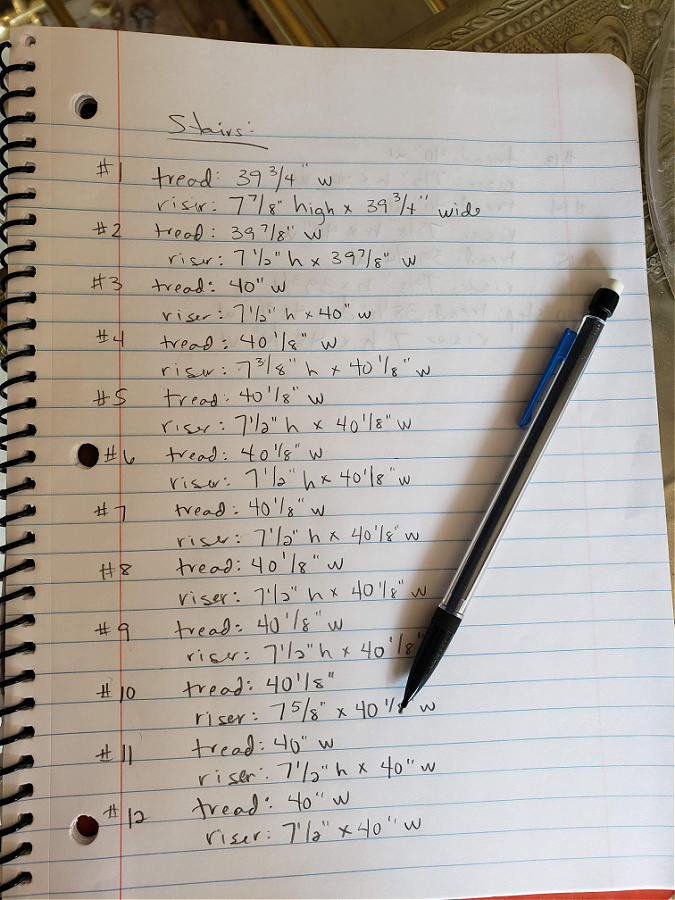
You can see some of them are the same, but there was enough variation from the bottom steps and the top steps that we wanted to make sure it was as tight a fit as possible.
We picked up $10 solid pine treads at Lowes for this. Since I knew I wanted to paint them anyway we opted for the cheapest option. You can also buy Oak treads if you want to stain, those are just more expensive.
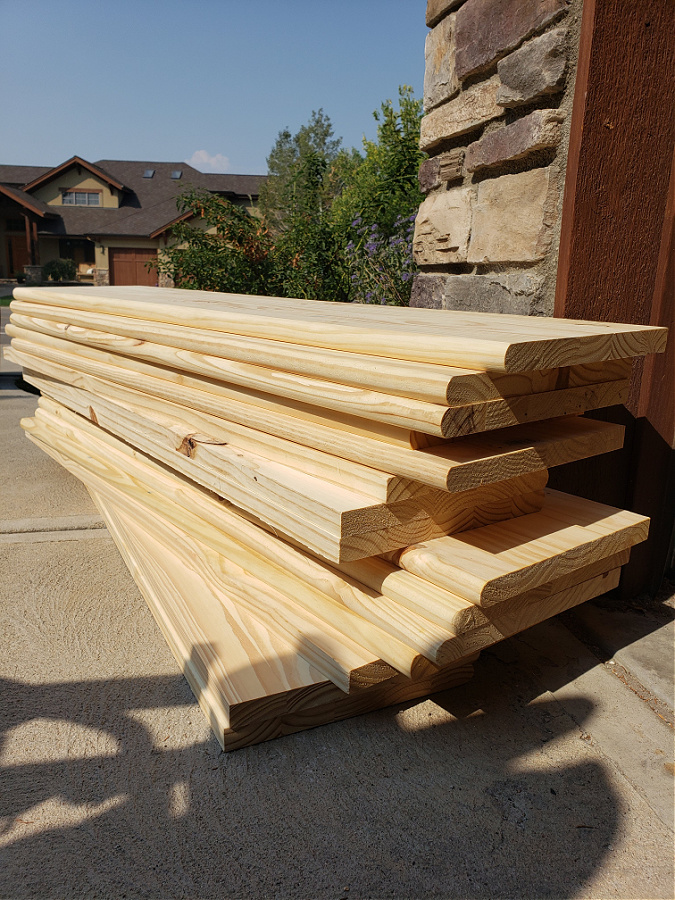
A total of 15 standard treads at $150
To make the risers and the top landing step we went with 2 sheets of presanded plywood. Saved time on the finish end by going with presanded.

The plywood sheets were $30.23 each.
We cut down each of the treads and numbered them accordingly for each corresponding measurement. Then set them up for painting.

Caviar by SW in Behr’s porch and patio paint.
Then we measured, marked and numbered the risers on the plywood sheets that we cut down per the measurement list. Then I set them up on makeshift tables inside for me to start rainbow-ing. (after painting the treads outside in 98 degree heat with no breeze, I learned my lesson)

The cups are my custom mixes. Full color list below
The other table with the upper risers. The long one at the bottom of the photo is for underneath the landing step. I did 2 coats using sample pot sizes at $4 each in HGTV SW paint base from Lowes.

Painting in AC is WAY better!
Once everything was dry we started installing. Since I labeled each piece as we went it was a matter of #1 riser with #1 tread and so on. Using a large air compressor and nail gun we leveled each riser with the top of the existing tread and installed that before the black wood treads. This way the riser is behind the previous tread giving you an overlap and clean line. It also helps if you didn’t get perfectly straight cuts in your plywood (which is super hard and we didn’t).

See how we did 2 risers then a tread? That’s so the riser falls behind the tread below it.
Once we got all of the pieces installed I went back and filled all of the nail holes and did touch up paint. I chose to paint the risers first because I didn’t want to risk making a big mess all over the black treads. By coming back after install it was a matter of just a couple of dots to paint vs the entire riser.

We got a little crazy with the nail gun but hey, you want to make sure they stay right?!
Rainbow stair paint list!
Here I’ll give a shout out to At Home with Ashley for sharing her rainbow stairs, I ended up using her list of colors when I ran across her post on Pinterest. I also custom mixed 3 of the colors myself. This was super helpful though!
Here’s the list in order of use from bottom up:
1. Watery 2. Cascade Green 3. Serene Breeze 4. Country Weekend 5. Spring Reflection 6. Custom mix of Spring Reflection and PPG sample in white 7. Frosted Sage 8. Custom mix of Frosted Sage with PPG white 9. Frittata 10. Corn Stalk 11. Lamplit 12. Coral Fountain 13. Ballet Rose 14. Shy Smile 15. Beloved Pink 16. Custom mix Beloved Pink and PPG white

For the landing step, it was a sheet of rough plywood. So we used our presanded plywood and cut a piece to fit on top and nailed it down to the plywood. I painted and installed trim to finish it off all in black.
After I touched up all of the nail holes and did a good wipe down of the stairs from all of the sawdust we were tracking in from the garage…here’s the final result!

The bottom color matches the stained concrete aqua floor! I love how it picks up on the fun feeling of the basement hang out vibe and carries it all the way up.
This staircase only has one light and that’s at the top. It’s still a bit dark (keeping an eye out for a cool light fixture to add up here!) but it’s so much better than it was!

We could go back and add trim all the way up but…I’m tired haha. I might get around to that one day but for now, it’s not noticeable unless you are looking up close and personal.
Here’s looking down. We have that weird ledge so I just styled it simply with some plants and a couple of accessories. But the black stairs just pop and feel so sophisticated.
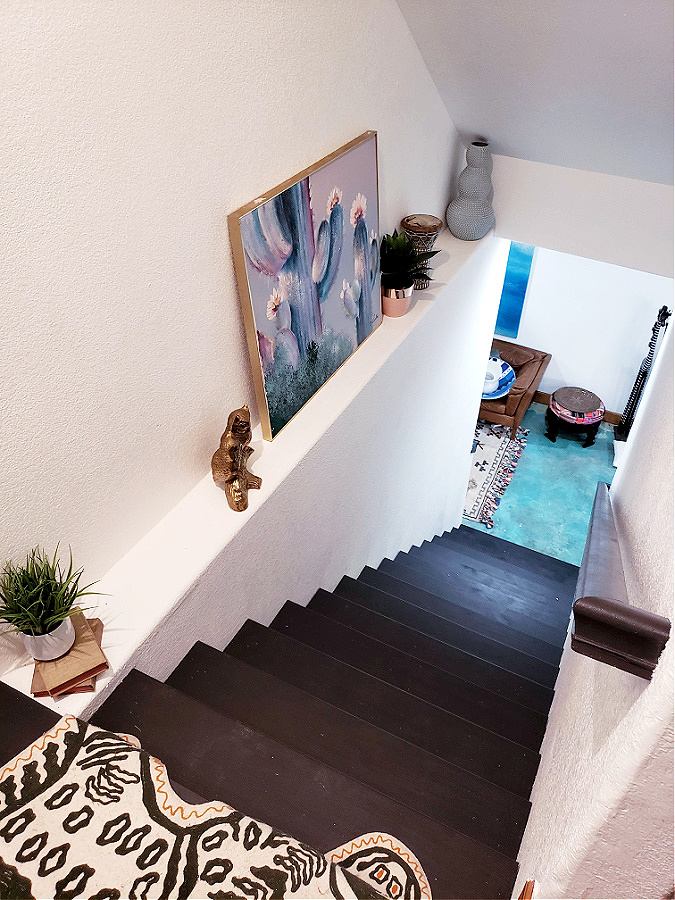
Sophisticated going down and badda bam fun going up.
The stairs are easy to clean, we just wiped them with a wet cloth and all the dust came right up. Except for the top step where a kid ran up past me just as I took this photo argh.
I put one piece of original art up here for some pop. It picks up on all of the colors in the stairs!

A thrifted find I had stashed.
Of course I had to have some brass so these 2 dudes are chilling next to the cactus art.

When you have a ledge or art niche have some fun with it!
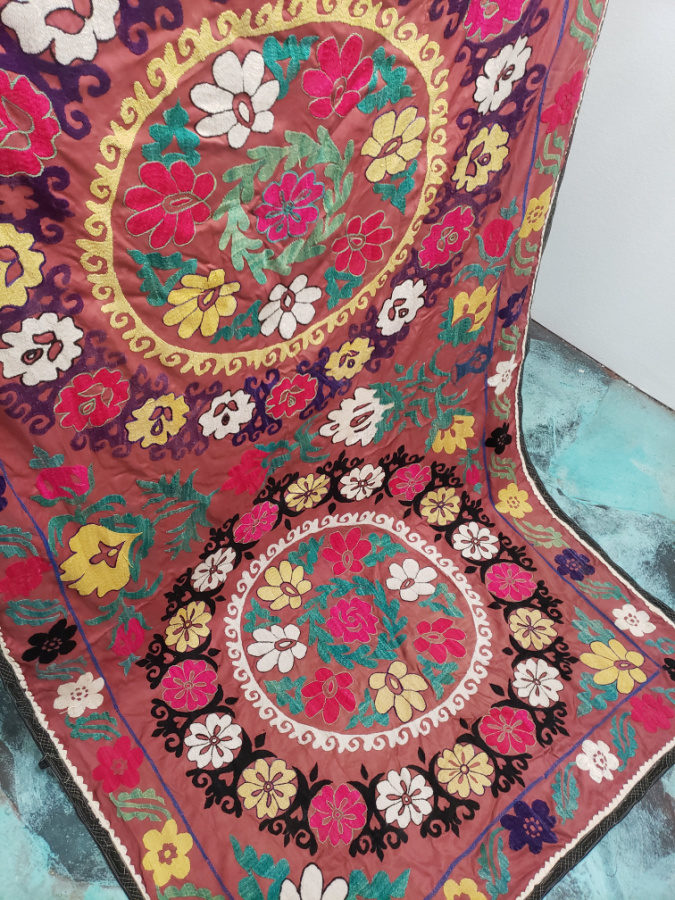
The landing step at the top of the stairs, you can see the trim detailing all the way around and the black color. I had this zebra rug/throw piece and thought it would be a fun accent here. It also helps with any kind of echo-y sounds in this tight stairway.
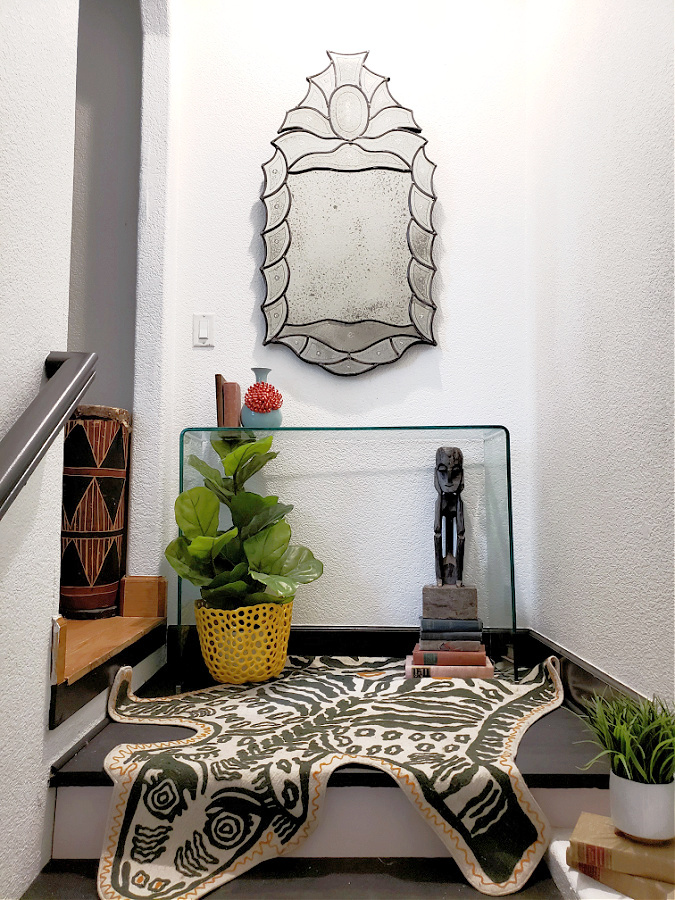
I just folded it over the edge and so far it’s been great.
I had to share this pic with Charlie peaking down at me. These stairs have always been one of my least favorite things in the house and now, I think it’s one of my favorites.
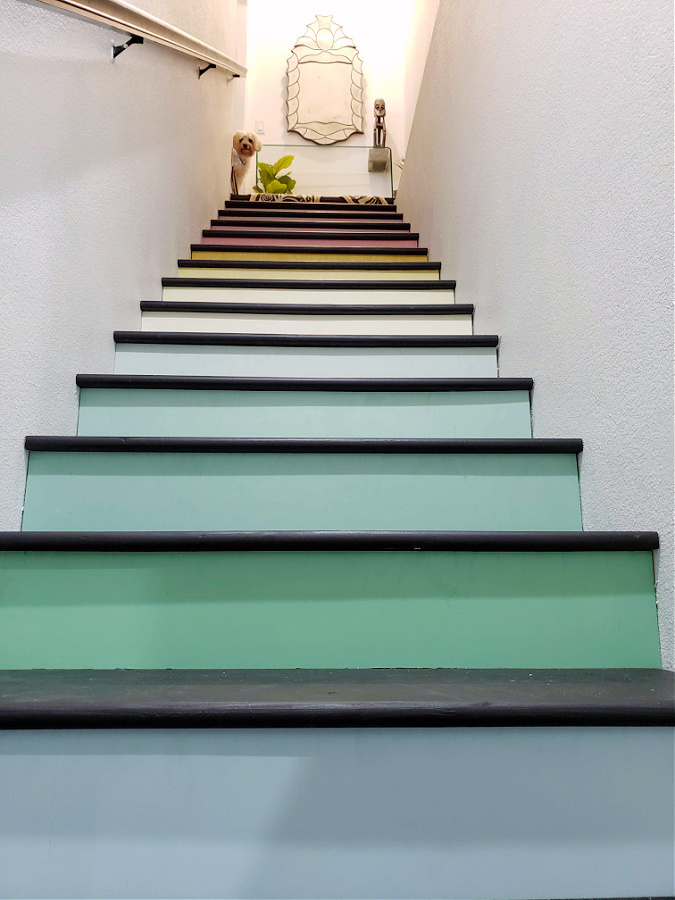
When the view up is better
I won over the hubs and the teen son (who is historically anti anything super colorful I always do) so much so that they were talking about doing this on our main staircase. We’ll see what happens but I definitely wouldn’t be opposed to it! ; )
The full makeover cost just under $300 for all materials. We did have some things on hand including nail gun, nails, filler and semi gloss black paint for trim and railing. Definitely a big bang for your buck type of project!
Would you do rainbow stairs in your house? Have you dealt with the icky under carpet stairs? I always love to hear from ya so hit me up in the comments!
And don’t forget to pop over to the subscribe box to be the first in the know when a new project is up!





Linda Hirschfeld
August 28, 2020Very unexpected, love the colors, great idea, could also do an ombre! The only thing that scares me is the zebra. I don’t think for safety that it should fall over the edge. Otherwise, love it, such a great idea!
Tina Bousu
August 28, 2020Hi Linda! Yes I thought about ombre too but the contrast of the colors…I just had to do it haha. The zebra rug is held down by several heavy items and doesn’t fall far enough down to be on the next step. I’m keepin an eye out just in case but absolutely no problems at all so far. Thanks so much Linda I so appreciate it!
Linda Hirschfeld
August 28, 2020I also love your owls on the ledge and realize I too have a ledge! So now will have to find something! You definitely inspire, especially for those of us intimidated by color. I’ll keep reading! Thanks, Tina.
Tina Bousu
September 7, 2020Haha yas! Use that ledge! Thank you so much Linda! xoxoxo