DIY Copper French Bistro Open Shelving
This is a fun and easy DIY open shelving project I came up with initially for the Funfetti Laundry room. After dry fitting the pieces though I decided to use it in the kitchen as bar and glassware display.
I finally have open shelving hooza!

This is the finished product!
I’m contemplating making a lower section too, similar to a bar cart style. But anyway enough chit chat, let’s get to it! *This contains some affiliate links.
Materials list:
2 : 1/2 inch 10 ft copper pipes
2 pieces of glass
8 screws
We had decided on a suspended length of 4 ft from our 9 ft ceilings. You could adjust this to whatever measurement works for your needs.
Setting the 10 ft pipe on a set of sawhorses we went through and marked each cut spot. You can get one entire bracket out of each 10 ft piece.
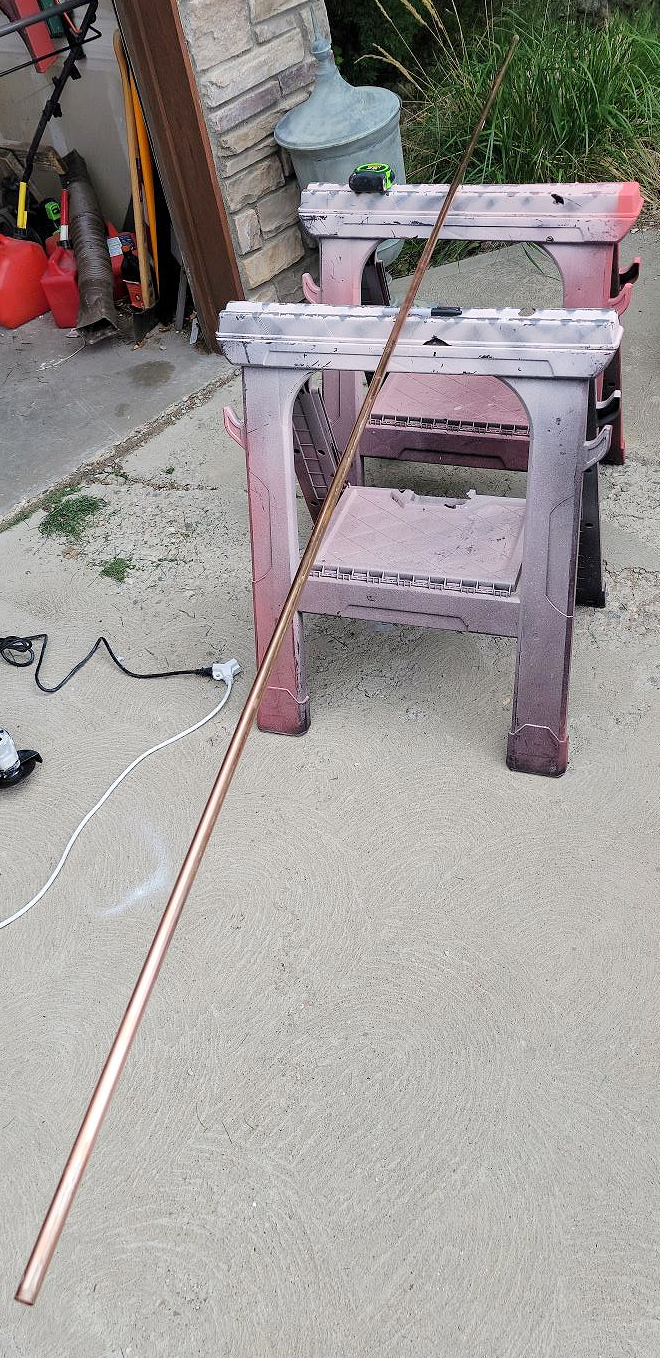
I just sharpied a small line to mark 2: 48 inch pieces.

You won’t see the sharpie once the ends are popped on so don’t worry.
We already had a metal cutting blade for our angle grinder tool so we just busted it out for this. I held the pipe steady on the sawhorses while my hubs just made the cuts.
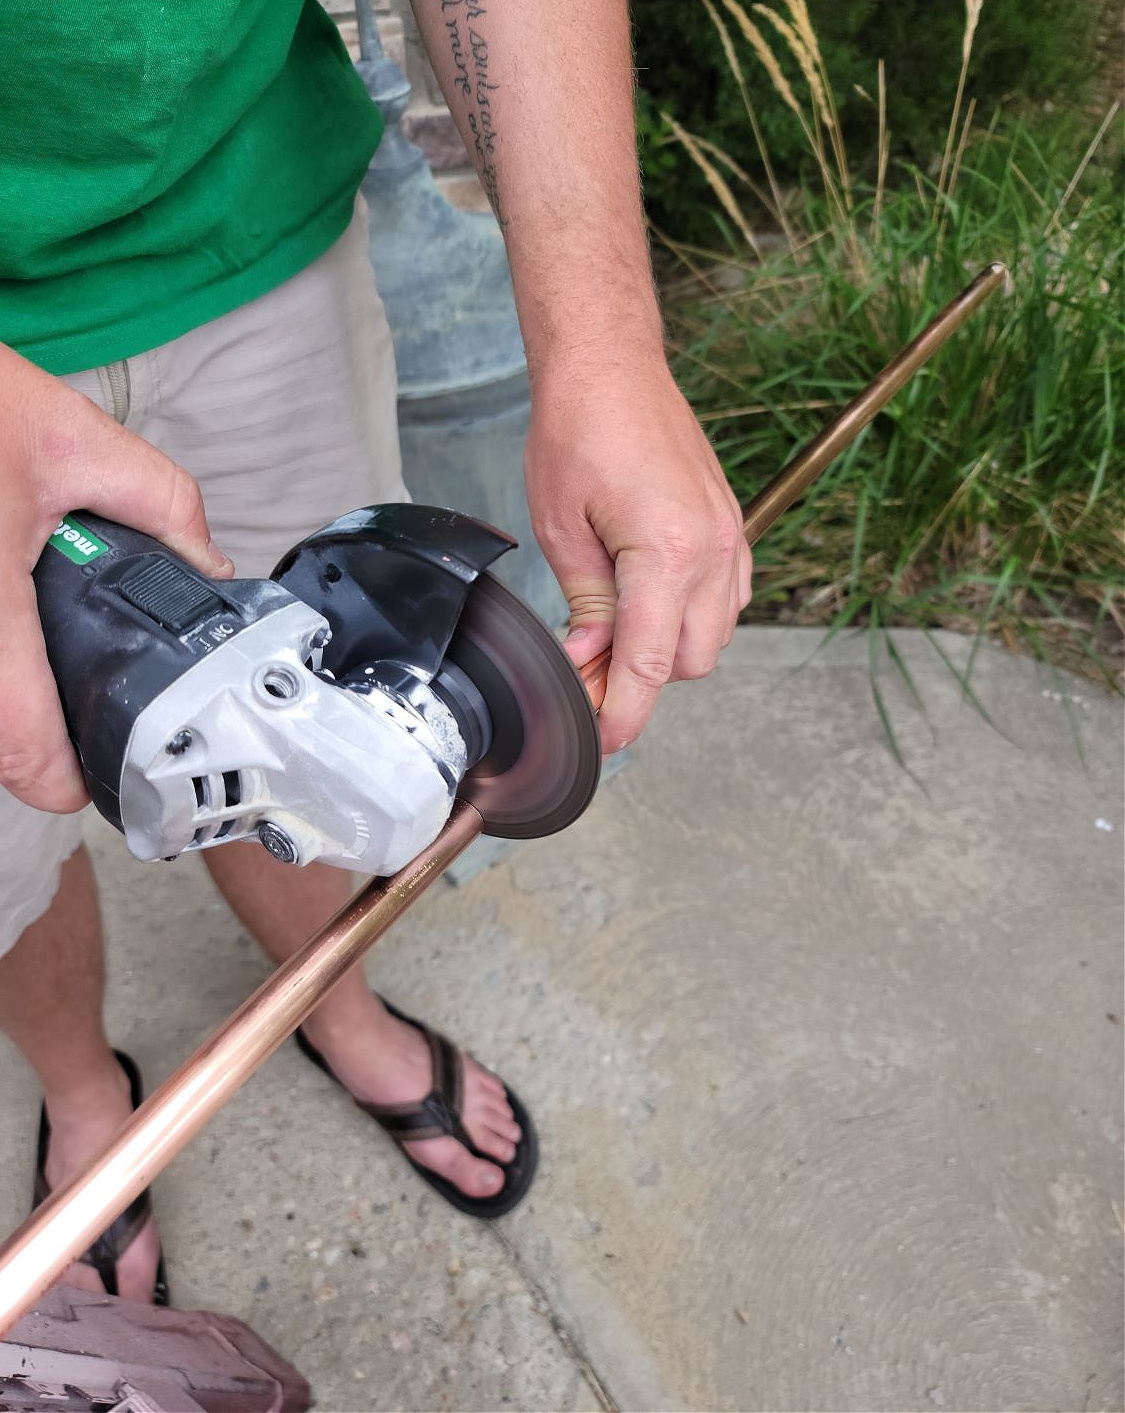
I did find a little tool that I plan on ordering that makes copper cuts SO easy! Click here
Since I wanted 2 shelves we had to do a few more cuts after deciding shelf size. Taking the 4 ft pieces we made a cut at 32″. This is where the support piece for the upper shelf will go. That leaves a 16″ piece for the spacing to the bottom shelf where the second support is.
I decided on a 9 inch depth for the shelves. With the remaining 2 ft of pipe we cut 2 9 inch pieces for the supports.
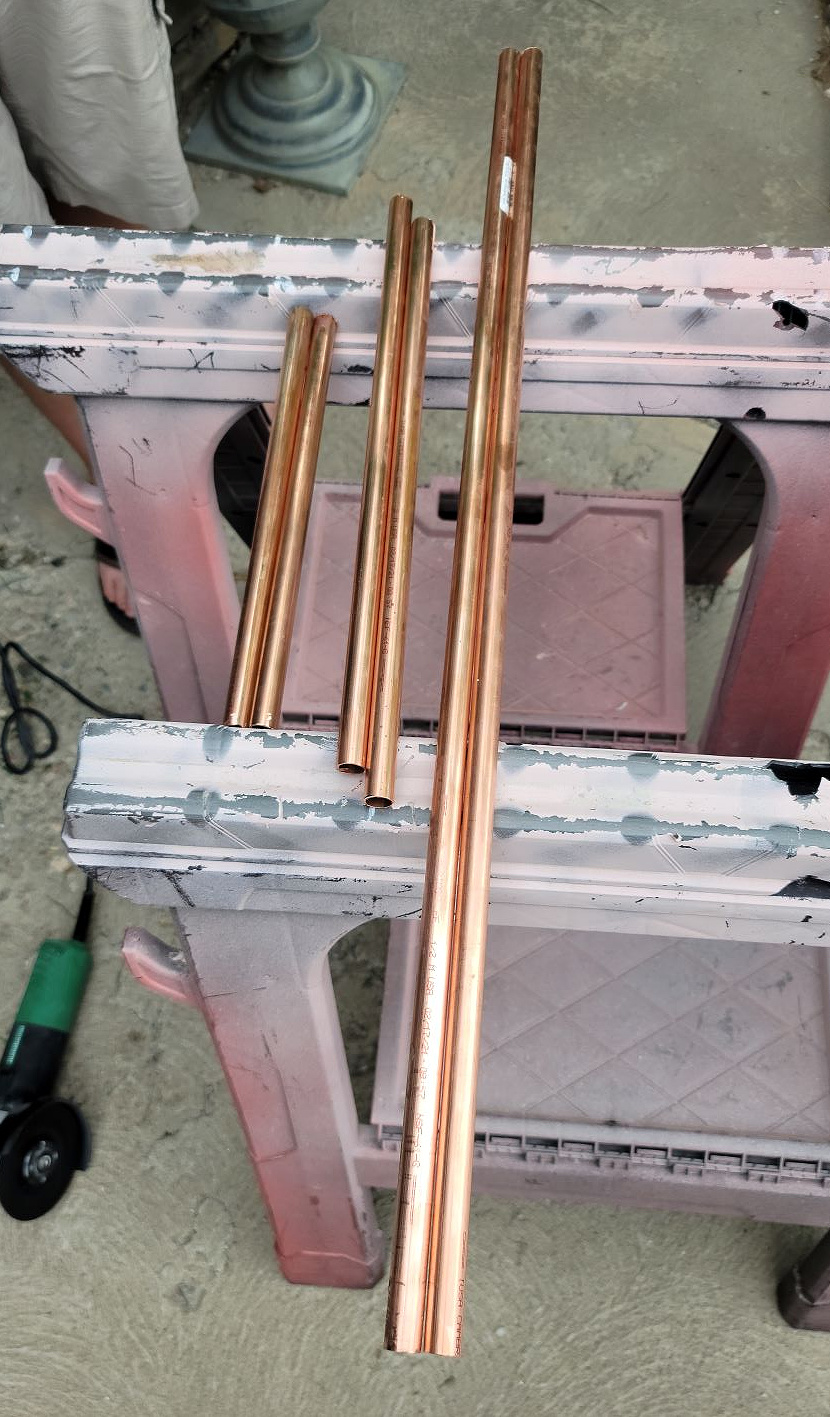
These will make up 1 bracket. From left to right there are the 9 inch supports, 16 inch bottom sections, 32″ top sections.
Cut the other 10 ft piece the to the same sizes as the first one.
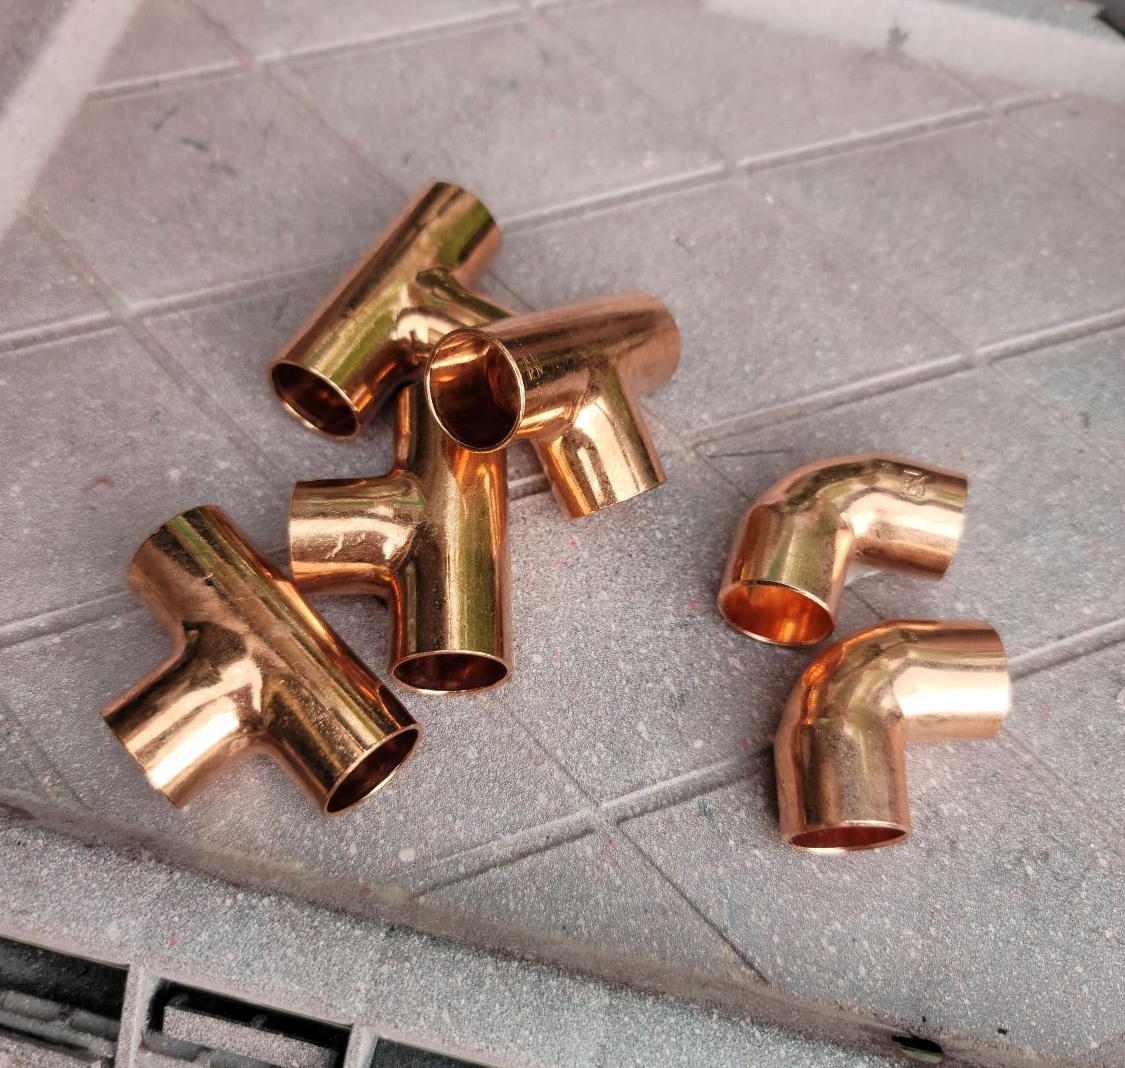
Have your elbows and T pieces ready
I did a dry fit to make sure I was happy with the depth and drop. Here’s where the secret sauce comes in! This is a non-welding solder kit. I know it sounds to good to be true, I was totally skeptical at first.
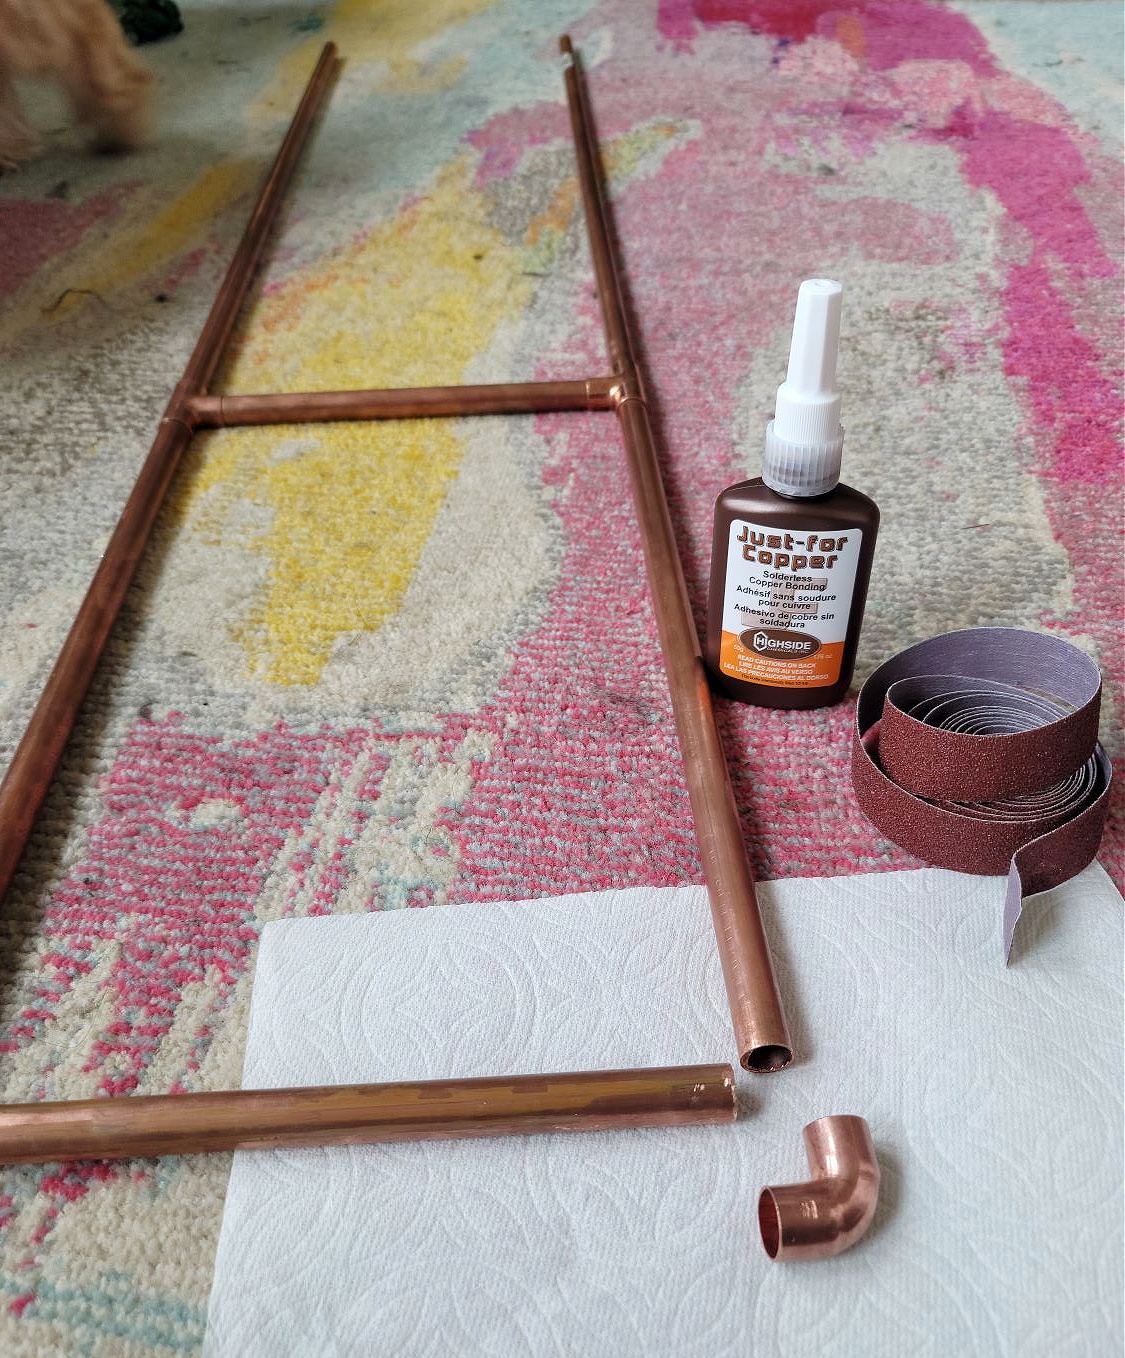
The kit includes the sandpaper roll and the bottle of the Just for Copper with instructions.
I took apart 1 joint at a time to keep the pieces all in the correct spots. Then sanded the pipe to rough it up and create a surface for the copper “glue” to adhere too.
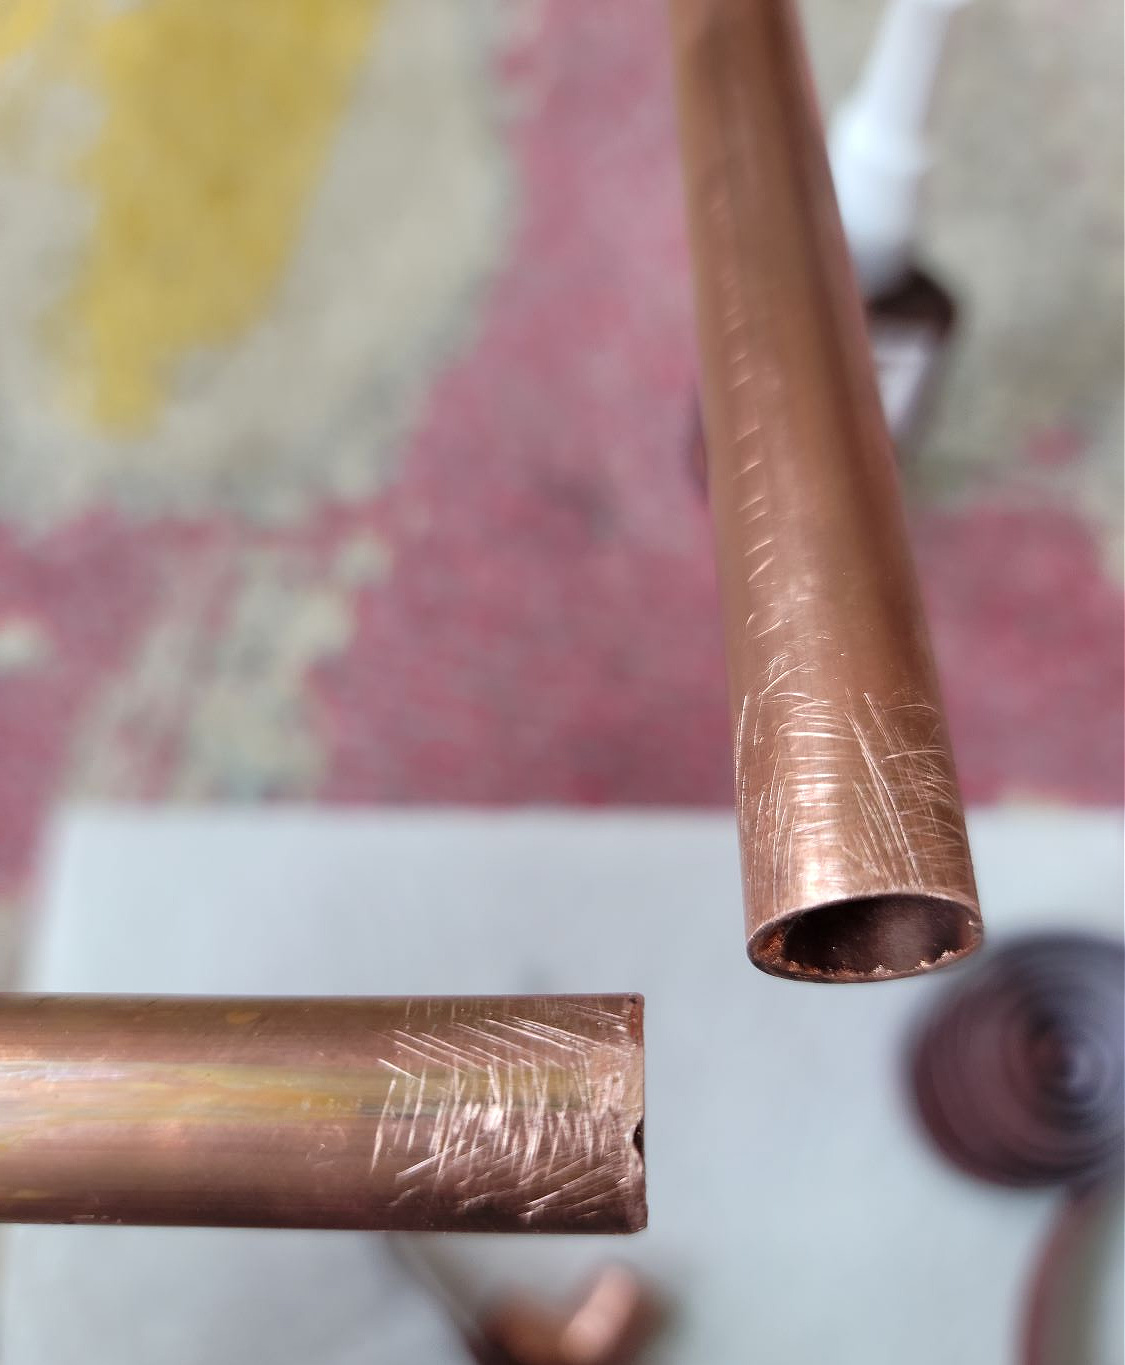
I used the sandpaper from the roll to do this, it worked great.
Then placing some of the copper “glue” on each of the pipe ends and inside both ends of the elbow I pushed them into place. Making sure they were in securely. Wipe away excess with a paper towel.
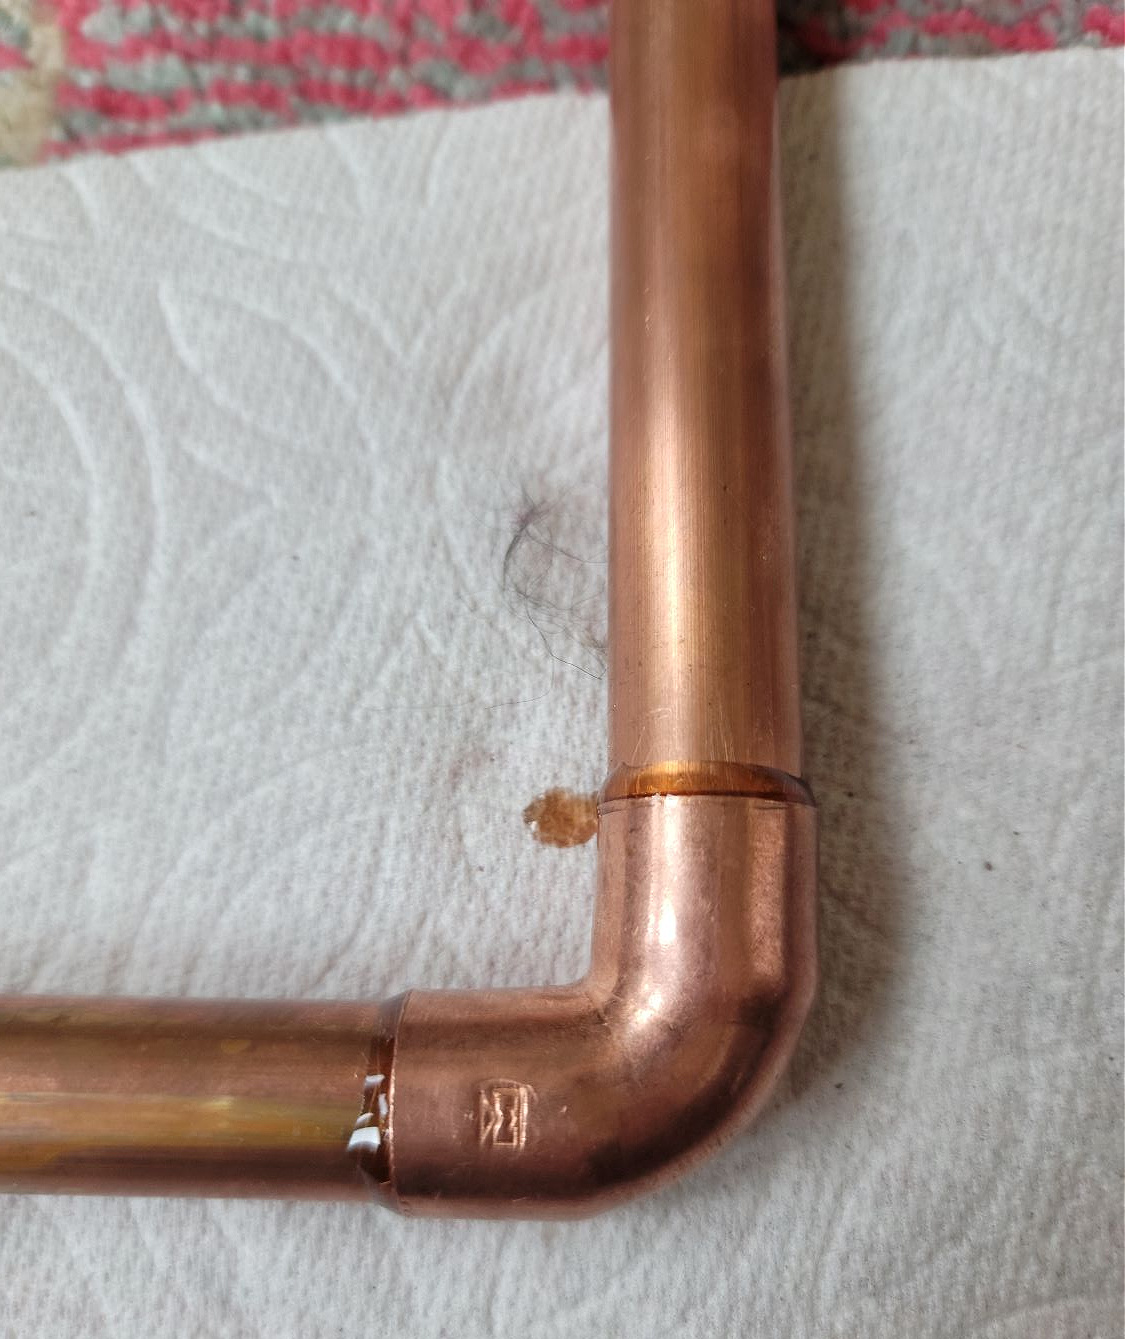
This stuff sets up quickly as in a working time of maybe 5 minutes. So be ready to go when you start.
It didn’t take me long to glue all of them together, maybe 45 minutes.
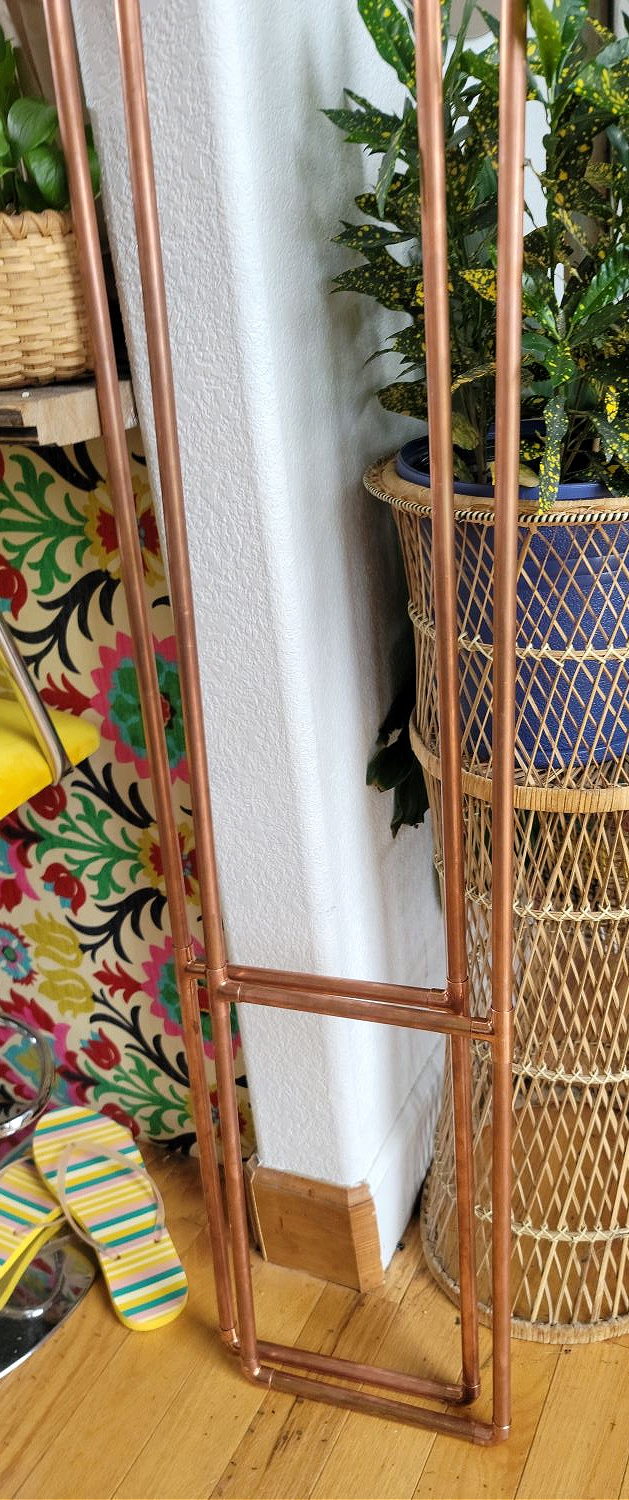
Both brackets assembled and ready to be installed.
For the anchor pieces I had to get creative. We decided to use T pieces that we pre drilled holes into. Then I covered up the ends using the Just for Copper glue. Same process as above, rough up the ends, glue and hold.
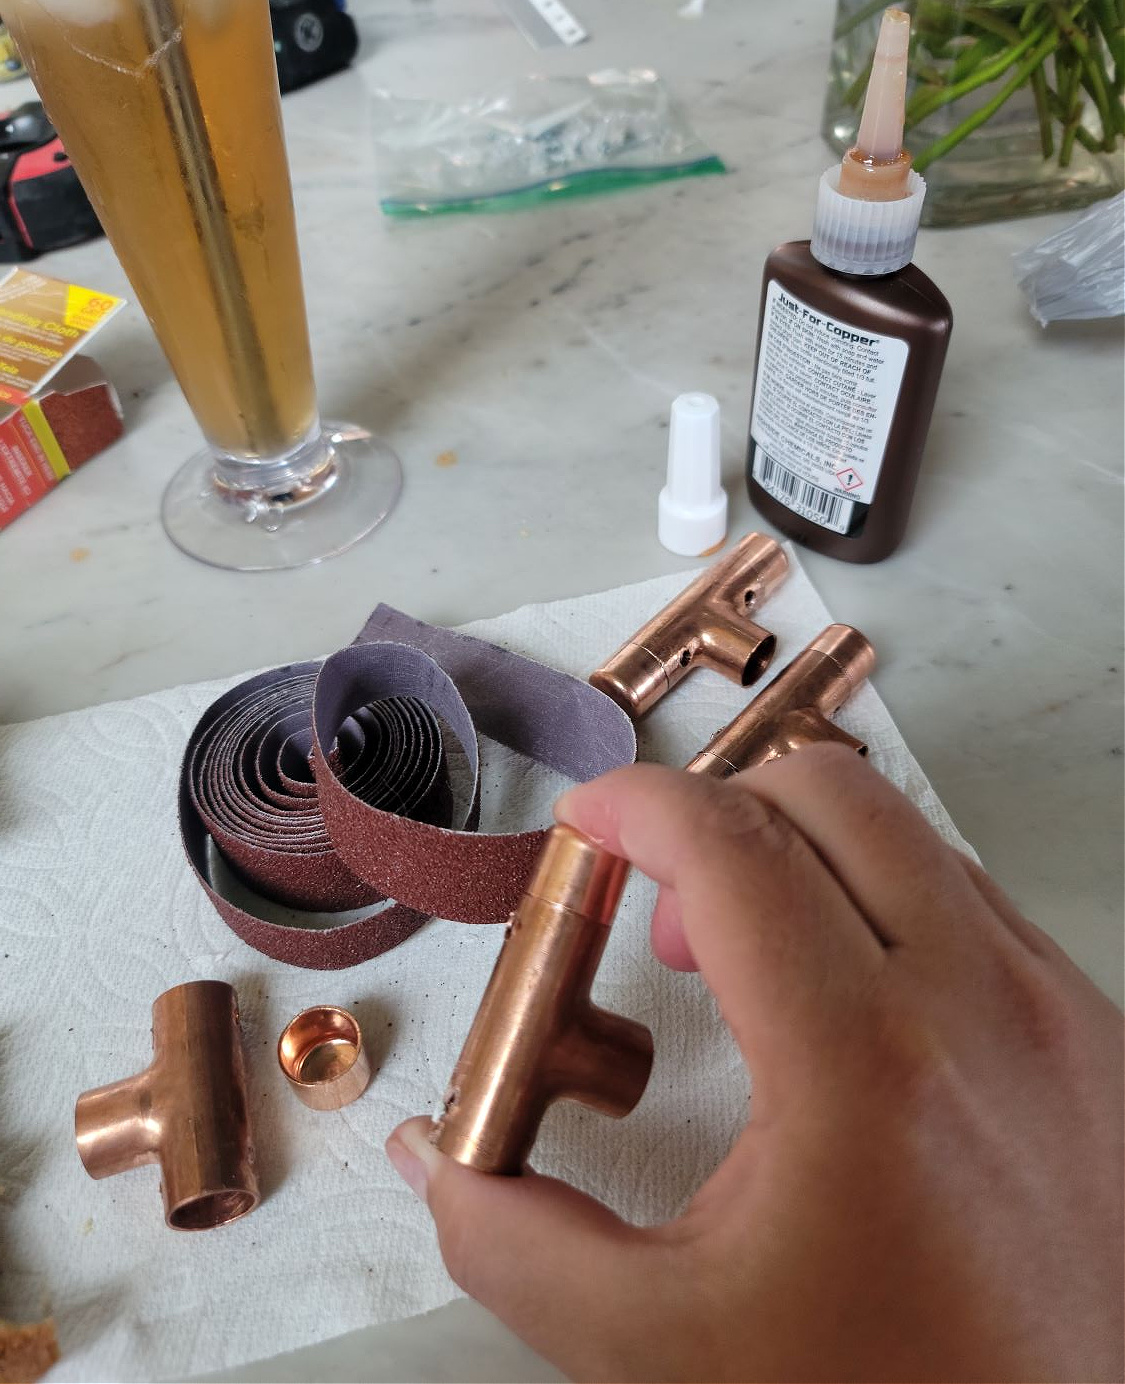
Be careful with these though, since there is no pipe going from one to the other it’s literally just glued end to end. I had a couple pop off when we installed them on the ceiling and just climbed up with a ladder and re-glued them.
Installing the brackets is super straightforward. Locate the studs in your ceiling with a stud finder and make small marks. Take your pre-drilled T pieces and screw up into the studs. We didn’t attach the bracket pieces before installing the caps since it was tough to fit the drill in with the pipes in the way.
Once the T pieces are anchored securely to the ceiling, take the brackets and sand the edges, apply the Just for Copper to the pipe and inside end of each T piece. Push the copper pipes up into the T pieces until it’s really tight and hold for a few minutes. Repeat for the other side.
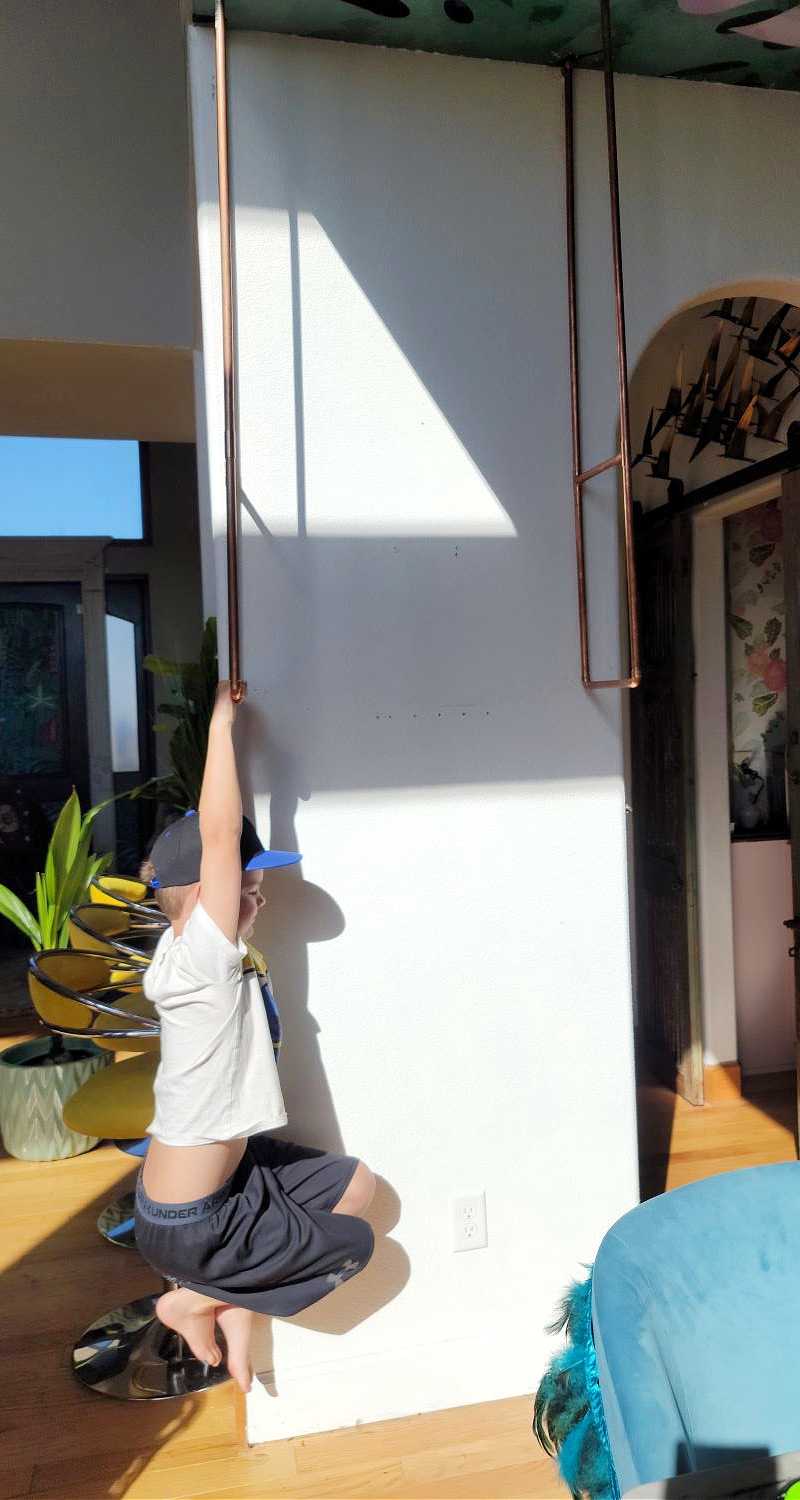
Here’s the next day. We had both of our boys hang on them to test the strength of the “glue”. This kid is around 65 pounds and our other son is 90 pounds. It held perfectly, whew!
I ordered 2 pieces of glass from a local glass shop for $40 and popped them in. Tada the finished shelving installed!
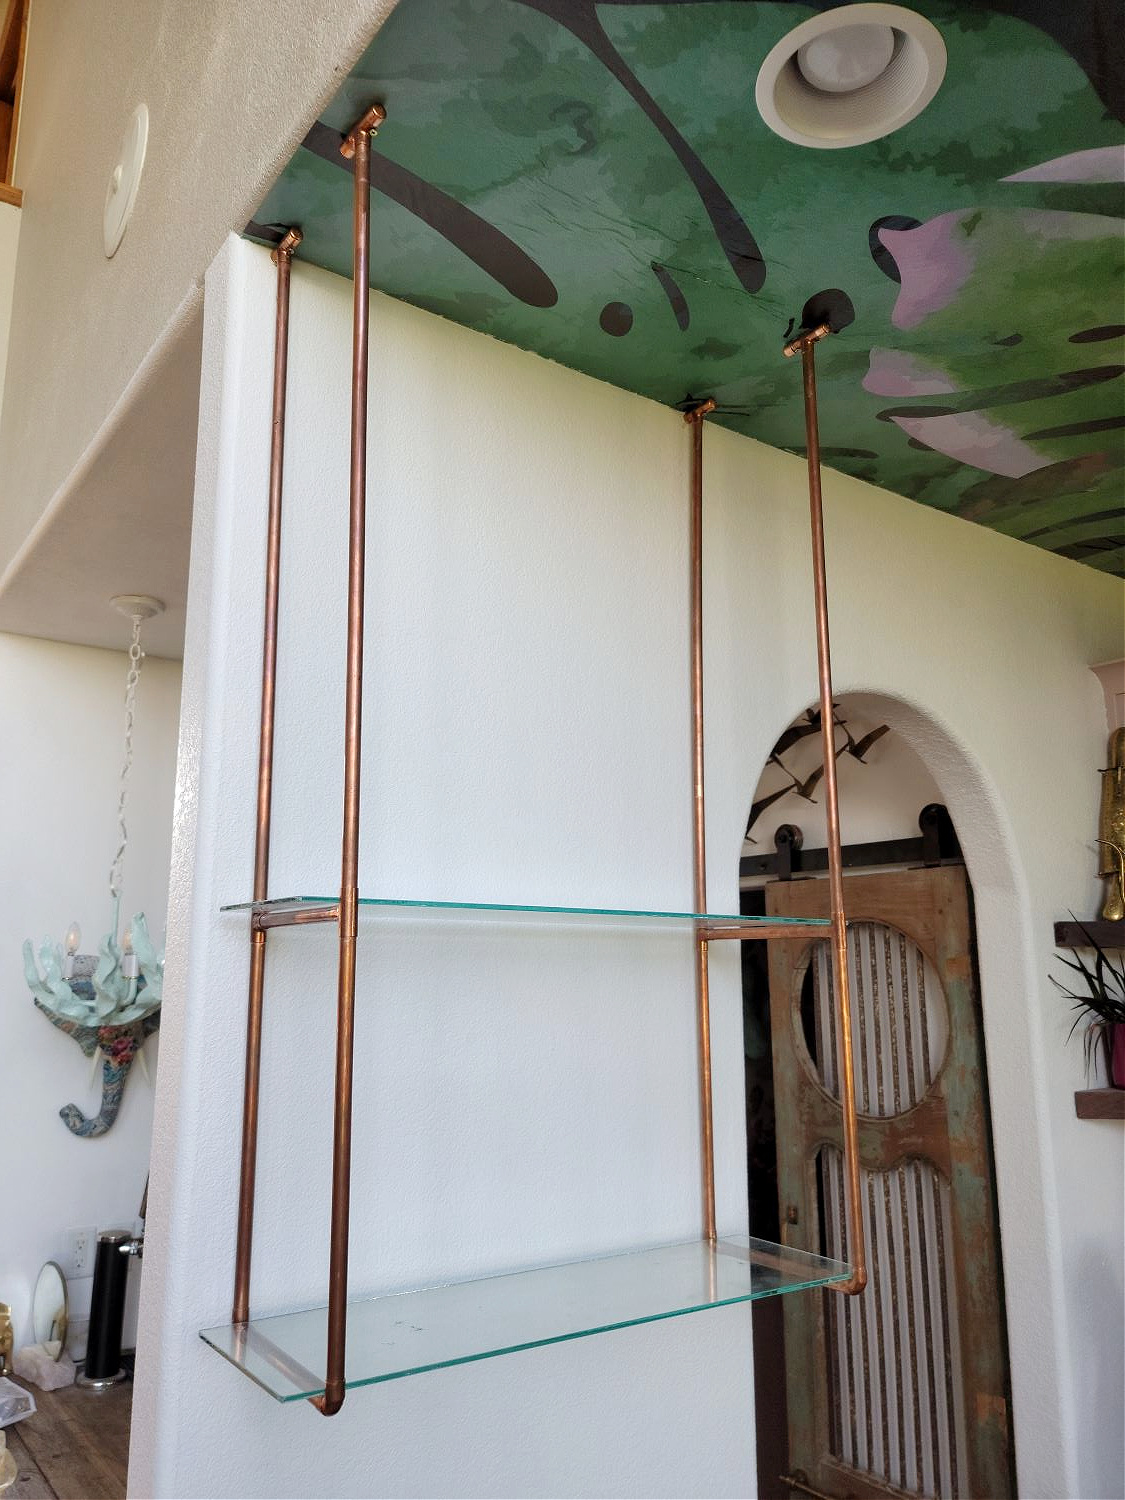
This is super versatile too. You can use this for plants, pottery, picture frames, etc!
For now I put liquor on top with a cascading plant and my colorful vintage glassware. My goal is to have a rainbow glass collection to display so I’m on the hunt for lots more!
This wall has always been a head scratcher. It’s too narrow for almost every cabinet and always felt like dead space.
Now it’s functional and pretty! And the copper pipe ties into the copper hood and copper finishes on the range.

Looking at this photo I am seriously contemplating a copper bistro shelving expansion. Oo la la!
A simple, easy and affordable DIY project that captures that elegant bistro shelving look so well. This has been hanging fully stocked with liquor and glasses for a few weeks! I wanted to wait before recommending this in case it all came crashing down and the Just for Copper was a fail.
Fortunately it’s a resounding WIN! The thing hasn’t budged and that’s a lot of liquor weight haha. (Why does Costco tempt us with so much good stuff?!)
What do you think? Do you have a place you could try this? Does it seem like something you would want to try?!
I always love to hear from you so hit me up in the comments!
And don’t forget the subscribe box in the sidebar, I already tore up tile for another project you won’t want to miss it!
Do you have any questions about this DIY open shelving project? Let me know in a comment below!




Pat Rutledge
July 6, 2021One more thing to love in your house! How do you even think of a project like this? 😂 I was standing in the wrong line when creativity was handed out! This is so unique and versatile.
xo
Pat
Tina Bousu
July 27, 2021Pat haha oh my gosh you have lots of creativity! This was a mix of happy accidents, thinking fast and taking some risks I wasn’t sure were going to pay off. It came together in the end! xoxo
Miranda Wulfekoetter
July 8, 2021I’m so totally inspired by this! Now I want to rip down all of my current open shelving in the kitchen and replace it with this! Bravo!!!
Tina Bousu
July 27, 2021Yas lovely! I want to do more with 3 shelves but my husband is adamantly against open shelving, it’s been years of trying to ease him into it. I’ll get there one day. haha
Britney
September 2, 2023This is so good! What was the overall cost?
Tina Bousu
December 19, 2023Hi Britney, I honestly can’t remember but I believe it was less than $200.
alli
February 19, 2024where did you get the coper pipes and attachments rom?
Tina Bousu
February 28, 2024Hi Alli, you can find them at any large home improvement store like Lowes, Home Depot, etc
Octavia
April 29, 2024I am redoing my bar and have been torn between your design and another design and it’s crazy before I seen your design I knew that was what I wanted, but I didn’t know how to accomplish it so I thank you and revisiting this have confirmed that this is what I want to do.
Tina Bousu
May 9, 2024Hi! I’m so glad this helped you and I hope your bar project goes well